Direct answer (120–180 words)
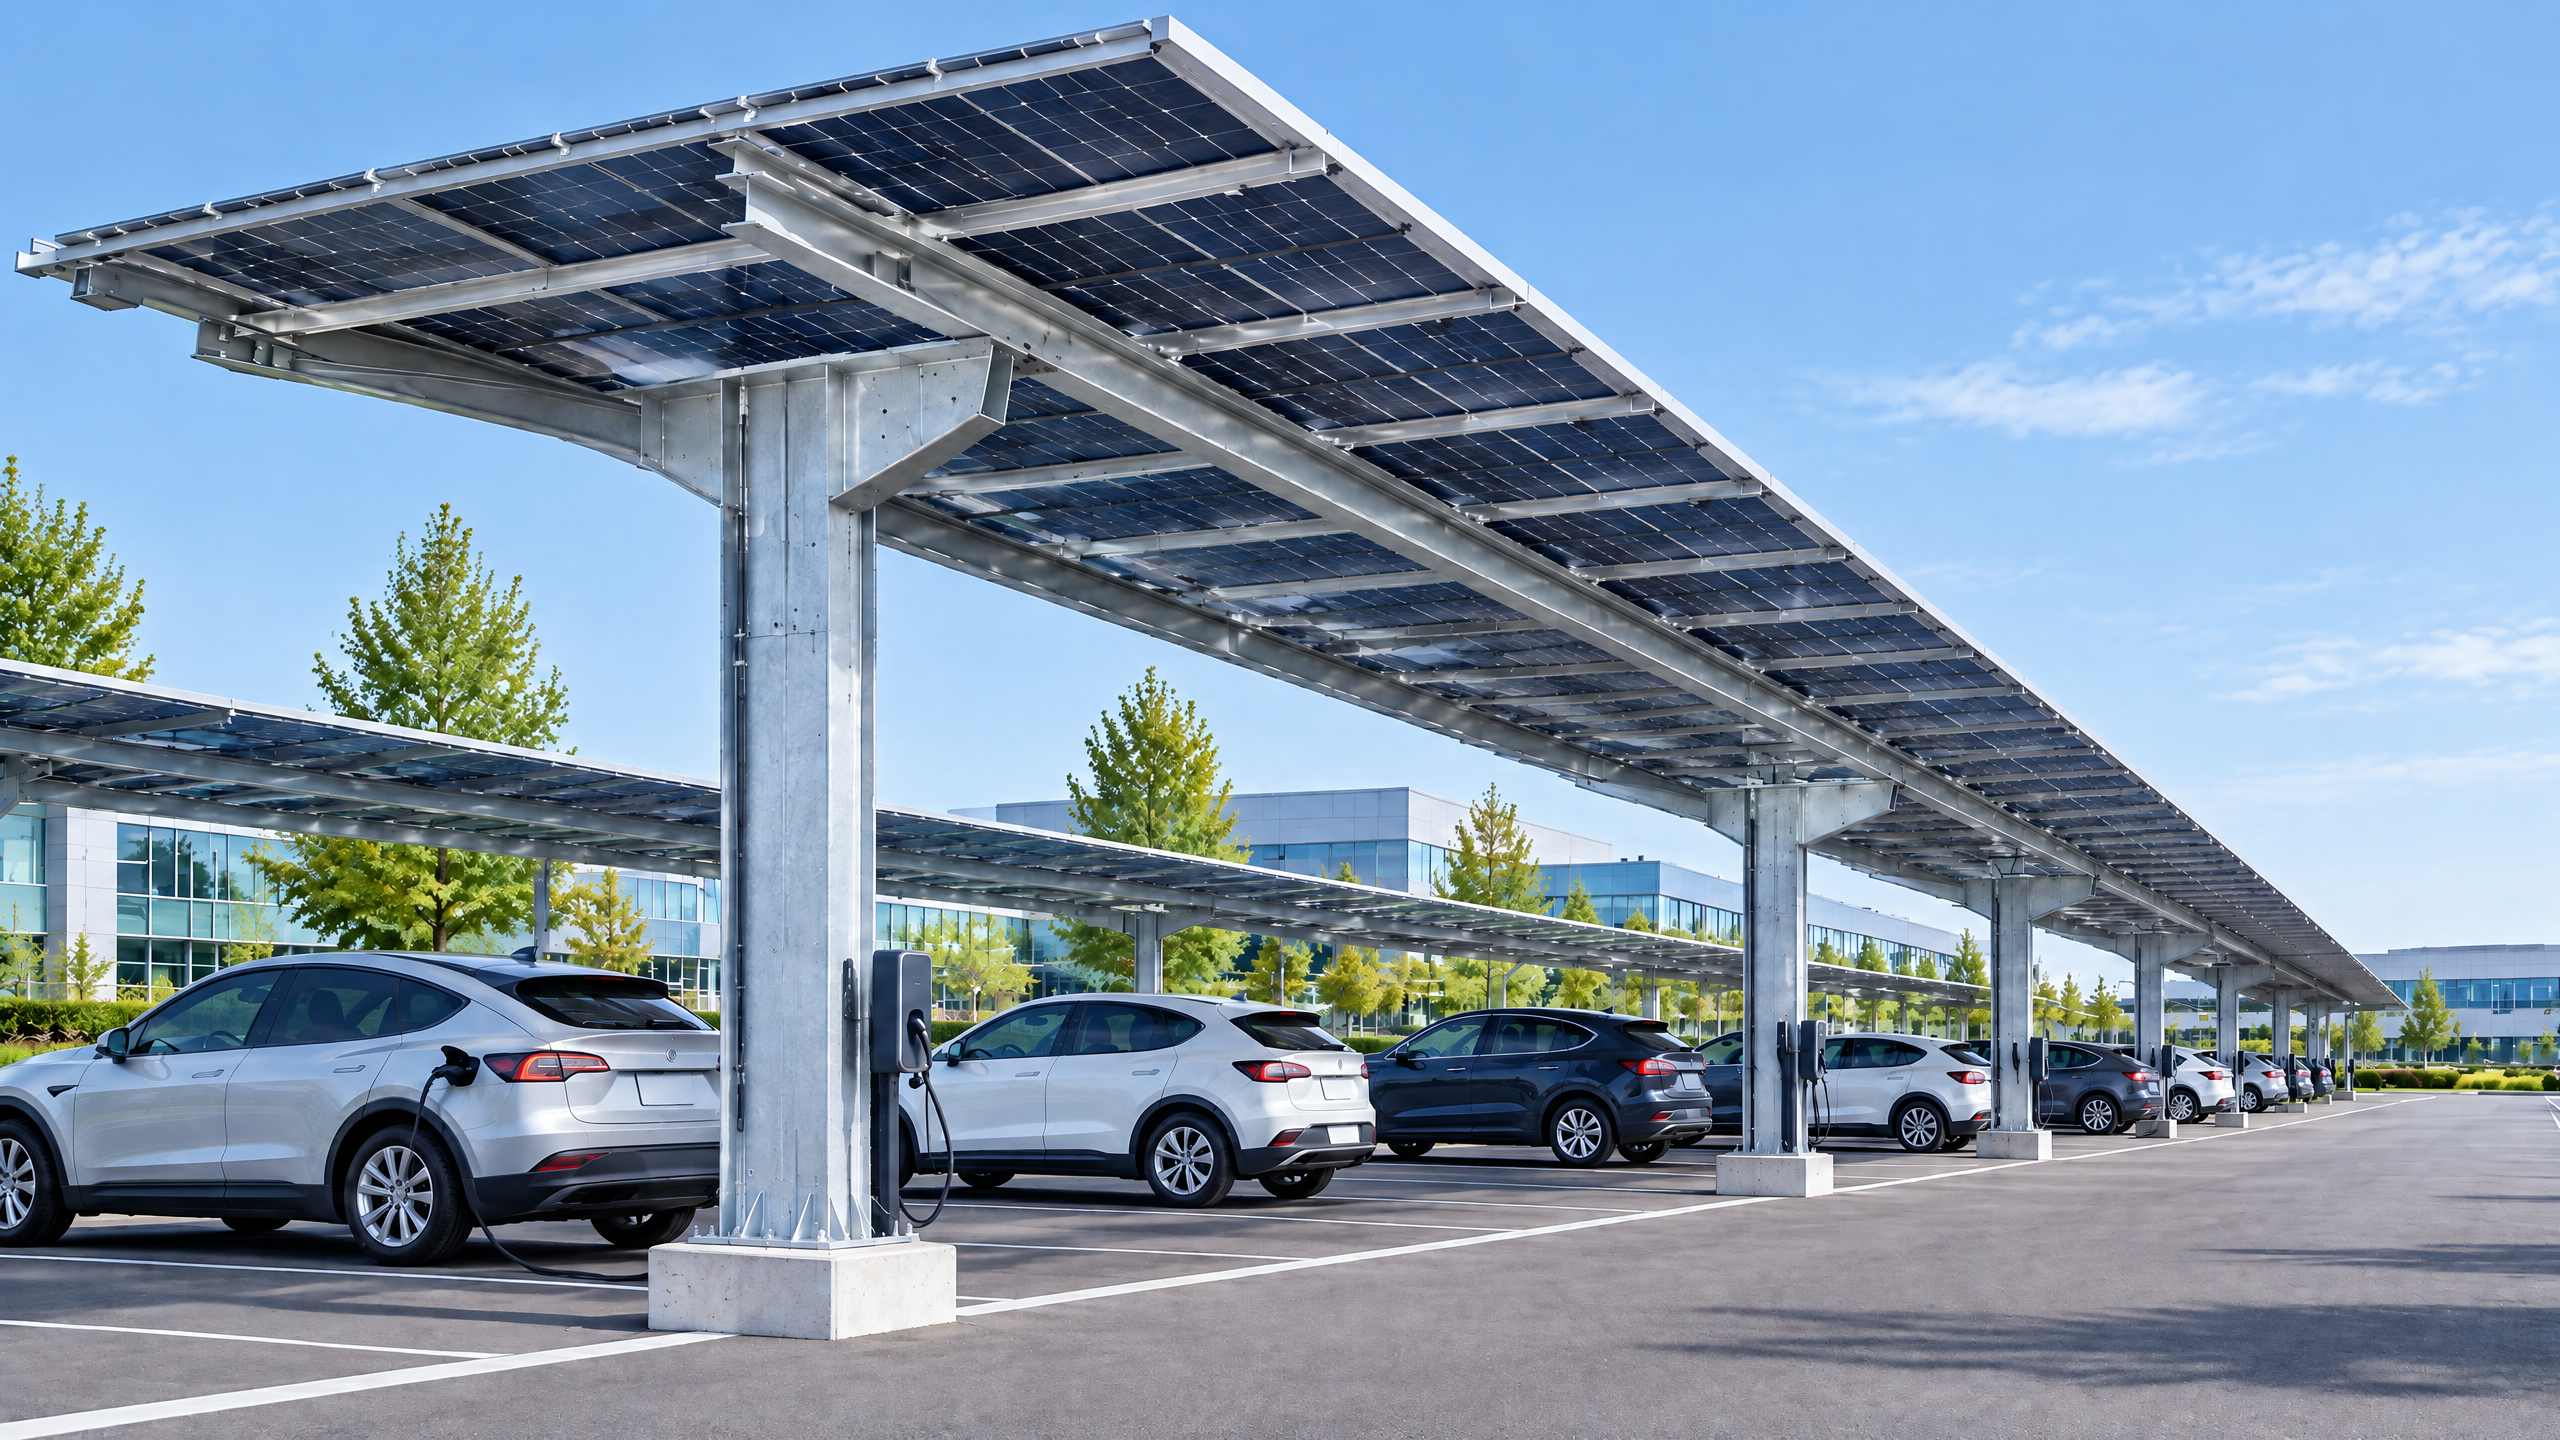
Specify the solar carport racking rail layout by starting with the project performance targets (kW, kWh, vehicle/power use), mapping those to panel stringing and inverter topology, and then converting electrical and structural interfaces into a coordinated rail plan that resolves wind, snow, seismic, and maintenance constraints. The rail layout must define rail span, continuous vs. segmented rails, cantilever extents, array orientation, head-of-rail structural attachments, and the position of walkways, equipment zones and electrical pathways. Integrate inputs from structural engineers, PV designers, electrical engineers, utilities and permit authorities early so the design aligns with the solar carport structural interface, PV equipment coordination and utility and permit interface requirements. Document factory and procurement evidence (drawings, load tables, test reports) and validate on-site interfaces during pre-construction. For commercial procurement, the rail layout is a primary driver of cost, lead time, performance and operability — treat it as a cross-disciplinary deliverable under formal change control.
Buyer context and scope boundary
Why the rail layout matters to buyers
For distributors, architects, contractors, developers, solar EPCs and fleet operators, the solar carport racking rail layout is the single technical artifact that turns architectural canopies into functioning PV arrays. It sits at the intersection of structure, modules, wiring, safety, maintenance and electrical distribution. Decisions made at rail-layout stage disproportionately affect:
- Material and fabrication cost (rail length, joints, fasteners).
- On-site labour and crane / handling needs (long continuous rails vs. shorter modular rails).
- Module mounting speed and stringing complexity.
- Cable routing, combiner and inverter locations (electrical pathway planning).
- Vehicle clearance, drainage and maintenance access planning.
- Structural capacity at column heads and foundations (solar carport structural interface).
- Interface with utility and permit authorities for interconnection and egress.
Scope boundary for this guide
This document focuses uniquely on solar carport racking rail layout as part of commercial solar procurement and implementation. It does not replace site-specific structural design, electrical design, or permitting. Site-specific structural capacity, foundations, permits, electrical design, approvals, lead time, price, energy yield and warranty require a documented project basis and relevant local qualified professionals, installers, utilities and authorities.
Cluster: Solar, PV and EV infrastructure — where rail layout effects EV charging canopy clearances, cable trays and metering enclosures.
Core decision principle
One principle to govern layout decisions
Adopt a "least-risk-to-operations" principle: choose a rail layout that minimizes operational disruptions across the asset life-cycle at acceptable cost. In practice, that means you select the layout that balances:
- Structural continuity vs. modular assembly to fit site lifting and foundation capacity.
- Electrical simplicity (fewer long strings, predictable combiner locations) vs. maximum DC string length and inverter optimization.
- Maintenance access planning and safety clearances vs. maximizing array density.
- Procurement completeness (factory verification, pre-drilled holes, labelled rails) vs. on-site flexibility.
Why this principle works: a layout optimized purely for lowest materials cost often increases installation labour, decreases maintainability, and raises electrical complexity. Conversely, overengineering for maintainability increases upfront capital. The buyer’s role is to quantify acceptable trade-offs with input from EPC and operator stakeholders.
Core metrics to measure layout suitability
- kW per bay and kWh per annum (energy yield estimates using tools such as PVWatts) [2].
- Structural reaction at column interfaces (ultimate and service loads).
- Number of field joins and expected site man-hours per kW.
- Cable lengths and voltage drop to inverters / combiner boxes.
- Clearances for vehicles and maintenance lifts.
Reference outputs should appear as measurable items in procurement documents and acceptance testing.
Planning inputs — what you must gather before specifying rails
Collect the following planning inputs and freeze them before final rail specification:
- Project performance brief
- Target DC capacity, AC capacity, and expected energy yield per year (use PVWatts or equivalent as a baseline) [2].
- AC/DC topology preferences: central inverters, string inverters, microinverters, DC optimizers.
- Site and architectural constraints
- Canopy spans, column grid, bay widths, roof pitch and drainage.
- Vehicle clearance heights, pedestrian routes, and lighting.
- Structural data
- Column and foundation capacities, connection details, allowable reaction forces, and factor-of-safety requirements.
- Applicable wind, snow, seismic loads according to local codes.
- Module and mounting constraints
- Module dimensions, weight, frame geometry, attachment points and corner loads.
- Module stringing direction and orientation.
- Electrical design inputs
- DC stringing (maximum Voc, Isc), inverter locations, AC combiner locations, and protective device placement.
- Electrical pathway planning: conduits, cable trays, splice locations and weatherproofing.
- Operations and maintenance requirements
- Required maintenance access planning, cleaning regimes, and fall-protection tie-in points.
- Permitting and interconnection
- Utility interconnection requirements, local permitting codes, and any third‑party inspection needs (utility and permit interface).
- Logistics and procurement constraints
- Site access, crane availability, storage, lead times, and staging areas.
- EV and ancillary systems
- If integrating EV chargers, coordinate charging load paths, meter locations, and conduit runs [3].
How to get reliable inputs
- Engage structural engineer early for preliminary loads and column capacities.
- Use module supplier cut sheets and wind-load data for module attachment assumptions.
- Work with the chosen EPC or installation contractor to validate constructability and crane plans.
- Confirm utility interconnection requirements with local utility and review standby/charging load expectations with grid operator [4].
Technical specification and interfaces
What a complete rail-layout technical specification must include
A complete solar carport racking rail layout specification should be an integrated document that includes:
- Layout drawings: plan, elevation, and section showing rails (profiles and lengths), rail support points, module rows, string directions, and rail joints.
- Structural interface drawings: detail at column head, brackets, splice plates, and anchor bolts (solar carport structural interface).
- Electrical layout: stringing and combiner locations, cable trunking, splice boxes and routing to inverters and meter rooms (PV equipment coordination and electrical pathway planning).
- Access and safety: maintenance access aisles, guardrails, fall-arrest connection points and service ladders.
- Material specification: alloy and surface treatments for rails and fasteners, module clamps, drainage paths and compatibility with module frames.
- Load and deflection limits: allowable rail spans for module and wind-suction conditions. Provide design load tables or reference to manufacturer load tables.
- Assembly and tolerances: pre-drill, hole pattern, permitted field-drilling, torque values for fasteners and anti-seize or threadlocking requirements.
- QA/QC and testing requirements: dimensional control, galvanised coating tests or anodising spec, weld qualifications, and factory assembly checks.
- As-built documentation and BIM/CAD files for O&M and future asset management.
Key interfaces to specify and coordinate
- Solar carport structural interface: explicit loads, bolt locations and plate sizes coordinated between racking supplier and structural engineer.
- PV equipment coordination: inverter/combiners, DC/AC cable routing, and the location of electrical enclosures must be dimensioned relative to the rail layout and columns.
- Electrical pathway planning: required conduit sizes, cable tray supports at rail spans, and access panels for splice boxes.
- Utility and permit interface: clearances from property lines, sightlines for traffic, lighting changes and any utility easements must be reflected in the rail layout.
Practical rail decisions and their technical implication
- Continuous long rails vs. segmented rails:
- Long rails reduce joints and may improve appearance but increase transport, lift and thermal expansion considerations.
- Segmented rails ease transportation and on-site handling but increase joint count, fasteners and potential leak/deflection points.
- Rail height above module center vs. flush mounting:
- Higher rails can facilitate cable trays under modules but increase material use and wind loads.
- Flush rails minimize overall height but complicate under-module cable routing.
- Cantilevered bays:
- Useful for overhangs or shade control but require higher moment capacity at supports and reinforced foundations.
Decision table: layout strategy trade-offs
| Layout option | Advantages | Disadvantages | Best for |
|---|---|---|---|
| Long continuous rails | Fewer joints, cleaner aesthetics, reduced alignment operations | Transport & lift constraints, thermal expansion management | Large open sites with crane access |
| Modular segmented rails | Easier to transport/handle, flexible on site | More joints, more fasteners, increased install time | Constrained access sites, staged delivery |
| Elevated rail with cable channel | Simpler cable management, accessible splices | Higher wind load, increased material | Where frequent maintenance and EV integration needed |
| Flush low-profile rails | Lower visual impact, lower wind profile | Harder to access under-module cables | Urban/commercial sites with strict height limits |
Decision table: electrical pathway patterns
| Pathway pattern | Pros | Cons | Use case |
|---|---|---|---|
| Under-rail trunking continuous | Protected cables, tidy routing, central access | Reduced headroom under modules, extra rail depth | High cable volume, larger arrays |
| Mid-rail splice boxes with short runs | Shorter DC runs, distributed fault isolation | More splice points, more boxes to weatherproof | Long bays where combiner boxes are needed |
| End-of-row trunking to combiner | Simplest layout, fewer trays | Longer DC cable runs, higher voltage drop | Small installations or microinverters |
| Integrated conduit in columns | Minimizes under-rail clutter | Requires exact column coordination early | New-build with column customisation |
Procurement and factory evidence — what to require and verify
Why procurement documentation matters
During commercial solar procurement, the rail layout is both a technical deliverable and a procurement risk item. The buyer must convert engineering decisions into verifiable supplier deliverables to reduce variation and disputes during installation.
Minimum procurement deliverables to request
- Detailed shop drawings and rail cut lists (with part numbers linked to SolarGrid commercial solar system or chosen system).
- Structural calculations and stamped engineering for rail-to-column brackets where required.
- Material certificates: alloy grade, coating/finish certification, tensile strength and corrosion resistance data.
- Factory test records: sample mechanical property tests, join strength tests and coating adhesion tests.
- Weld and fabrication QA documentation: welder qualifications, inspection logs, and non-destructive testing where applicable.
- Load tables: certified span tables for rails under specified module and wind/snow conditions.
- Installation instructions: torque specifications, sequence of assembly, anti-seize and sealing requirements.
- Packaging and logistic plans: rail length, packaging method, field splice components and labelled shipments.
- Warranty terms: clarity on structural component warranty, finish warranty and limitations due to site exposure.
Supplier evidence checklist (decision table)
| Evidence item | Buyer acceptance criteria | Source/verification |
|---|---|---|
| Shop drawings (rail layout) | Match issued-for-construction (IFC) plans and column coordinates | Approved by buyer/EPC |
| Material certificates | Traceable batch numbers and alloy grade | Mill certs from supplier |
| Load/span tables | Applicable to project wind/snow numbers | Manufacturer cert or engineer calc |
| Fabrication QA | Weld logs, visual inspection reports | Factory QA records |
| Coating test reports | Salt spray or equivalent as specified | Lab test certificates |
| Pre-assembly photos | Confirm pre-assembled units match drawings | Factory QA photo pack |
| Lifting and handling plan | Fit for site cranes and storage | Supplier logistic plan |
| Part labelling scheme | Unique IDs for rails and fasteners | Shipping manifest |
How to verify factory claims
- Insist on third-party lab testing for coatings and load-bearing samples where exposure or unusual loads are expected.
- Request witness inspection at factory for critical runs and pre-assembly if risk is high.
- Use factory photo packs and labelled parts lists for site verification to reduce sorting time.
- Include acceptance criteria for deviations and hold-points in the purchase order.
Contractual considerations
- Specify acceptance testing on delivery and a remedial process for non-conforming rails.
- Define warranty boundaries: what constitutes a manufacturing defect vs. damage from incorrect installation.
- Include change-order procedures for late site discoveries (column position variance, unforeseen obstructions).
Mid-article CTA
If you would like procurement templates, factory checklists or an initial coordination review, contact Carportiva: /inquiry or info@carportiva.com. See our SolarGrid commercial solar system, our catalog of all systems and related sourcing guides.
Site installation and operations
Translating drawings into on-site execution
Good rail layout minimizes surprises on site. Ensure the following before mobilizing:
- As-built column coordinates and elevations verified by survey against IFC drawings.
- Delivery and storage plan that prevents rail damage and facilitates sequence of installation.
- Tooling and lifting plan: jigs for aligning rails, torque tools with calibration certificates, and required fall-protection gear.
- Pre-assembly where feasible: some rails or rail subassemblies can be factory pre-assembled to reduce on-site labour.
- Clear splice management: identify the exact splice locations and stock spares (splice plates, bolts, alignment pins).
- Cable routing pre-marked to prevent last-minute reroutes that interfere with rail attachments.
Installation quality checks
- Dimensional checks on rail alignment, module clamp spacing and torques.
- Verticality and camber of rails: rails outside allowable deflection ranges can cause module stress and water pooling.
- Fastener audit for thread engagement and anti-corrosion compound application.
- Electrical continuity and bonding checks: rails often form part of the equipment grounding even when modules have their own bonding.
Operational considerations
- Maintenance access planning must be respected: preserve lanes for access lifts and cleaning equipment.
- Provide labelled points for cable splices and combiner boxes with enough space for service clearances.
- Asset tagging: rails, arrays and combiner panels should be labelled for rapid fault diagnosis.
- Training and O&M handover: include maintenance personnel in pre-handover walkdowns to familiarize with the layout and service points.
Integration with EV infrastructure and site loads
When integrating EV charging infrastructure, co-plan the electrical pathway planning and load management systems. Coordinate meter placement and potential site energy management controls with the array design, as simultaneous high EV charging and daily peak PV export can require additional protective devices or energy storage [3].
Implementation risk and mitigation
Common risks tied to rail layout and how to mitigate them
- Misaligned column coordinates
- Risk: Rail pre-drilled holes don't match on-site columns.
- Mitigation: Pre-construction survey verification; include on-site tolerances and slotted slots in bracket designs for small variations.
- Excessive field drilling
- Risk: Field-drilled holes reduce coating protection and may compromise corrosion resistance.
- Mitigation: Maximise factory pre-drilling; specify approved field-drilling procedures and re-coating.
- Unexpected uplift or lateral loads
- Risk: Foundation or column reactions exceed design limits.
- Mitigation: Early structural checks, proof-load tests on anchor bolts where necessary; contingency for reinforced attachments.
- Excess cable length and voltage drop
- Risk: Longer-than-planned cable runs due to layout changes increase loss.
- Mitigation: Define electrical pathway planning with cable tray routes on rail layout; calculate worst-case voltage drop early [2].
- Insufficient maintenance access
- Risk: Array dense layout prevents removal of modules or servicing in the future.
- Mitigation: Include maintenance access planning in the rail layout with minimum clearances and removable module rows where necessary.
- Procurement documentation gaps
- Risk: Vendor delivers incompatible components.
- Mitigation: Use the procurement checklist and require labelled parts lists with factory photos.
- Delays caused by permits or interconnection
- Risk: Utility or authority requirements force layout changes.
- Mitigation: Early engagement with utility and permitting authorities; allow programme float for design iterations (utility and permit interface).
Risk register starter (short table)
| Risk | Likelihood | Impact | Primary mitigation |
|---|---|---|---|
| Column mislocation | Medium | High | Pre-construction survey; toleranced brackets |
| Corrosion due to field work | Low–Medium | Medium | Factory pre-drilling; mandated re-coating |
| Cable voltage drop | Medium | Medium | Early electrical routing, oversize cables if necessary |
| Permitting delays | Low–Medium | High | Early utility/authority engagement |
Six-step buyer workflow (named)
"Rail-First" six-step workflow for buyers specifying rail layout
- Define Performance and Constraints
- Output: Project brief with target kW/kWh, bay grid, vehicle clearances, code wind/snow inputs and preferred electrical topology.
- Lock-in Structural Baseline
- Output: Structural engineer’s column capacities, foundation constraints and a coordinate survey.
- Electrical and Module Match
- Output: Module cut sheets, DC string layouts, inverter/combiners plan and electrical pathway planning diagram.
- Concept Rail Layout and Review
- Output: Concept rail layout options (continuous, modular) with trade-off analysis and decision table endorsed by stakeholders.
- Procurement Specification and Factory Verification
- Output: Issued-for-procurement package with shop drawing requirements, load tables, factory QA requests and logistic plans.
- Site Verification and Handover
- Output: As-built rail-layout drawings, labelled parts, final acceptance report and O&M handover with maintenance access planning details.
How to use the workflow in contracts
- Include hold points at Steps 2, 4 and 6 for formal buyer sign-off.
- Attach the procurement evidence checklist to purchase orders and SOW documents.
- Require that any deviations require formal change notices and cost/time evaluation.
Frequently Asked Questions (FAQ)
Q: What is the difference between rail layout and canopy design? A: The canopy design addresses architectural and structural geometry (columns, roof plane and drainage). The solar carport racking rail layout applies the rail system to that canopy to support PV modules, addressing spacing, electrical routing and maintenance access. They must be coordinated but are distinct deliverables.
Q: Can I use long continuous rails to save cost? A: Long rails can reduce joints and alignment work but introduce transport, handling and thermal expansion concerns. Evaluate lift capacity and on-site handling plans; it may be cheaper in total installed cost only on sites with adequate crane access.
Q: When should the electrical pathway planning be finalized relative to rails? A: Electrical pathway planning should be developed concurrently with the rail layout so conduit routes and splice boxes are integrated into the rail design. Late electrical changes are a common cause of rework.
Q: Who is responsible for the structural connection details? A: Typically the structural engineer of record calculates and signs off the connection design (anchor bolt sizing, plate details), but the racking supplier provides bracket geometry and load data for that calculation. Ensure responsibilities are clearly defined in contracts.
Q: What documentation should I insist on from the racking supplier? A: Shop drawings, material certificates, load/span tables, factory QA, pre-assembly photos, and a labelled parts list. See procurement checklist above.
Q: How does wind affect rail spacing? A: Wind pressure drives suction on panels which produces uplift forces distributed through the rails to supports. Rail span and fastening layout must be sized for worst-case local wind speeds per applicable codes. Provide design wind data to the racking manufacturer.
Q: Can carport rails support snow loads or snow guards? A: Rails should be specified with snow load cases if the site is in a snow-prone region. Snow guards or melt systems are additional items to coordinate and need structural consideration.
Q: Do rails provide equipment grounding? A: Rails are often part of the grounding path but practices vary. Grounding must follow local electrical codes and PV equipment coordination requirements.
Q: How long is typical lead time for custom rails? A: Lead time depends on fabrication volume, finishes and transport. Provide approval freeze dates, logistics constraints and staging plans in procurement documents. Site-specific lead time estimates require supplier confirmation and cannot be generalized here.
Conclusion
Specifying the solar carport racking rail layout is a cross-disciplinary decision that materially affects cost, schedule, operability and safety for commercial carport projects. Buyers should treat the rail-layout deliverable as a formal control point within commercial solar procurement: collect accurate planning inputs, lock structural and electrical baselines early, require complete factory evidence and incorporate maintenance access and utility constraints into the layout. Use the "Rail-First" six-step workflow to manage decisions and hold points, and deploy the procurement checklists and decision matrices provided here to reduce change orders and installation risk.
Remember: site-specific structural capacity, foundations, permits, electrical design, approvals, lead time, price, energy yield and warranty require a documented project basis and relevant local qualified professionals, installers, utilities and authorities.
For procurement assistance, layout reviews, or a coordinated supply solution, contact us: /inquiry or info@carportiva.com. Explore our SolarGrid commercial solar system, browse all systems, or consult our sourcing guides.
Sources and further reading
- National Laboratory of the Rockies PV resources, NREL: https://www.nrel.gov/solar/ [1]
- PVWatts Calculator and basic yield estimation: https://pvwatts.nrel.gov/ [2]
- U.S. Department of Energy AFDC (EV & infrastructure integration reference): https://afdc.energy.gov/ [3]
- FERC interconnection resources and guidance: https://www.ferc.gov/electric-transmission/generator-interconnection [4]
References
- National Laboratory of the Rockies PV resources: https://www.nrel.gov/solar/
- PVWatts Calculator: https://pvwatts.nrel.gov/
- U.S. Department of Energy Alternative Fuels Data Center: https://afdc.energy.gov/
- Federal Energy Regulatory Commission interconnection resources: https://www.ferc.gov/electric-transmission/generator-interconnection
Keep the project brief connected.
Bring the actual project brief to the engineering table.
Share your location, layout, target application and available technical inputs. Carportiva can help identify the relevant product-interface information before a project-specific commercial discussion.
Request a project discussion