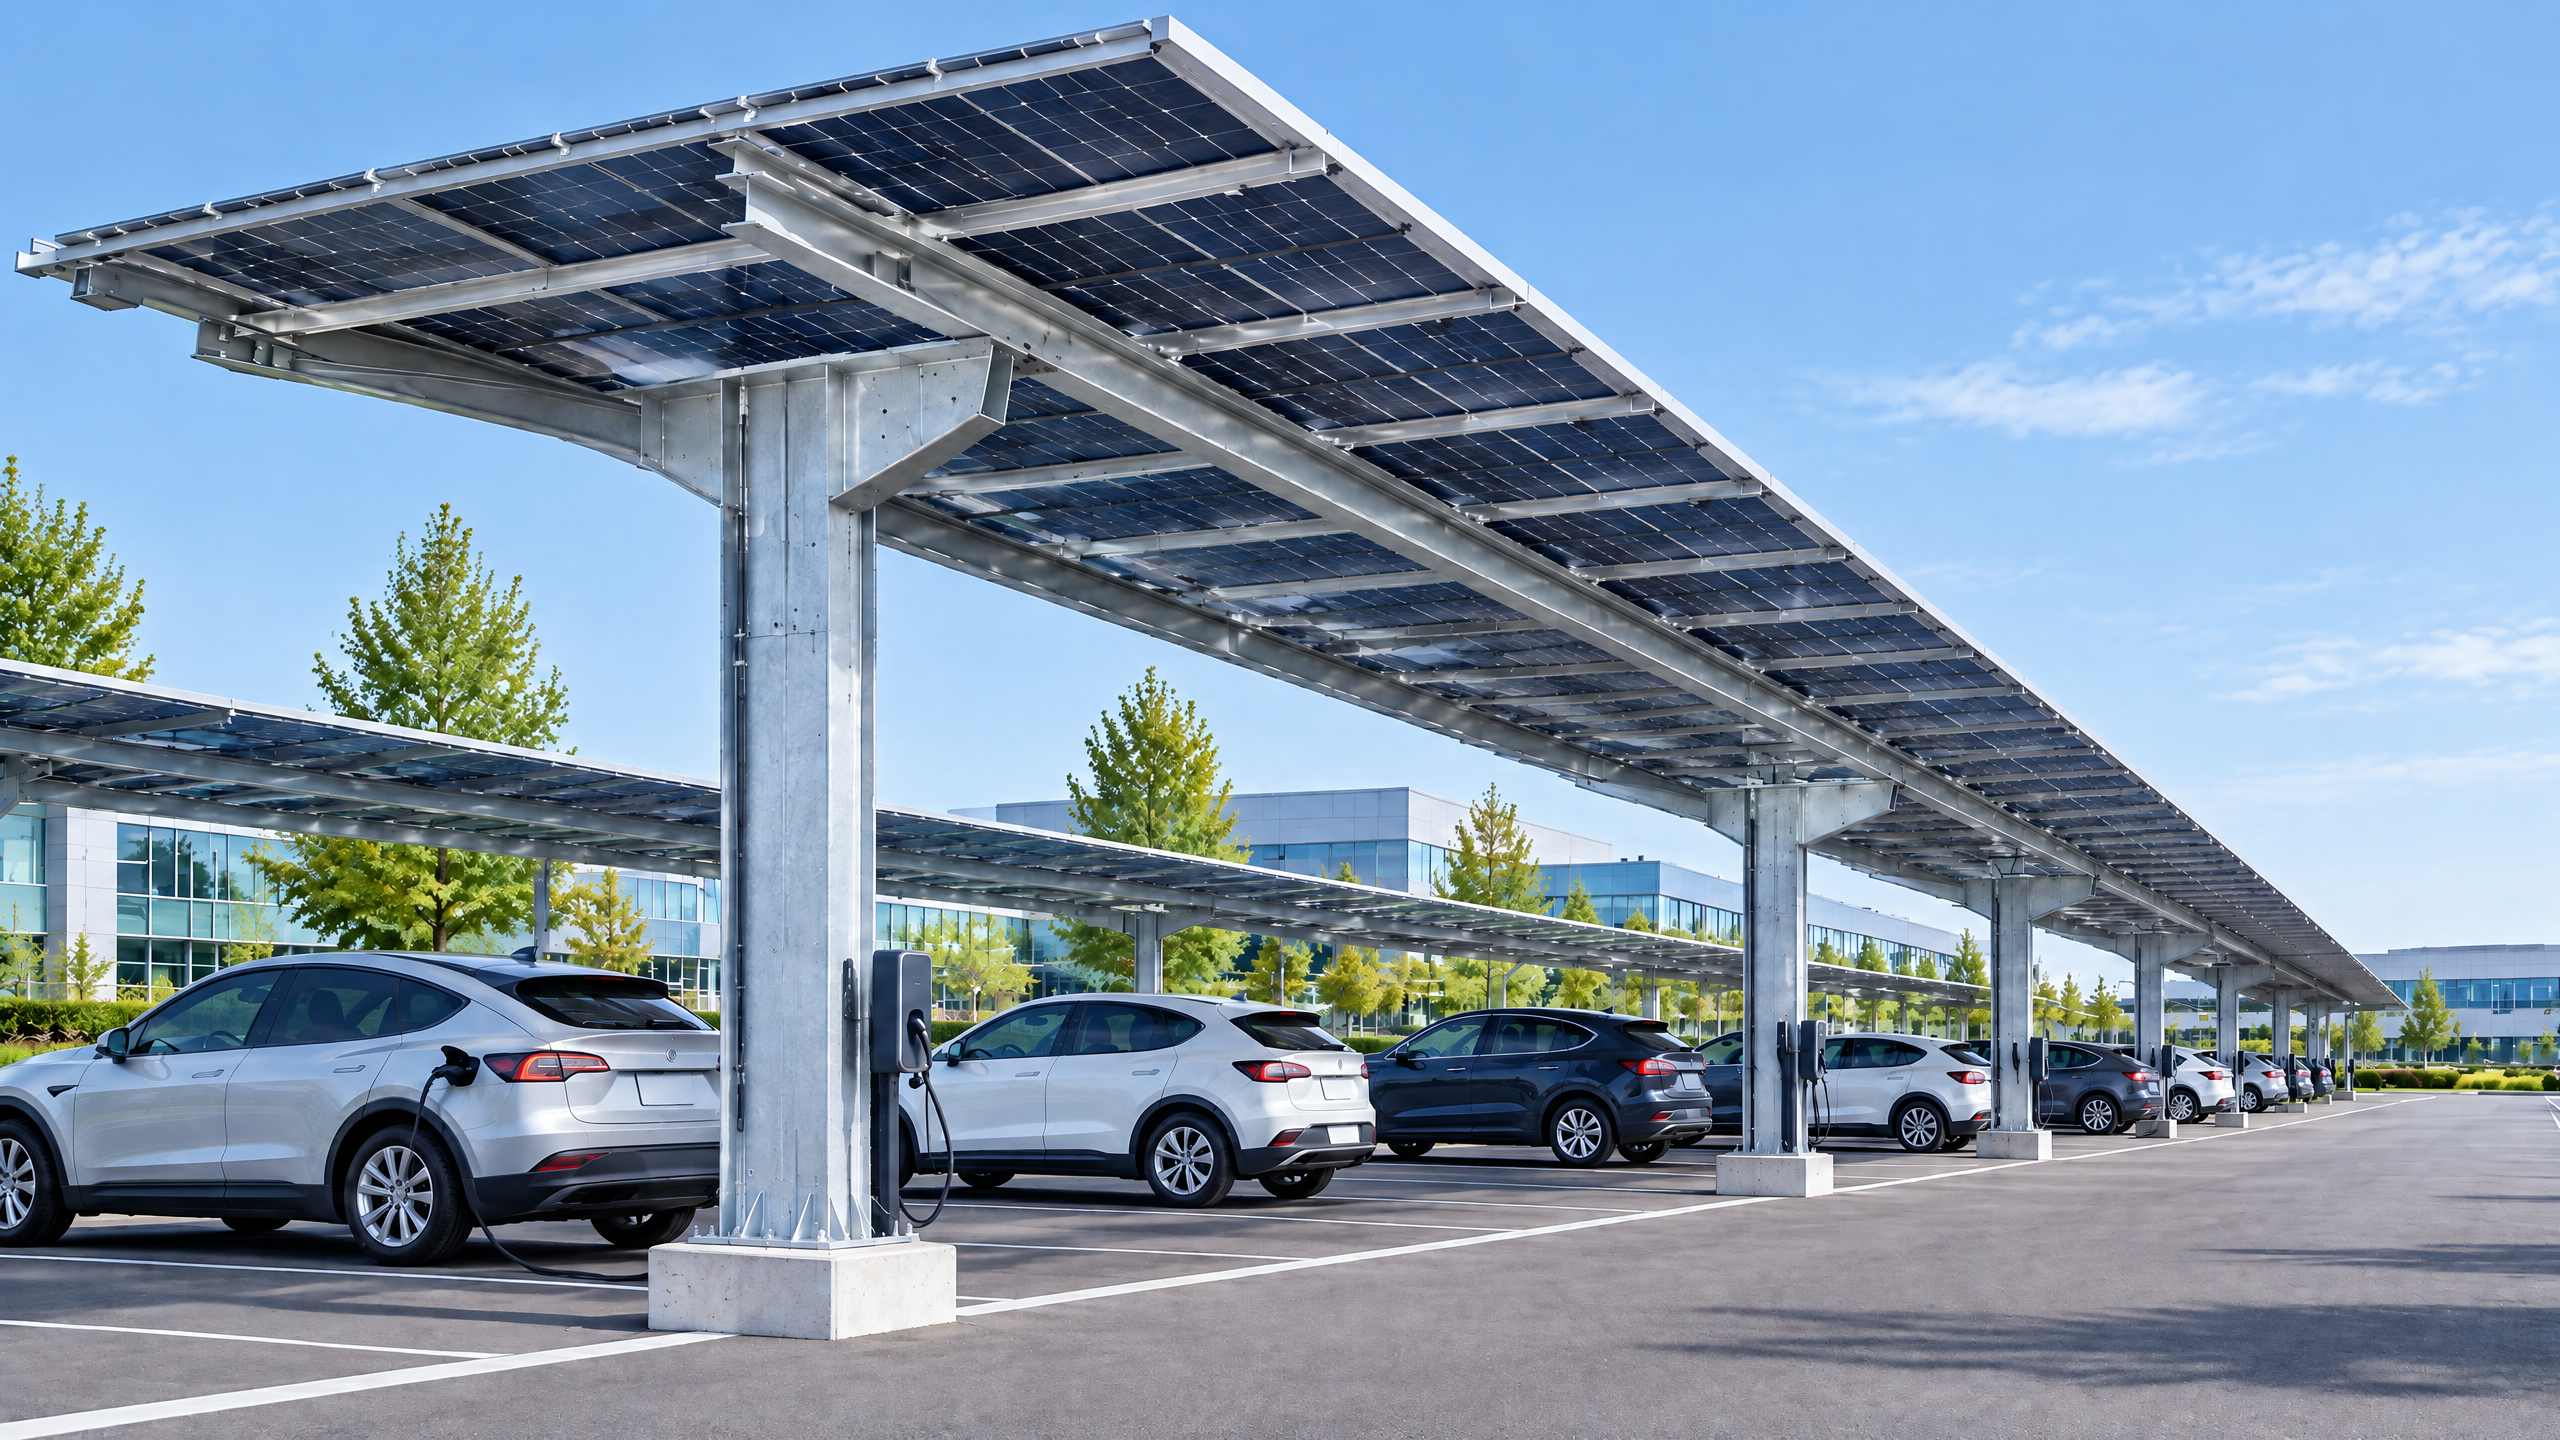
Direct answer (quick decision): Confirming solar carport inverter maintenance access means making deliberate, documented decisions that ensure safe, repeatable, and code-compliant access for inspection, routine servicing and fault recovery without compromising the carport structure, PV array or site operations. A project team should verify where inverters and associated AC/DC hardware will be located (column-mounted, canopy-mounted, ground-mounted, or remote room), the structural interface and load paths for that location, clearances for technicians and lifting equipment, conduit and cable-route continuity, service disconnect and isolation access, ventilation and environmental protection, security and theft-prevention, and responsibilities for maintenance over the asset life. These confirmations must be reflected in drawings, O&M procedures and procurement terms; they must also be coordinated with utilities, permitting authorities and the carport supplier to avoid rework, delayed commissioning or warranty disputes. Effective maintenance access planning reduces downtime and life-cycle cost while preserving canopy function and parking use.
Buyer context and scope boundary
Who this guide is for
- Distributors, architects, contractors, developers, solar EPCs, fleet operators and procurement teams evaluating commercial solar carports where inverter siting and access are critical to operations.
- Decision points cover procurement, design review, installation sequencing, commissioning and long‑term operations.
What is in scope
- Design and procurement decisions that materially affect the ability to access inverters and related power hardware for routine maintenance, troubleshooting and replacement.
- Interfaces among the carport structure, PV array and electrical plant (the solar carport structural interface and PV equipment coordination).
What is out of scope
- Detailed local code interpretations, siting-specific structural calculations, or electrical designs — these require a documented project basis and local qualified professionals.
Required disclaimer (read before use)
- Site-specific structural capacity, foundations, permits, electrical design, approvals, lead time, price, energy yield and warranty require a documented project basis and relevant local qualified professionals, installers, utilities and authorities. This guide presents procurement and decision guidance; it is not a substitute for local professional assessments.
Context for commercial solar procurement
- In carport projects the structural provider (carport manufacturer), PV EPC and electrical contractor must align early. The procurement envelope should explicitly require maintenance access planning as a deliverable. Use this guide alongside system options like SolarGrid commercial solar system, and review all systems and sourcing guides for product and procurement context.
Core decision principle: design for maintainability, safety and availability
Primary principle
- Prioritise maintainability: the ease with which an inverter or component can be safely accessed, serviced, tested and replaced without damaging the carport, array or site operations.
- The maintainability decision balances safety, cost and uptime. In many commercial carport installations, a small incremental design or procurement cost for improved access yields lower life-cycle cost and faster fault recovery.
Key attributes to achieve
- Safe technician access: adequate clearance, non-slip platforms, fall protection anchorage and lockable access points.
- Functional separation: keep live electrical access and PV array access coordinated to minimise simultaneous exposure of technicians to different hazards.
- Replaceability: ability to remove and replace the inverter or major components with available lifting or removal equipment within site constraints.
- Service continuity: isolation and bypass strategies to maintain partial array operation during maintenance where required.
Why this matters to B2B buyers
- Maintenance access affects warranty actions, spare-part logistics, resource planning and downtime cost. Procurement language must convert these technical expectations into verifiable supplier commitments.
Planning inputs — what to collect and when
Early-stage checklist (pre-RFP)
- High-resolution site plan showing parking layout, grade, service access, existing utilities, drainage and site constraints.
- Preliminary electrical service point, transformer location and conduit ingress points.
- Preliminary structural drawings of the carport canopy including column types, beam spans, and access for cable routing.
- Operational requirements: allowable downtime, service windows, fleet schedules and reserved parking during maintenance.
- Permitting constraints: local setback, fire access and height limits; fire department vehicle access if needed.
Design-stage inputs (for RFP and design)
- Inverter families and footprints with step-drawings (weight, service clearances, ventilation requirements and ingress protection ratings).
- String/combiners layout and DC cable runs, including estimated DC current and short-circuit current.
- AC distribution plan: combiner to switchgear to utility point of interconnection; where meters and protection relays will sit.
- Structural interface detail requests: specific anchor points, load-transfer zones, and preferred mounting locations on canopy members.
- Maintenance access planning deliverable: responsibility matrix and sketches showing technician circulation, lifting paths, and required platform sizes.
Useful external references
- Use energy calculators and design tools to align inverter capacity to available roof/carport area and intended yield — see NREL resources and PVWatts for yield estimation and planning [1][2].
- For projects that integrate EV charging or vehicle electrification, co-ordinate with EV infrastructure planning using public resources where applicable [3].
Timing and responsibilities
- Assign a single point of responsibility (usually the project manager or lead EPC) to own maintenance access planning and to collect the inputs above. Document sign-offs at schematic design, procurement and pre-installation stages.
Technical specifications and interfaces
This section examines the technical interfaces that most directly influence maintenance access: inverter physical location, structural mounting, electrical pathway planning, ventilation and fire safety.
Inverter placement options (decision table)
- The first technical decision is where the inverter and major power components will be located. Each option has maintenance implications.
| Inverter location | Typical placement examples | Maintenance access implications |
|---|---|---|
| Column-mounted (on carport column) | Inverter cabinet bolted to column at 1–2 m height | Easier foot-level access; must verify column structural capacity and corrosion protection; limited space for larger central inverters |
| Canopy-mounted (under canopy near modules) | Mounted to underside or back of canopy beam | Short DC cable runs; may restrict technician movement under array; access can impede parking |
| Ground-mounted (adjacent pad or equipment room) | Dedicated concrete pad, fenced enclosure or equipment room | Best clearance and ventilation; requires conduit routing; may require additional fencing and security |
| Remote inverter room / electrical room | Inverter installed in building or dedicated room | Highest environmental control and security; incurs cable losses and requires robust electrical pathway planning |
Notes:
- The phrase "solar carport structural interface" applies to any location where the inverter attaches to canopy structure: you must confirm local connection details and load capacity.
- Electrical pathway planning is critical for column- and canopy-mounted inverters — short DC runs reduce losses but require robust cable management and fire separation considerations.
Clearances, platforms and lifting
- Provide drawings showing the service envelope: recommended clearances around the inverter for maintenance, typically defined by inverter manufacturer. These must be validated on a documented project basis with the selected inverter model.
- Specify lifting paths for component removal: whether the inverter can be lowered to ground, requires a hoist, or needs crane access across the parking area. Include lifting pad or crane-lift zones in the plan.
Cable routing and wireway design
- Define conduit and cable-tray paths from PV combiner boxes to the inverter and from the inverter to AC switchgear. Early coordination is essential to avoid later clashes with lighting, signage or fire suppression.
- Electrical pathway planning should specify minimum bend radii, penetrations through canopy members, and access for pulling and future cable upgrades.
Environmental control and ventilation
- Inverter performance and life depend on ambient temperature and ventilation. For enclosed installations, plan for forced ventilation or air-conditioning as required by manufacturer documentation.
- Specify ingress protection (IP) ratings and thermal derating that are acceptable for the site environment (salt spray near coasts, high dust, or extremes of temperature).
Fire, codes and isolation
- Coordinate with authorities having jurisdiction on requirements for DC isolators, visible break points and firefighting access. For some jurisdictions special markings or rapid shutdown provisions are mandatory.
- Provide lockable service disconnects and defined isolation points close to the inverter to enable safe work procedures.
Monitoring and communications
- Specify communications (Ethernet, cellular, fibre) to each inverter for remote monitoring. Leave access space for routers, switches and wiring cabinets if communications equipment is co-located.
Security and theft protection
- Mechanical measures: lockable cabinets, tamper-resistant fasteners, and fencing for ground rooms.
- Operational measures: asset registers, serial-numbered parts and local spare policies.
PV equipment coordination
- Ensure string layout, module orientation and combiner-box placement match inverter inputs and do not block technician access. PV equipment coordination reduces DC cable congestion and allows safer maintenance.
Decision table: Inverter placement trade-offs
| Criteria | Column-mounted | Canopy-mounted | Ground pad / room |
|---|---|---|---|
| Ease of access for technician | High | Medium (depends on parking use) | High |
| DC cable length | Short | Short | Long |
| Structural modification required | Moderate | Moderate-high | Low |
| Impact on parking during service | Low | High (under-canopy) | Low |
| Environmental control | Exposed | Semi-exposed | Controlled |
| Theft/vandalism risk | Moderate | Moderate | Lower (if secure room) |
| Typical cost implication | Moderate | Moderate | Higher (room/pad + routing) |
Note: Use this table to inform procurement and site layout decisions rather than as a prescriptive mandate. All choices should be validated on a documented project basis with local professionals.
Procurement: documentation and factory evidence to require
What to require in RFPs and contracts
- Explicit maintenance access planning deliverable: a drawing set and O&M procedures that identify inverter location, clearances, circulation routes and lifting strategy.
- Responsibility matrix: detail which party supplies platforms, ladders, fixed access items, and who is responsible for in-service maintenance and spare parts.
- Acceptance criteria for factory and site checks: drawings, BOM, wiring diagrams and commissioning test schedules.
Procurement evidence checklist (decision table)
| Deliverable / Document | Why it matters | Acceptable evidence | Who should provide |
|---|---|---|---|
| Manufacturer inverter datasheet and mechanical drawings | Confirms footprints, weight, ventilation and clearance requirements | Manufacturer datasheet, dimensional drawings | Inverter supplier |
| Structural attachment details | Verifies that canopy member can carry inverter loads | Connection drawings + structural calculation (by qualified engineer) | Carport supplier / structural engineer |
| Cable routing plan / single-line diagram | Ensures electrical pathway planning and fault isolation | Single-line diagram, conduit schedule | Electrical designer / EPC |
| Commissioning & maintenance access plan | Shows how maintenance will be executed without disrupting operations | Drawings with clearances, lifting plan, PPE & LOTO procedures | EPC / maintenance contractor |
| Environmental & IP ratings | Confirms suitability for site exposure | Rated IP/IK, ventilation requirements | Inverter supplier |
| Warranty & spare parts policy | Defines response for in-warranty failures and replacements | Warranty terms, spare parts lead times | Manufacturer / supplier |
| Factory acceptance and inspection records | Demonstrates build-to-spec and configuration | Factory checklists, FAT records (where applicable) | Manufacturer |
| Permits and utility coordination evidence | Minimises interconnection or access delays | Permit approvals, utility meeting minutes | Developer / EPC |
Factory and manufacturer evidence
- Ask suppliers for factory drawings that specifically show any mounting adaptors or enclosures that interface with the carport canopy.
- Request documentation of the inverter’s expected service clearances and any special service tooling needed. Do not accept ambiguous statements such as “standard access” without dimensions.
Contractual language suggestions
- Include quantitative maintenance access requirements (e.g., “minimum 1.0 m clear working space in front of service doors; overhead lifting clearance of X m”), and require as-built drawings that match these conditions.
- Tie warranty or acceptance milestones to demonstrable maintenance access (e.g., acceptance contingent upon verified platform installation and electrical pathway continuity).
Mid-article CTA
- For project-specific guidance and to confirm supplier responsibilities early in procurement, submit scope and site details via /inquiry.
Site installation and operations: sequencing, tools and O&M handover
Installation sequencing affecting access
- Sequence the work so structural attachments and cable trays are installed before inverter arrival when possible.
- Pre-installation: verify that conduit penetrations, cable trays, and lifting points are in place and load-rated.
- Inverter installation: coordinate crane lifts during off-peak hours to minimise parking disruption. Confirm protective screens or temporary decking to protect parking surfaces.
Temporary works and safety during installation
- Temporary barriers, signage and traffic management plans must be in place when working over parking lanes.
- Lockout / tagout (LOTO) procedures and hot-work permits must align across trades. The O&M access plan should reference these procedures.
Commissioning and acceptance checks relevant to access
- Verify that service clearances exist and match manufacturer requirements.
- Perform dry runs for component removal: a nominal inspection where a technician confirms all fasteners and lifting points are accessible.
- Confirm communications links and remote monitoring access; include these in commissioning acceptance criteria.
Operations and routine maintenance
- Establish a maintenance schedule that includes visual inspections, torque checks, air filters or filtration system checks, firmware updates and remote diagnostics procedures.
- Define roles for routine tasks versus qualified electrical work — who will perform visual tasks and who is authorised for live work.
- Maintain an asset register with serial numbers and spare-part recommendations and track expected lead times for critical replacement parts.
Spares and logistics
- For critical inverters, consider a spares strategy that balances capital cost with downtime risk: on-site spare, nearby spare in warehouse, or vendor swap program.
- Document expected lead times for spares in procurement documents. Where long lead times exist, require contingency plans.
Maintenance access planning (exact phrase used)
- The maintenance access planning deliverable should be a contract requirement that includes drawings, procedure steps, PPE requirements, and a contact tree for escalation during warranty incidents.
Implementation risks and mitigations
Common implementation risks
- Inadequate clearance or obstructed access: can prevent safe maintenance and increase downtime.
- Structural conflict: attaching equipment to a member not designed for additional loads.
- Cable congestion: poor pathway planning causing difficulty in fault-finding and replacement.
- Permitting or utility delays: interconnection requirements that mandate re-routing or equipment relocation.
- Environmental exposure: inverters suffering premature faults due to heat, moisture or dust ingress.
- Theft and vandalism: unsecured equipment susceptible to tampering or loss.
- Supply-chain and lead-time shocks impacting spare availability.
Risk mitigations (practical measures)
- Lock in maintenance access requirements at contract award: include dimensional clearances and lifting points in the scope.
- Require structural calculations for any canopy attachment and a stamped engineering sign-off.
- Conduct clash-detection workshops with carport supplier, PV EPC and electrical contractor before procurement of inverters.
- Coordinate early with utilities and permitting authorities to identify local requirements for rapid shutdown, metering and labeling; reference FERC as a resource for interconnection frameworks where applicable [4].
- Specify IP ratings and environmental mitigation measures appropriate to the site; validate with manufacturer documentation.
- Include theft-deterrent measures and spare-part plans in procurement language.
Case governance controls
- Use documented acceptance gates at design, procurement and pre-installation to verify that maintenance access is achievable. Require sign-off from the carport structural engineer, electrical designer and the operations representative.
Six-step buyer workflow (named, actionable)
This six-step workflow is designed for B2B buyers making procurement and delivery decisions on solar carport inverter maintenance access.
Step 1 — Define the operational requirement (Decide)
- Deliverable: Project brief that lists uptime targets, maintenance windows, acceptable parking impact, and O&M ownership model.
- Actions: Gather operational stakeholders and set service-level expectations.
Step 2 — Conduct site survey and structural assessment (Confirm)
- Deliverable: Survey pack with as-built photos, datum elevations, and preliminary structural member properties.
- Actions: Engage a local structural engineer to review potential attachment points.
Step 3 — Produce integrated design and maintenance access plan (Design)
- Deliverable: Combined drawings showing inverter location, clearances, lifting strategy and electrical pathway planning.
- Actions: Hold coordination workshop with carport manufacturer, inverter supplier and electrical contractor.
Step 4 — Procure with verifiable deliverables (Procure)
- Deliverable: Contract with mandatory maintenance access planning deliverables, acceptance criteria and spare-part lead times.
- Actions: Include procurement evidence checklist in RFP and require manufacturer mechanical drawings and structural connection details.
Step 5 — Verify factory evidence and pre-installation checks (Validate)
- Deliverable: Factory drawings, FAT records (if applicable), and pre-installation site checklists.
- Actions: Review and approve installation sequences and temporary works. Ensure lifting equipment and traffic plans are confirmed.
Step 6 — Install, commission and hand over O&M pack (Handover)
- Deliverable: As-built drawings, O&M manual, service schedule and spare parts list.
- Actions: Carry out commissioning acceptance tests, confirm remote monitoring, and run a maintenance drill (e.g., simulated inverter swap) to validate access.
Deliverables and gating
- Each step should have a documented sign-off. Where an organisation cannot accept specific risk, require the vendor to provide mitigation or accept a higher warranty or service level.
FAQ (frequently asked procurement and design questions)
Q: What minimum clearances do inverters need? A: Manufacturer documentation defines clearance. As a procurement rule, convert those manufacturer clearances into project dimensions on contract drawings and require verification prior to installation. Clearance needs vary by unit, enclosure and ventilation method; confirm on a documented project basis.
Q: Can I place inverters under the carport without restricting parking? A: Yes, but only if the design provides a clear and dedicated work area adjacent to the inverter that does not block parking bays during service. Consider column- or ground-mounted options if under-canopy maintenance impacts operations.
Q: Should I choose string inverters or central inverters for carports? A: This is a system-level choice balancing performance, redundancy, part-replacement logistics and access. String inverters may be distributed (easier access) while central inverters consolidate equipment (easier environmental control). Make a decision based on PV equipment coordination and maintenance access planning.
Q: Who is responsible for providing fixed platforms or ladders? A: Responsibility must be contractually assigned — the carport supplier may provide structural anchor points while the EPC or owner provides platforms. Include this in the responsibility matrix.
Q: How do I manage inverter replacements with long lead times? A: Establish spare-part agreements, require documented lead times in procurement and consider vendor exchange programs where a supplier provides a rapid swap unit under contract.
Q: Do I need a special permit for inverter enclosures on carport structures? A: Permit requirements vary by jurisdiction. Engage local authorities early; utilities often have specific interconnection or equipment location requirements. Use the utility and permit interface to identify required documentation early in scheduling.
Q: How does maintenance access affect warranty claims? A: Warranty performance can depend on correct installation and access to service. Failing to provide required access that leads to damage or delayed repair can create disputes. Require clear warranty terms linked to manufacturer and installer responsibilities.
Q: Is remote monitoring sufficient to avoid site visits? A: Remote monitoring improves diagnostics but does not remove the need for physical access for repairs, firmware or component changes. Include diagnostics, fault severity tiers and escalation procedures in the maintenance plan.
Evidence-led references and tools
- Use NREL resources for design guidance, emerging technology trends and toolkits that can support energy yield and system sizing decisions [1].
- Use PVWatts and similar calculators to produce preliminary yield estimates as an input to inverter sizing and energy yield expectations [2].
- For EV and fleet electrification coordination and charging station siting, consult the US Department of Energy resources where relevant [3].
- For interconnection process understanding and frameworks, consult relevant national or regional bodies and where applicable review FERC resources for interconnection processes [4].
Final considerations and conclusion
Summary advice
- Make solar carport inverter maintenance access a first-class requirement in procurement and design documents. Confirm the solar carport structural interface, PV equipment coordination and electrical pathway planning early and document these agreements in contract deliverables.
- Require maintenance access planning and responsibility matrices as contractual deliverables. Verify manufacturer mechanical drawings, structural calculations and as-built documentation before acceptance.
- Coordinate with utilities and permitting authorities early to avoid rework and interconnection delays. Remember that remote diagnostics complement but do not replace the need for safe physical access.
Final reminder
- Site-specific structural capacity, foundations, permits, electrical design, approvals, lead time, price, energy yield and warranty require a documented project basis and relevant local qualified professionals, installers, utilities and authorities.
Further project-level support
- For tailored procurement support or to discuss maintenance access requirements for a particular project using SolarGrid commercial solar system or to review options across all systems and sourcing guides, contact our team at info@carportiva.com.
Appendix: quick checklist (one-page)
- Confirm inverter location and mounting method.
- Obtain manufacturer mechanical drawings and service clearance dimensions.
- Verify canopy member structural capacity with stamped calculations.
- Define and document electrical pathway planning with single-line diagrams.
- Provide lifting plan and temporary traffic management.
- Prepare maintenance access planning deliverable including O&M procedures.
- Clarify spare-parts and warranty lead times in procurement documents.
- Coordinate utility and permit interface and secure required approvals.
- Establish commissioning acceptance criteria tied to access verification.
End of guide.
References
- National Laboratory of the Rockies PV resources: https://www.nrel.gov/solar/
- PVWatts Calculator: https://pvwatts.nrel.gov/
- U.S. Department of Energy Alternative Fuels Data Center: https://afdc.energy.gov/
- Federal Energy Regulatory Commission interconnection resources: https://www.ferc.gov/electric-transmission/generator-interconnection
Keep the project brief connected.
Bring the actual project brief to the engineering table.
Share your location, layout, target application and available technical inputs. Carportiva can help identify the relevant product-interface information before a project-specific commercial discussion.
Request a project discussion