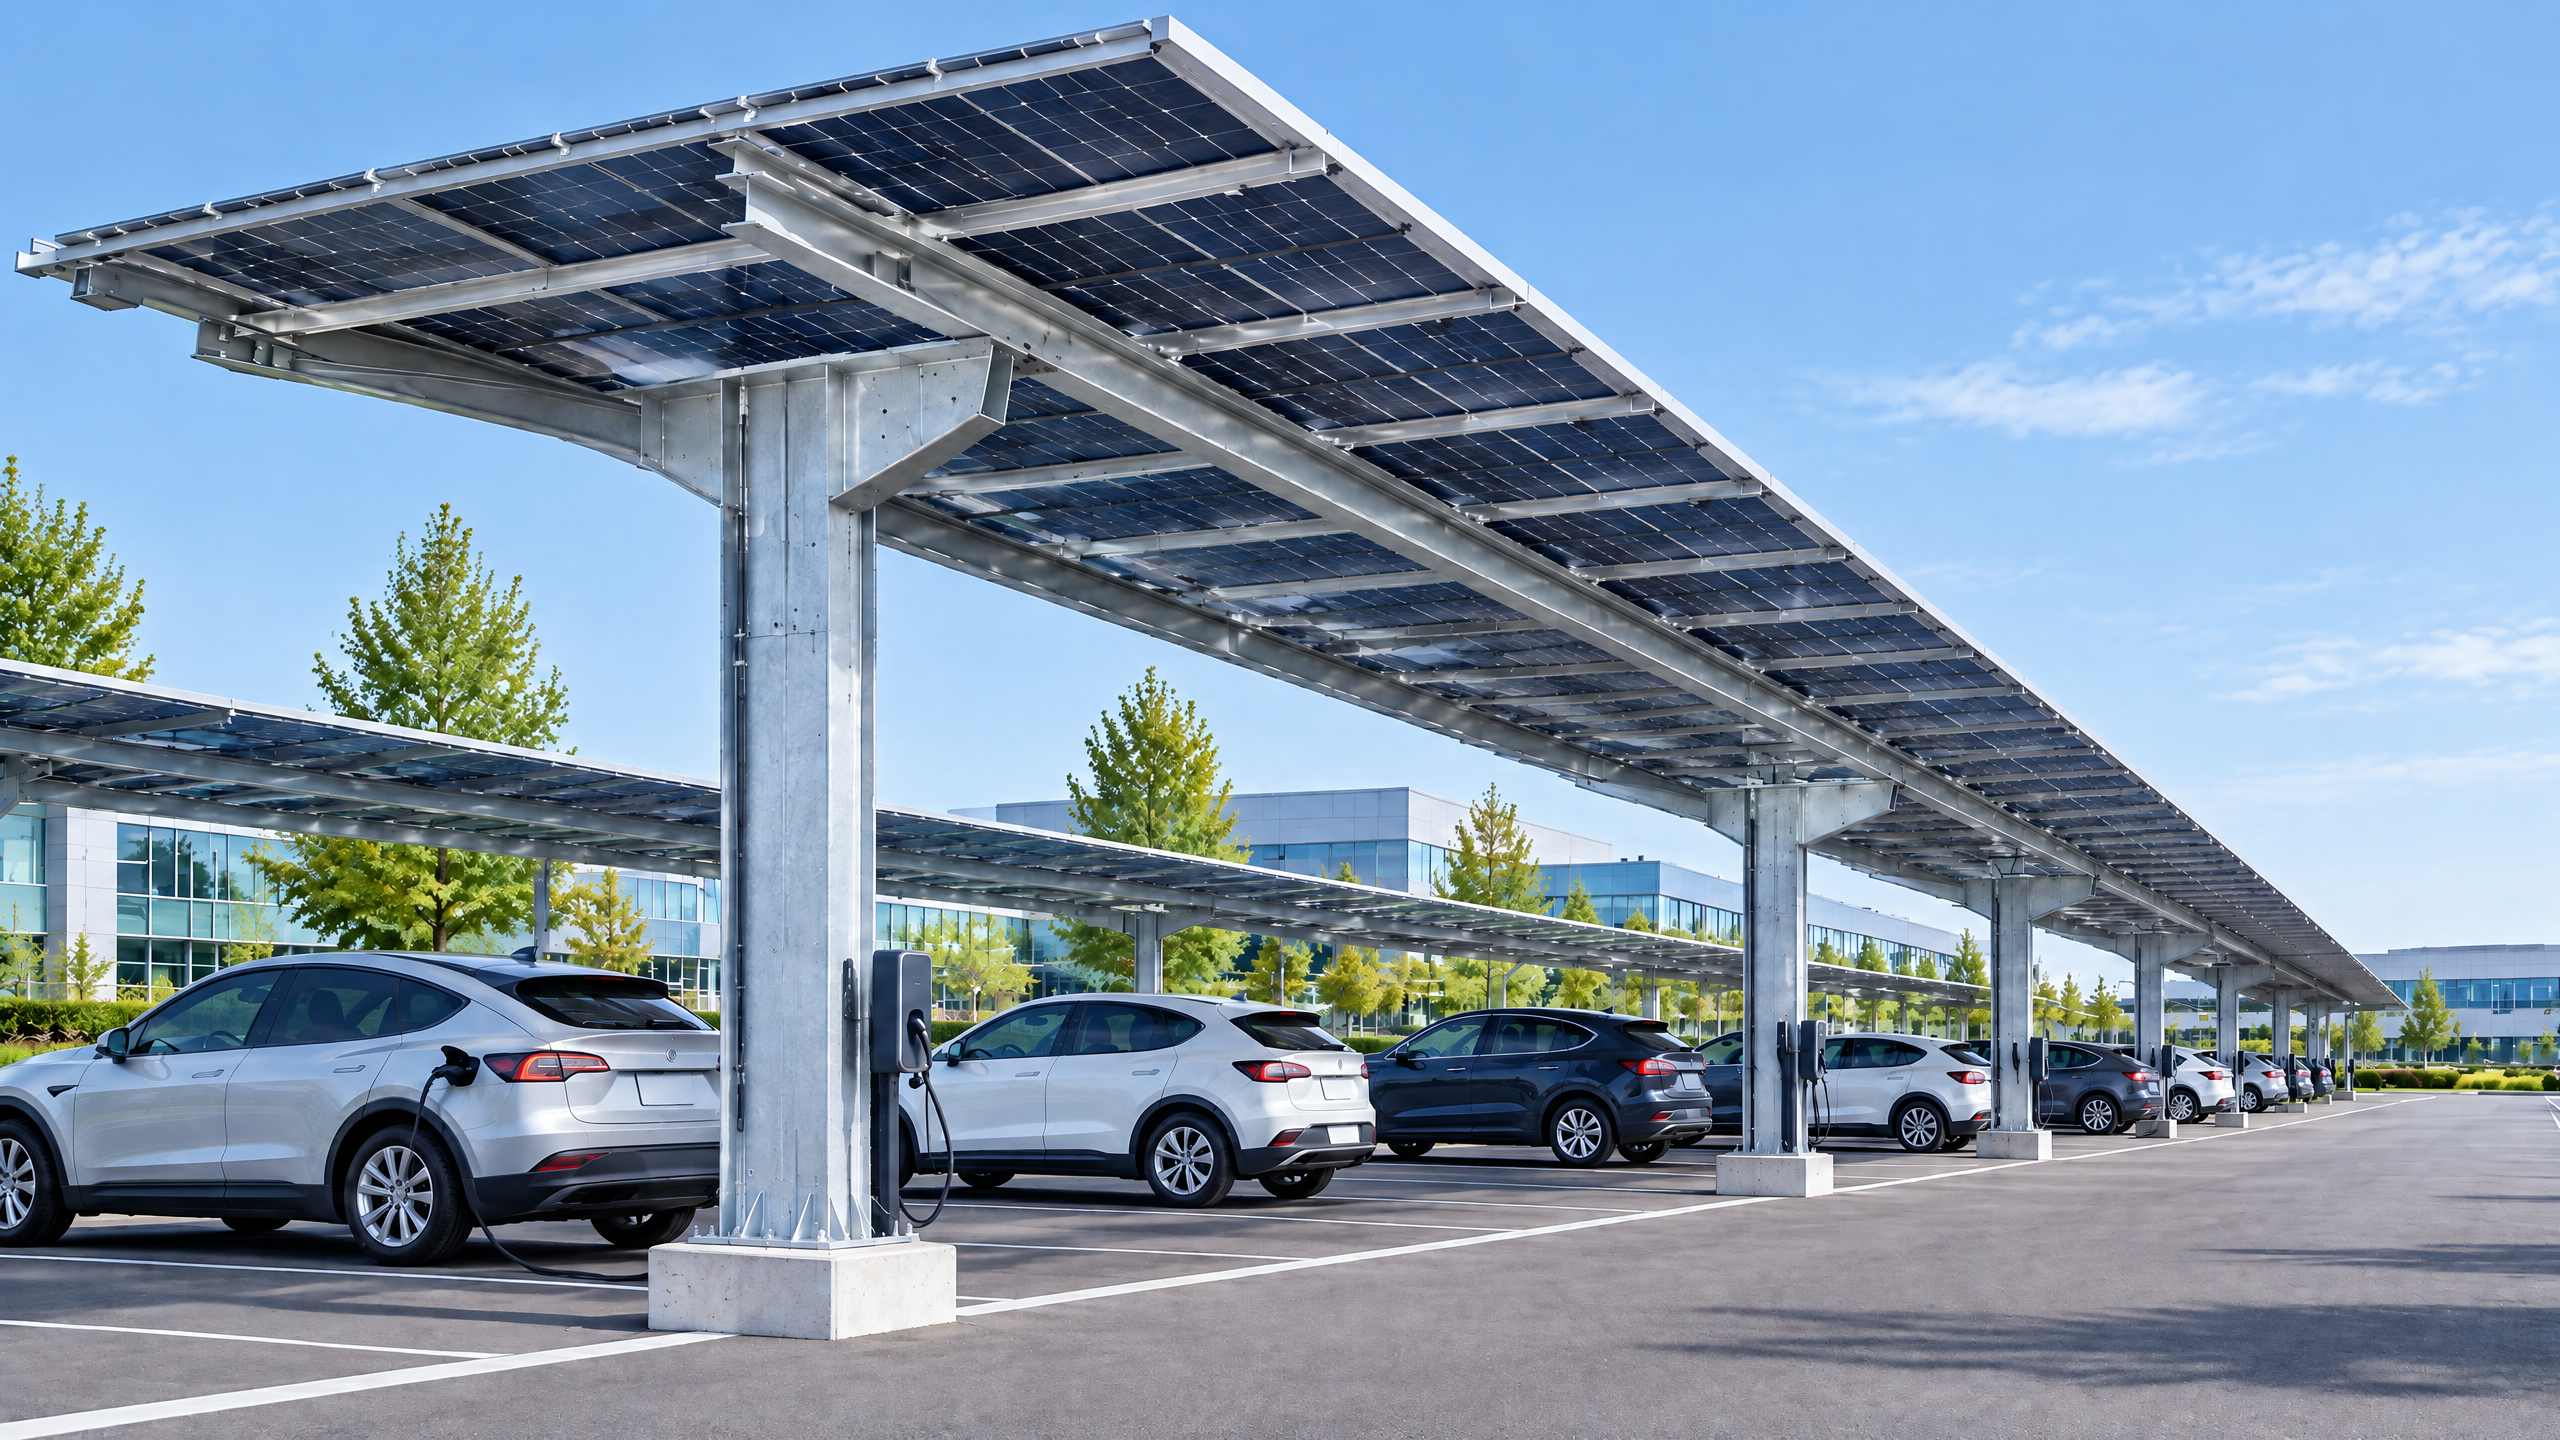
Answer Specifying solar carport inverter cable routing for a commercial carport is a cross-disciplinary decision that balances electrical performance, structural integration, safety, maintainability and procurement traceability. Start with a clear scope (inverter locations, energy destination, metering and protection), then develop concept routing that minimises DC voltage drop and mechanical exposure while preserving access for maintenance. Confirm the solar carport structural interface early so cable trays, penetrations and raceways are coordinated with post and canopy design. Require detailed cable schedules, manufacturer datasheets and factory drawings as part of the procurement pack, and enforce site-level verification during installation and commissioning. Throughout, align routing decisions with utility and permit interface requirements and document responsibilities for long-term operation and warranty. Site-specific structural capacity, foundations, permits, electrical design, approvals, lead time, price, energy yield and warranty require a documented project basis and engagement with relevant local qualified professionals, installers, utilities and authorities.
Buyer context and scope boundary
Who should use this guide
- Distributors, architects and structural engineers specifying carport canopies.
- General contractors, solar EPCs and electrical designers who perform electrical pathway planning and inverter siting.
- Developers, fleet operators and asset owners evaluating commercial solar procurement decisions and maintenance access planning.
What this guide covers
- Primary focus: solar carport inverter cable routing — conceptual decisions through procurement requirements, site installation and O&M implications.
- Interfaces: structural, electrical, utility interconnection and permitting.
- Procurement: what evidence to require from suppliers and how to evaluate factory documentation.
- Risk management: practical mitigations and buyer responsibilities.
What this guide does not cover in full
- Detailed cable ampacity or voltage-drop calculations for a specific design (these must be calculated on a documented project basis by a qualified electrical engineer).
- Local code compliance or permit checklists specific to jurisdictions — use local authorities and licensed professionals.
Mandatory project disclaimer Site-specific structural capacity, foundations, permits, electrical design, approvals, lead time, price, energy yield and warranty require a documented project basis and involvement of relevant local qualified professionals, installers, utilities and authorities.
Core decision principle: minimise loss, exposure and ambiguity
The single organising principle for any routing specification is: choose the route that reliably minimises electrical loss and mechanical risk while preserving safe, documented access and owner responsibilities over the asset lifecycle.
Key corollaries:
- Route design must be verified against voltage‑drop and short‑circuit studies, and adjusted to maintain inverter output and protection coordination.
- Where the route crosses or passes through the solar carport structural interface, both structural and electrical teams must sign off on penetrations and load points before procurement.
- Routing should not be an afterthought. Electrical pathway planning made early reduces rework costs and schedule risk.
- Ensure maintenance access planning and future expandability are explicit contract deliverables, not implicit assumptions.
In practice, that means:
- Minimising DC cable length between modules/combiner boxes and inverters to reduce power loss.
- Selecting protected, continuous trays or conduits along primary egress runs rather than ad-hoc surface runs.
- Coordinating cable penetrations, anchor points, and tray support with canopy design so fasteners, seals and firestops are installed to both structural and electrical standards.
Planning inputs: what you must gather before defining routes
Before issuing routing requirements or tendering, assemble a compact but complete dataset. The absence of any of these items is a common cause of change orders.
Required inputs
- Architectural and structural carport drawings showing canopy geometry, columns, beam sizes, roof profiles and planned PV module layout. Define the solar carport structural interface points for cable trays, combiner boxes and inverter mounts.
- Preliminary single-line electrical one‑line that shows inverter count, inverter locations, AC collection point, meter and main switchgear location, and the intended interconnection point with the utility.
- PV array stringing plan and module layout to estimate DC takeoff points and combiners (affects DC risers).
- Equipment cut sheets (inverter, combiner box, module, DC optimizer if used), cable types and connector families.
- Grounding/earthing philosophy: PEN/TN/TT variations and equipotential bonding requirements.
- Access and maintenance constraints: adjacent traffic lanes, vehicle egress, clearance zones required by local code.
- Fire and life-safety constraints: rooftop access for first responders, firewalls or rated penetrations.
- Utility requirements and interconnection study outputs (if available) — the utility may dictate metering positions, reclosing requirements or bi-directional protection schemes [4].
- Project commercial constraints: procurement lead times, site working hours, and O&M handover expectations.
Useful external tools and references
- Use PV resource and yield references when sizing plant and selecting inverter capacity and layout; NREL provides consolidated PV resources to support early-stage design decisions [1].
- For early yield estimates and sensitivity checks use PVWatts or similar calculators to verify that proposed routing choices (which affect inverter siting and cable lengths) do not materially change expected yield [2].
- If the carport is intended to support EV charging, integrate requirements from national EV infrastructure references and tools such as DOE AFDC for local code context on EV supply equipment [3].
Deliverables to require from design teams
- A preliminary routing diagram showing tray runs, conduit risers, near-term splices and final inverter locations.
- A cable schedule mapping conductor sizes, insulation types, voltage ratings and installation grouping.
- Structural interface detail with load calculations for tray loads and penetration details.
- An installation sequencing plan that identifies when routing elements must be in place relative to canopy erection and PV install.
Technical specification and interfaces
This section covers the specific technical elements that must be specified or verified in procurement documents so the physical routing can be executed without rework.
1) Structural interface: solar carport structural interface
- Specify tray and conduit supports tied to canopy members where possible to avoid independent pole loads or ground-fixed supports. Where tray support uses canopy fasteners, require supplier-supplied structural calculations demonstrating allowable load and fatigue under wind and dynamic load cases.
- Define acceptable penetration detail through beams and roof panels. Penetrations must be coordinated with waterproofing, fire stopping and anti-corrosion treatments.
2) Route type selection: tray vs conduit vs armored cable
- Use continuous cable tray systems for main collection runs where multiple conductors or future capacity is likely.
- Conduit may be acceptable for short, final runs or where mechanical protection and burial are required.
- Armored cable can reduce conduit installation but may be heavier and complicate support detailing.
Decision table: Route selection (high-level)
| Situation | Preferred route | Rationale |
|---|---|---|
| Multiple DC strings, future expansion likely | Cable tray (with separations) | Easier to add conductors and reduces conduit pull issues |
| Short runs from inverter to local combiner or load | Conduit | Clear mechanical protection and straightforward sealing |
| Underground to switchgear or service point | PVC/HDPE conduit with pull boxes | Protects against moisture and facilitates replacement |
| High mechanical exposure (vehicle impact risk) | Armored cable or steel trough with bollards | Increased physical protection close to traffic |
3) Conductor selection and grouping
- Require conductor insulation and voltage rating suitable for maximum system voltage (modules or strings plus margin). Specify UV and temperature ratings for outdoor exposure.
- Define separation rules: DC positive/negative grouped but maintain separation from AC to avoid induced interference; follow vendor and local code guidance for separation distances or barriers.
- Insist on proper labeling and phase identification using a consistent site-wide coding scheme.
4) Bending radius, fill and pull considerations
- State minimum bending radius for each cable type as per manufacturer data and include conduit fill limits. Poorly specified bends cause installation delays and can damage conductors or connectors.
5) Penetrations, fire and weather sealing
- Penetrations through canopy and foundation must be detailed with appropriate mechanical sleeves, fire-stopping and waterproof flashing. Specify sealant compatibility with aluminum and other materials.
6) Earthing, equipotential bonding and surge protection
- Route equipotential bonding conductors alongside incoming AC mains and PV arrays where required. Specify SPDs (surge protective devices) coordination between DC and AC sides and labelling for maintenance crews.
7) Inverter mounting and access
- Inverter siting influences cable lengths and routing. Consider remote inverter rooms versus canopy-mounted inverters — each has different tray loads, ventilation and service clearances. Enforce maintenance access planning so inverters can be serviced without de-energising unrelated circuits when practical.
8) DC isolators, combiner boxes, and string monitoring
- Specify location criteria for DC disconnects and combiner boxes to satisfy both code and safe working practices: accessible but secure; weatherproof rated (IP rating) and within the manufacturer’s specified distance from strings/inverters if required for monitoring/communications.
9) Communications and telemetry
- Define routing for communications (Ethernet/fibre) separately from power runs where interference can be an issue. Consider separate innerducts for fiber and appropriate termination points in inverter cabinets or SCADA rooms.
10) Thermal and environment derating
- Require local ambient temperature assumptions to be declared in cable selection and derating tables; high canopy temperatures or sun exposure can alter ampacity.
Interface checklist to include in specifications
- Structural sign-off for all attachment points.
- Water-tightness and corrosion protection details for penetrations.
- Lightning protection coordination and required bonding points.
- Fire rating and egress path impacts where trays traverse walkways.
- Metering and utility equipment spaces designated by the utility company.
Procurement and factory evidence
A supplier bid must include clear, verifiable evidence that routing components and routing design intent can be built and supported.
Minimum procurement evidence to request
- Manufacturer cut sheets and data for inverters, combiner boxes, cable trays, conduits, fittings and cable types.
- Factory drawings showing how inverter/cable trays and conduits will be delivered relative to canopy geometry.
- Cable schedule (size, quantity, insulation type, voltage rating) and pull tension/bend radius limits.
- Structural calculations or the supplier’s interface drawing that demonstrate tray/support loads are within canopy capacity where attachments are proposed.
- Factory acceptance test (FAT) procedures or factory inspection plans for assembled inverter skids or combiner panels — note: do not accept an unverified FAT; require documented procedures and witness options.
- Traceability documentation for cable and connector lot numbers and manufacturing certificates of conformity.
- Installation method statements showing intended fixings, sealing, and anti-corrosion treatments for fasteners at the solar carport structural interface.
Decision table: Procurement evidence matrix
| Procurement item | Minimum documentation required | Acceptable verification |
|---|---|---|
| Inverter | Cut sheet, wiring diagram, weight/clearance data | Manufacturer tech sheet + factory wiring drawing |
| Combiner box | Enclosure IP rating, fuse/MCB specs, string map | Box layout + factory FAT procedure |
| Cable tray and supports | Material spec, galvanic protection, load rating | Structural attachment detail + supplier calculation |
| DC/AC cable | Conductor type, insulation rating, bending radius | Manufacturer datasheet + test certificates traceable to batch |
| Penetration sleeves | Material, fire-stop spec | Detail drawing and specified fire-stop product |
What to reject or question
- Vague drawings that show “route to be determined”. Routing must be named or dimensioned to a degree that bidders can price and confirm lead times.
- Missing brand/model data for critical components (inverter, combiner box, termination kits).
- No structural interface calculations where tray supports attach to canopy.
Factory inspection expectations
- Define witness points: control over critical connections and mechanical assembly at factory is often more cost-effective than trying to unpick mistakes on site.
- Ask for photographs and serial numbers of cables and connectors shipped, and require an as-delivered packing list reconciled against purchase orders.
Procurement linkages
- If you are selecting commercial canopy systems, see SolarGrid commercial solar system for example system-level definitions and coordinate routing requirements with the chosen canopy family.
- Review all systems and sourcing guides to align procurement categories and supplier responsibilities.
Site installation, commissioning and operations
Installation sequencing and practical constraints
- Sequence routing works to follow canopy erection so trays and conduits are fixed immediately after structural members are in place, not as last-minute tasks.
- Where possible, install empty conduits or innerducts during canopy erection to avoid later drilling or hot-work at height.
- Require temporary protection during installation to prevent cable abrasion, sunlight degradation and contamination of connectors.
Common installation pitfalls
- Insufficient tray support spacing causing tray sag after cables are installed.
- Overfilled conduits making pulling impossible on site.
- Conflicts with mechanical or lighting fixtures not resolved in pre-construction meetings.
- Improper sealing at penetrations leading to water ingress into combiner boxes and inverters.
Commissioning checks you must require
- Continuity and polarity verification for all DC strings and AC circuits.
- Insulation resistance testing on cables (megger) documented per string and per inverter location.
- Verification of inverter grounding connections and surge protection device function.
- Cable identification versus as-built drawings and single-line confirmation.
- Inverter start-up tests performed with manufacturer representative if required.
Operations and maintenance considerations
- Provide clear maintenance access planning with minimum clearances and access routes documented in O&M manuals.
- Specify spares and consumables that must be handed over (fuses, DC connectors, spare length of critical cables).
- Ensure an asset register with cable routes, tray IDs and conduit IDs is included in the O&M pack.
Labeling and documentation
- All cable runs must be labeled at regular intervals and at termination points using durable markers.
- Maintain an accurate as-built cable schedule and attach it to the inverter and combiner cabinets.
- Include photographic records of penetrations and hidden works.
Mid-article CTA If you need support translating routing concepts to a procurement pack or want system-level compatibility checks for canopy-mounted inverters, contact our team via /inquiry or email info@carportiva.com. For system options, see SolarGrid commercial solar system.
Implementation risks and mitigations
This section maps common implementation risks related to solar carport inverter cable routing to practical mitigations and assignment of responsibility.
Decision table: Risk, trigger and mitigation
| Risk | Typical trigger | Mitigation | Responsible party |
|---|---|---|---|
| Excessive voltage drop causing inverter clipping | Long DC runs, undersized conductors | Early voltage-drop modelling; option for additional inverters or microinverters; increase conductor size or move inverter closer | Electrical designer / EPC |
| Mechanical damage from vehicles or maintenance | Tray routed over vehicle aisles or low height | Use protected troughs, steel covers, bollards and specified minimum clearances | Contractor / Asset owner (installation) |
| Tray/support overload on canopy structure | Unsupported tray weight or snow/ice loads | Structural check at procurement; use independent supports where needed | Structural engineer / Canopy supplier |
| Water ingress at penetrations | Poor sealing or incompatible materials | Specify sleeves, flashing, and approved sealants; inspect on site | EPC / Installer |
| Poor coordination between trades | Late routing changes caused by lighting/M&E | Cross-discipline coordination meetings and hold points; integrated clash detection | Project manager |
| Non-compliance with utility interconnection | Late discovery of required metering positions | Early utility engagement; reflect utility output in routing | Developer / EPC |
Key contractual mitigations
- Include fixed design-deliverable milestones that define when routing is frozen (e.g., after 60% design).
- Allocation of responsibility for interface items (who supplies the sleeve, who seals the penetration, who provides meter base etc.) must be explicit.
- Specify acceptance tests and remedy periods for routing-related defects.
Regulatory and interconnection risks
- Utility and permit interface issues frequently arise — include the utility early and reference interconnection resources to understand metering and switchgear requirements [4].
- For multi-tenant or metropolitan projects, local fire authority access rules may require a different routing approach; factor this into early design.
A six-step buyer workflow for specifying routing and managing procurement
This named workflow is intended to be a practical checklist you can apply on most commercial carport projects.
Step 1 — Project definition and constraints (Initiate)
- Outputs: project brief, site survey, canopy type options, high-level array layout, budget constraints.
- Key activities: establish who is the responsible owner for each interface; issue RFP scope with routing expectation.
Step 2 — Pre-design coordination (Concept)
- Outputs: concept routing diagram, inverter siting options, rough cable schedule, structural interface notes.
- Key activities: run early voltage-drop and electrical-pathway planning exercises; coordinate canopy fixings and penetrations.
Step 3 — Detailed electrical & structural design (Design)
- Outputs: final routing drawings, single-line diagrams, conduit/tray layouts, penetration details, structural calculations.
- Key activities: finalize DC/AC conductor sizing, select tray types and supports, determine fire and waterproofing detailing.
Step 4 — Procurement & factory verification (Procure)
- Outputs: procurement package, factory drawings, supplier evidence pack (datasheets, FAT plans, certificates).
- Key activities: evaluate supplier documentation against the procurement evidence matrix; set witness points; include routing in contract drawings.
Step 5 — Site installation & commissioning (Install)
- Outputs: installed cable routes, as-built drawings, commissioning reports, test certificates.
- Key activities: supervise tray installation, verify penetrations, conduct required insulation and continuity tests, ensure labeling.
Step 6 — Handover & operations (Operate)
- Outputs: O&M manuals, spare parts list, asset register with cable routing, maintenance plan.
- Key activities: train maintenance team on routing and access, define routine inspection intervals for trays, seals and connectors.
Assign accountability
- Use a RACI chart (Responsible, Accountable, Consulted, Informed) in contracts to avoid ambiguity — for example, the EPC is typically responsible for cable installation, the structural supplier accountable for canopy capacity at attachment points, and the owner informed of schedule impacts.
Related B2B sourcing terms
For the same project brief, buyers may also encounter these connected search terms: PV equipment coordination. They must be interpreted against the actual project scope rather than treated as independent technical guarantees.
Frequently asked questions (FAQ)
Q: Should DC cables and AC cables share the same tray? A: Avoid mixing AC and DC in the same compartment where practicable. Separation reduces the risk of induced currents and simplifies servicing. If space limits require co-location, use baffles or separate trays and follow manufacturer and local electrical code guidance.
Q: Can I run inverter cables in the canopy columns to avoid roof penetrations? A: Running inside columns is acceptable if columns are sized for the conduit and do not violate structural requirements. However, internal routing complicates future access and repair; require internal sleeves, accessible pull points and clear documentation if this route is chosen.
Q: How much does cable routing affect project cost? A: Routing choices materially affect both direct costs (material and labour for trays/conduits and penetrations) and indirect costs (Schedule impacts, rework, loss in yield due to voltage drop). Provide alternative routing scenarios in early-stage budgets to quantify cost differences.
Q: Who typically pays for utility-mandated metering relocations or panels? A: This varies by project terms and utility requirements; clarify in commercial agreements and engage the utility early to avoid surprises. In many EPC contracts, the owner retains responsibility for any changes requested after contract award.
Q: What documentation should I receive at handover concerning routing? A: As-built routing drawings, cable schedule, photos of hidden penetrations, test certificates for insulation and continuity, inverter commissioning reports, and a maintenance access plan.
Q: Are there differences in routing for string vs. central inverters? A: Yes. String inverters distributed across canopies reduce DC runs but increase the number of termination points and monitoring nodes. Central inverters consolidate AC collection but may increase DC run lengths and require larger main feeders.
Q: How should I plan for future capacity expansion? A: Include spare tray capacity, oversized sleeves, and spare innerducts in the initial routing plan. Document where additional inverters or combiner boxes could be placed and ensure conduit paths allow additional pulls.
Conclusion
Specifying solar carport inverter cable routing is a technical, contractual and operational decision. Early coordination between electrical designers, structural engineers and procurement teams reduces cost and schedule risks. Insist on clear routing deliverables, require factory evidence and structural sign-off for tray attachments, and make maintenance access planning an explicit contract deliverable. Finally, remember that final cable sizing, conduit fill, protective devices and interconnection arrangements must be developed on a documented project basis by licensed professionals and in cooperation with local utilities and authorities.
For system-level compatibility or procurement assistance, review SolarGrid commercial solar system, other offerings at all systems and our sourcing guides. For direct enquiries, contact /inquiry or email info@carportiva.com.
Notes and further reading
- PV technical resources and best-practice references are available from the U.S. National Renewable Energy Laboratory and related tools [1][2].
- For interconnection processes and utility coordination, consult local utility guidance and the Federal Energy Regulatory Commission interconnection resources for process context [4].
- For EV integration considerations where carports are dual-use for parking and charging, see general EV infrastructure references [3].
References
- National Laboratory of the Rockies PV resources: https://www.nrel.gov/solar/
- PVWatts Calculator: https://pvwatts.nrel.gov/
- U.S. Department of Energy Alternative Fuels Data Center: https://afdc.energy.gov/
- Federal Energy Regulatory Commission interconnection resources: https://www.ferc.gov/electric-transmission/generator-interconnection
Keep the project brief connected.
Bring the actual project brief to the engineering table.
Share your location, layout, target application and available technical inputs. Carportiva can help identify the relevant product-interface information before a project-specific commercial discussion.
Request a project discussion