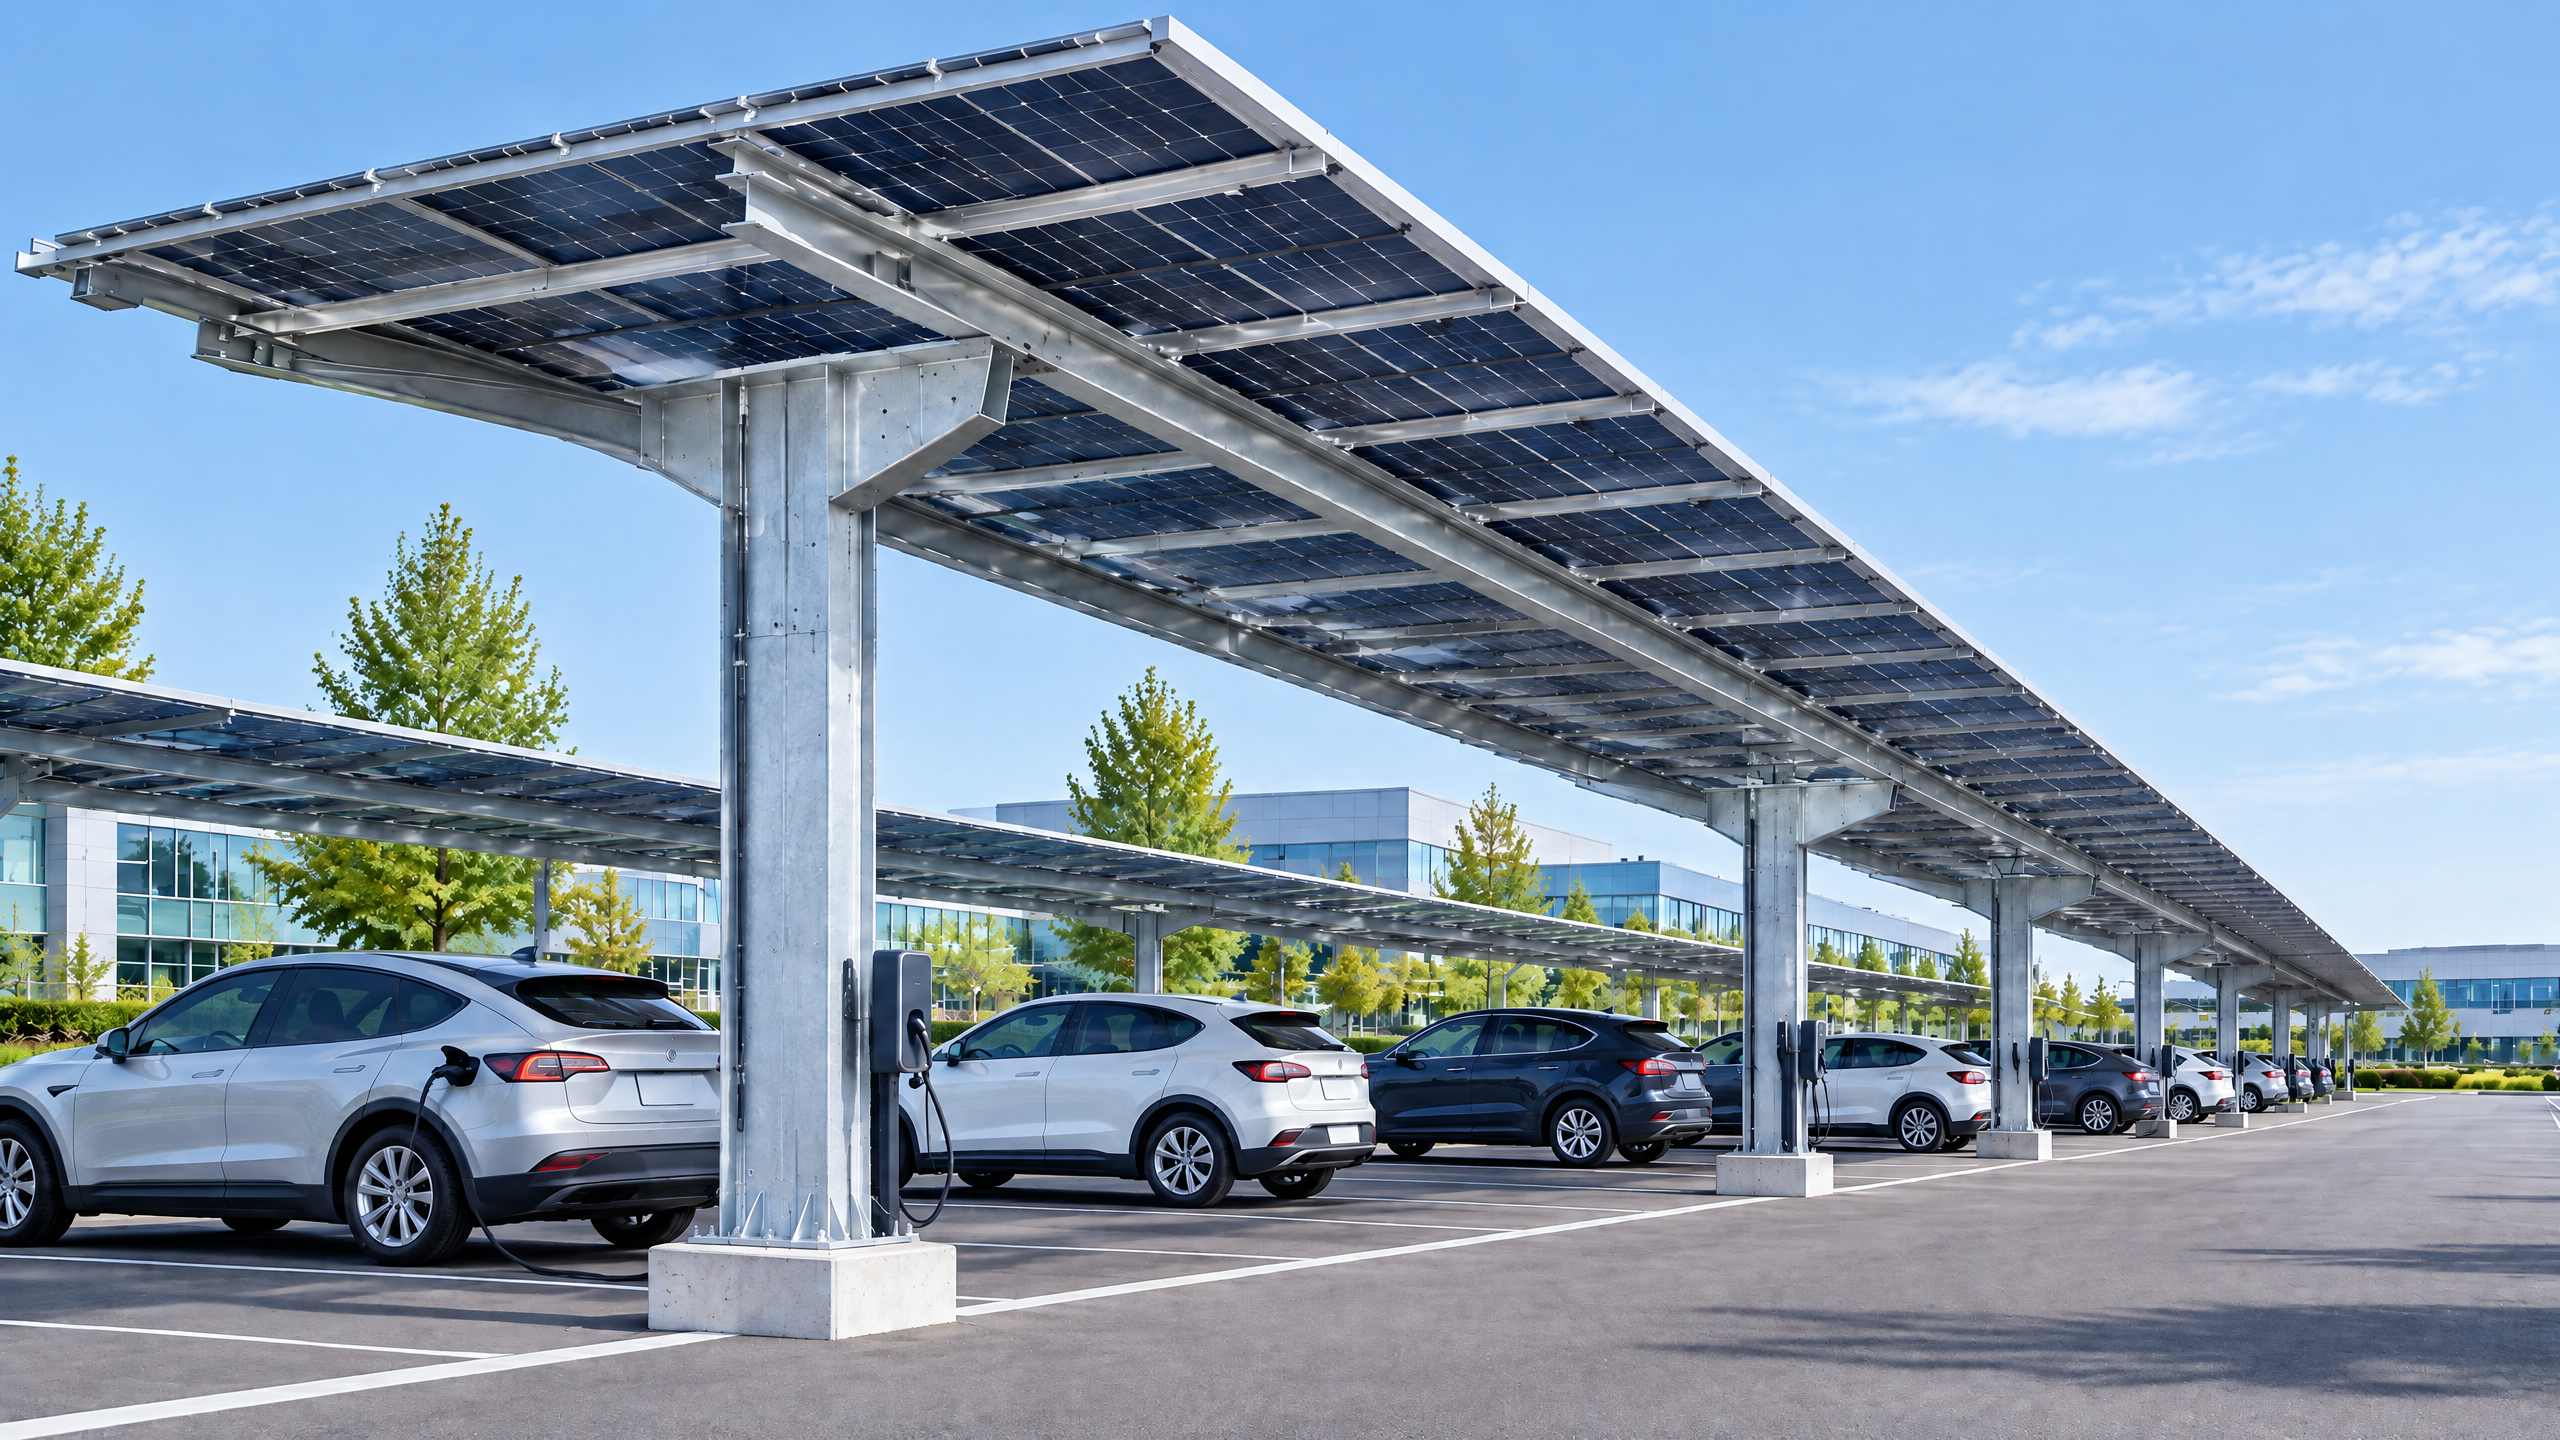
Decide early which mechanical, electrical and procurement boundaries the racking interface must meet: confirm that the racking connects cleanly to the carport structure, matches the chosen PV modules’ mechanical dimensions and electrical layout, allows installer-preferred clamp and rail arrangements, and is covered by clear delivery, testing and documentation responsibilities. Verify module mounting tolerances, rail spans and attachment points, clamp zones and module grounding paths, plus penetrations for wiring and PV combiner locations. Clarify who supplies which items (rails, clamps, mid/edge hardware, flashing, fasteners) under the solar carport racking procurement scope, and require shop drawings and interface load diagrams from vendors. Do not assume permit, structural capacity, interconnection or final installation decisions—local structural engineers, authorities and installers must validate the final design and approvals.
Guide overview: why interface matters for commercial carports
Solar carport racking interfaces are where architectural canopies meet PV engineering. Mistakes at this junction create costly rework, electrical routing conflicts, water ingress risks, or delays on site. For distributors, architects, contractors and EPCs, confirming the racking interface early avoids scope gaps between carport suppliers, racking manufacturers and module vendors. This guide explains the checks, the decisions, and the procurement boundaries B2B buyers must settle before committing to drawings or purchase orders.
This guide assumes readers understand basic PV system concepts. It does not promise structural capacity, permit approval, code compliance, lead time, price, energy yield or warranty. Local qualified professionals, authorities, utility providers and installers make final site-specific decisions.
Key confirmation areas
- Structural attachment points and load paths — how racking connects to columns or beams.
- Module compatibility — physical dimensions, weight distribution and electrical connector clearance.
- Rail layout — span, drainage, and string wiring access.
- Clamp selection and clamp zones — clamp type and permitted module areas for clamping.
- Procurement scope — which party supplies rails, clamps, fasteners, flashing and seals.
- Installation tolerances, tooling and sequencing.
Each area directly affects cost, schedule and risk allocation. The sections below unpack what to confirm and how to document decisions.
Confirm module fit: solar carport racking module compatibility
Before finalizing racking, confirm module frame dimensions, cell layout, busbar locations, junction box position and cable exit direction. Confirm whether modules are framed or frameless, and whether anti-reflective films, backsheet features or integrated edge seals influence clamp placement. Require vendor confirmation that their module clamps (or alternative attachment systems) are compatible with the module’s specified edge thickness, torsional stiffness and manufacturer clamp recommendations.
Decision checklist: request shop drawings showing a module installed on the proposed rail with dimensions for:
- Module overhangs and edge clearance
- Clamp engagement depth and contact area
- Junction box and cable route with radii for bending
Do not assume compatibility based on module power or label; verify mechanically.
Rail layout decisions: solar carport racking rail layout
Rail placement determines module span, wiring channels, drainage, and wind/ice load distribution. Confirm rail span limits for the chosen aluminum profile and expected span lengths between primary structure attachments. Ask for rail layout drawings that include:
- Rail locations relative to carport beams and columns
- Longitudinal wiring channels and access points for combiner boxes
- Drainage and roof water details where rails cross flashings
- Any need for rail splice plates or expansion joints
Map the rail layout against the architectural soffit and lighting runs to avoid clashes. Request explicit clearance for vehicle headroom and any required walkways beneath panels.
Clamp policy: solar carport racking clamp selection
Decide clamp types early—mid clamps, end clamps, and specialized edge clamps—and confirm their compatibility with module frames and rail profiles. Confirm whether clamps include integrated bonding and/or earthing paths or if separate grounding hardware is required. Verify torque ranges for fasteners and specify a torque control procedure in installation documents.
Include in procurement documents: part numbers for each clamp, the number of clamps per module, and inspection acceptance criteria for clamp engagement. Where modules have textured or coated frames, request supplier guidance on clamp surface contact to avoid coating damage.
Mounting system considerations: solar carport modules mounting system
Clarify whether the mounting system is rail-based, clip-in, or direct-attached to the carport beams. A rail-based solar carport modules mounting system typically offers installer flexibility but requires coordination on rail splices and attachment hardware. For clip-in or bespoke systems, confirm who supplies mating components and who is responsible for custom machining or pre-assembly.
Define who supplies the rail seals, flashing interfaces and customer-specified finishes (e.g., anodising or powder coat). If the racking system includes built-in cable management, ask for routing schematics and capacity ratings for cable bundles.
Clamp zones and module handling: solar carport modules clamp zones
Specify permitted clamp zones on each module type; these are the areas where clamps may safely engage without damaging cells or invalidating manufacturer guidance. For frameless or thin-frame modules, clamp zones can be narrower—ensure these are marked on module layouts and reflected in installation permits.
Require modules to be delivered with clamp-zone markings or stickers, and include a field acceptance item to check that clamps fall only within allowed zones.
Procurement boundaries: solar carport racking procurement scope
Set the procurement scope early and put it in contracts and drawings. Typical split options include:
- Carport supplier delivers structural canopy and anchor points; racking vendor supplies rails, clamps, and grounding hardware.
- Carport supplier provides pre-drilled attachment blocks or custom brackets; EPC supplies rails and module hardware.
- Single-source supply where the carport vendor sells an integrated racking kit.
Whichever split you choose, document responsibility for the following in the procurement scope: shop drawings, load-transfer details, waterproofing at penetrations, fasteners type and finish, and pre-installation survey requirements. Explicitly list who will provide installation torque tools, thread-locking agents and corrosion protection compounds.
Two decision tables
Table 1 — Minimum confirmation checklist for racking interface
| Item to confirm | Who provides | Evidence to require |
|---|---|---|
| Attachment bracket dimensions to structure | Carport vendor or racking vendor (specify) | Shop/detail drawings and bolt pattern template |
| Rail spans and allowable deflection | Racking vendor | Structural span table and calculation note |
| Clamp type and count per module | Racking vendor | Part list, clamp drawing, torque spec |
| Module clamp zones | Module vendor / EPC | Module datasheet with clamp-zone diagram |
| Grounding and bonding path | Specified supplier | Electrical diagram and grounding detail |
Table 2 — Common rail layout trade-offs
| Priority | Rail-based solution | Clip-in / bespoke solution |
|---|---|---|
| Installer flexibility | High — standard rails allow adjustments | Low — precise fit required |
| Pre-assembly | Moderate | High (modules can be factory-fit) |
| Water-tightness at penetrations | Requires flashing coordination | Can be integrated into canopy design |
| Cost predictability | Standardized BOM | May need custom tooling |
Site deliverables and documentation to demand
Before fabrication and shipping, require:
- Fully dimensioned shop drawings with attachment and rail layout
- Interface load diagrams showing load paths to primary structure
- Hardware and fastener lists with finishes and corrosion class
- Installation sequence and torque procedures
- Factory QA checklist and pre-shipment photos of assembled components
- Packing lists aligned with truck load plans and lifting/handling notes
These deliverables reduce on-site assumptions and clarify who adjusts details during installation.
Installation tolerances, tools and sequencing
Confirm the allowable construction tolerances for column locations and beam alignment; specify shim or adapter allowances for off-grid conditions. Require installers to use calibrated torque wrenches and a documented torque log. If the design calls for factory pre-assembly of rail sections to reduce roof work, confirm truck-level lifting requirements and crane reach.
Plan the installation sequence to coordinate PV works with electrical, lighting and signage trades to avoid rework. If racking or rails run alongside electrical conduits, clarify who provides conduits through the canopy.
Testing, inspection and handover
Define pre-commissioning tests and acceptance criteria in the contract. Typical items to require:
- Visual inspection of clamp engagement and seal integrity
- Torque verification of critical fasteners
- Continuity testing for module grounding/bonding paths
- Review of as-built rail layout vs shop drawings
Do not substitute these checks for local permit inspections. Final electrical commissioning, grid interconnection and safety sign-offs are the responsibility of the licensed electrical contractor and local authorities.
Buyer workflow — six-step decision path
- Define boundaries: Decide and document the racking vs carport vendor split in the procurement scope.
- Select modules and racking concept: Choose modules and an initial racking profile; request compatibility confirmation.
- Request shop drawings: Obtain detailed drawings showing attachment, rails, clamps and clamp zones.
- Validate on site: Conduct pre-installation survey for as-built dimensions and tolerances.
- Approve fabrication and QA: Authorize fabrication only after reviewing drawings, material specs and finish samples.
- Inspect and accept: Run the agreed inspections, log torque and grounding tests, and close out with final documentation.
Use this workflow to set procurement milestones and payment triggers. For product options, see Carportiva’s SolarGrid commercial solar system and our all systems page for related structures. For more procurement-level reading, visit our sourcing guides.
Mid-article action: if you need a coordinated racking and canopy quote, start an inquiry at /inquiry or email info@carportiva.com.
Logistics and delivery interface
Confirm packaging dimensions, itemised pallet lists, lifting points and on-site storage requirements. For multi-shipment projects, agree to a packing and marking convention to avoid assembly errors. If the racking supplier ships rails cut to length, include rail ID markings that correspond to shop drawings. Agree who accepts damage claims at site and how replacements will be handled.
Risk allocation and contractual clauses to include
Include clauses that assign responsibility for:
- Dimensional deviations and remediation (who pays for on-site adjustments)
- Non-conforming hardware and replacement timelines
- Coordination for penetrations and waterproofing at interfaces
- Documentation delivery and approval windows
Avoid vague language. Tie approvals to explicit document sets (e.g., "Fabrication permitted following Carportiva-approved shop drawings").
Two final decision tables for contract language
Table 3 — Sample responsibility split (example wording)
| Scope item | Typical party responsible |
|---|---|
| Primary canopy structure | Carport vendor |
| Rail profiles and clamps | Racking vendor (unless integrated) |
| Site anchor bolts | Structural contractor (per structural engineer) |
| Flashing and roof penetrations | Party specified in procurement scope |
| Module supply | Developer / EPC |
Table 4 — Minimum approvals before fabrication
| Document | Must be approved by |
|---|---|
| Shop drawings (attachment & rail layout) | Structural engineer + Carport vendor + EPC |
| Material sample and finish | Owner / Architect |
| Installation sequence | Site installer + Carport vendor |
Handover and as-built expectations
At completion, require an as-built package containing final drawings, torque logs, grounding continuity records, material certificates and photographs. This record should show rail-to-beam attachments and clamp locations relative to module layouts. Agree on the format (PDF, CAD/DWG) and retention period for records.
FAQ
Q: Who is responsible for validating local building codes and permits? A: Local authorities and the project’s licensed professionals (structural engineers, architects, and installers) are responsible for final code compliance and permits; this guide does not replace those reviews.
Q: Can I assume module clamps are universal? A: No. Confirm clamp compatibility with each module type and include clamp-zone diagrams in procurement documents.
Q: What if on-site survey dimensions differ from the drawings? A: Define in contract the allowable tolerances and remediation procedures; require a pre-fabrication site verification step for critical dimensions.
Q: Should grounding be handled by the racking vendor or the electrical contractor? A: Assign responsibility explicitly. Some racking vendors supply bonding hardware, but electrical contractors typically perform final grounding continuity and connection to the system ground.
Q: Where can I see integrated carport + racking options? A: See Carportiva’s SolarGrid commercial solar system for integrated options and our all systems overview.
Conclusion
Confirming the racking interface design is a multi-disciplinary, contractual and technical exercise. Clarify module compatibility, rail layout, clamp choice, mounting method, and procurement scope in writing. Require shop drawings, QA deliverables and on-site validations before fabrication. Do not assume final decisions on permits, structural sufficiency or interconnection—those rest with local professionals and authorities. When scope boundaries are clear, projects run smoother, installation risk falls and handovers are cleaner.
If you want a coordinated racking and canopy proposal or need help defining procurement scope, start an inquiry at /inquiry or email info@carportiva.com.
References
- National Laboratory of the Rockies PV resources: https://www.nrel.gov/solar/
- PVWatts Calculator: https://pvwatts.nrel.gov/
- U.S. Department of Energy Alternative Fuels Data Center: https://afdc.energy.gov/
- Federal Energy Regulatory Commission interconnection resources: https://www.ferc.gov/electric-transmission/generator-interconnection
Keep the project brief connected.
Bring the actual project brief to the engineering table.
Share your location, layout, target application and available technical inputs. Carportiva can help identify the relevant product-interface information before a project-specific commercial discussion.
Request a project discussion