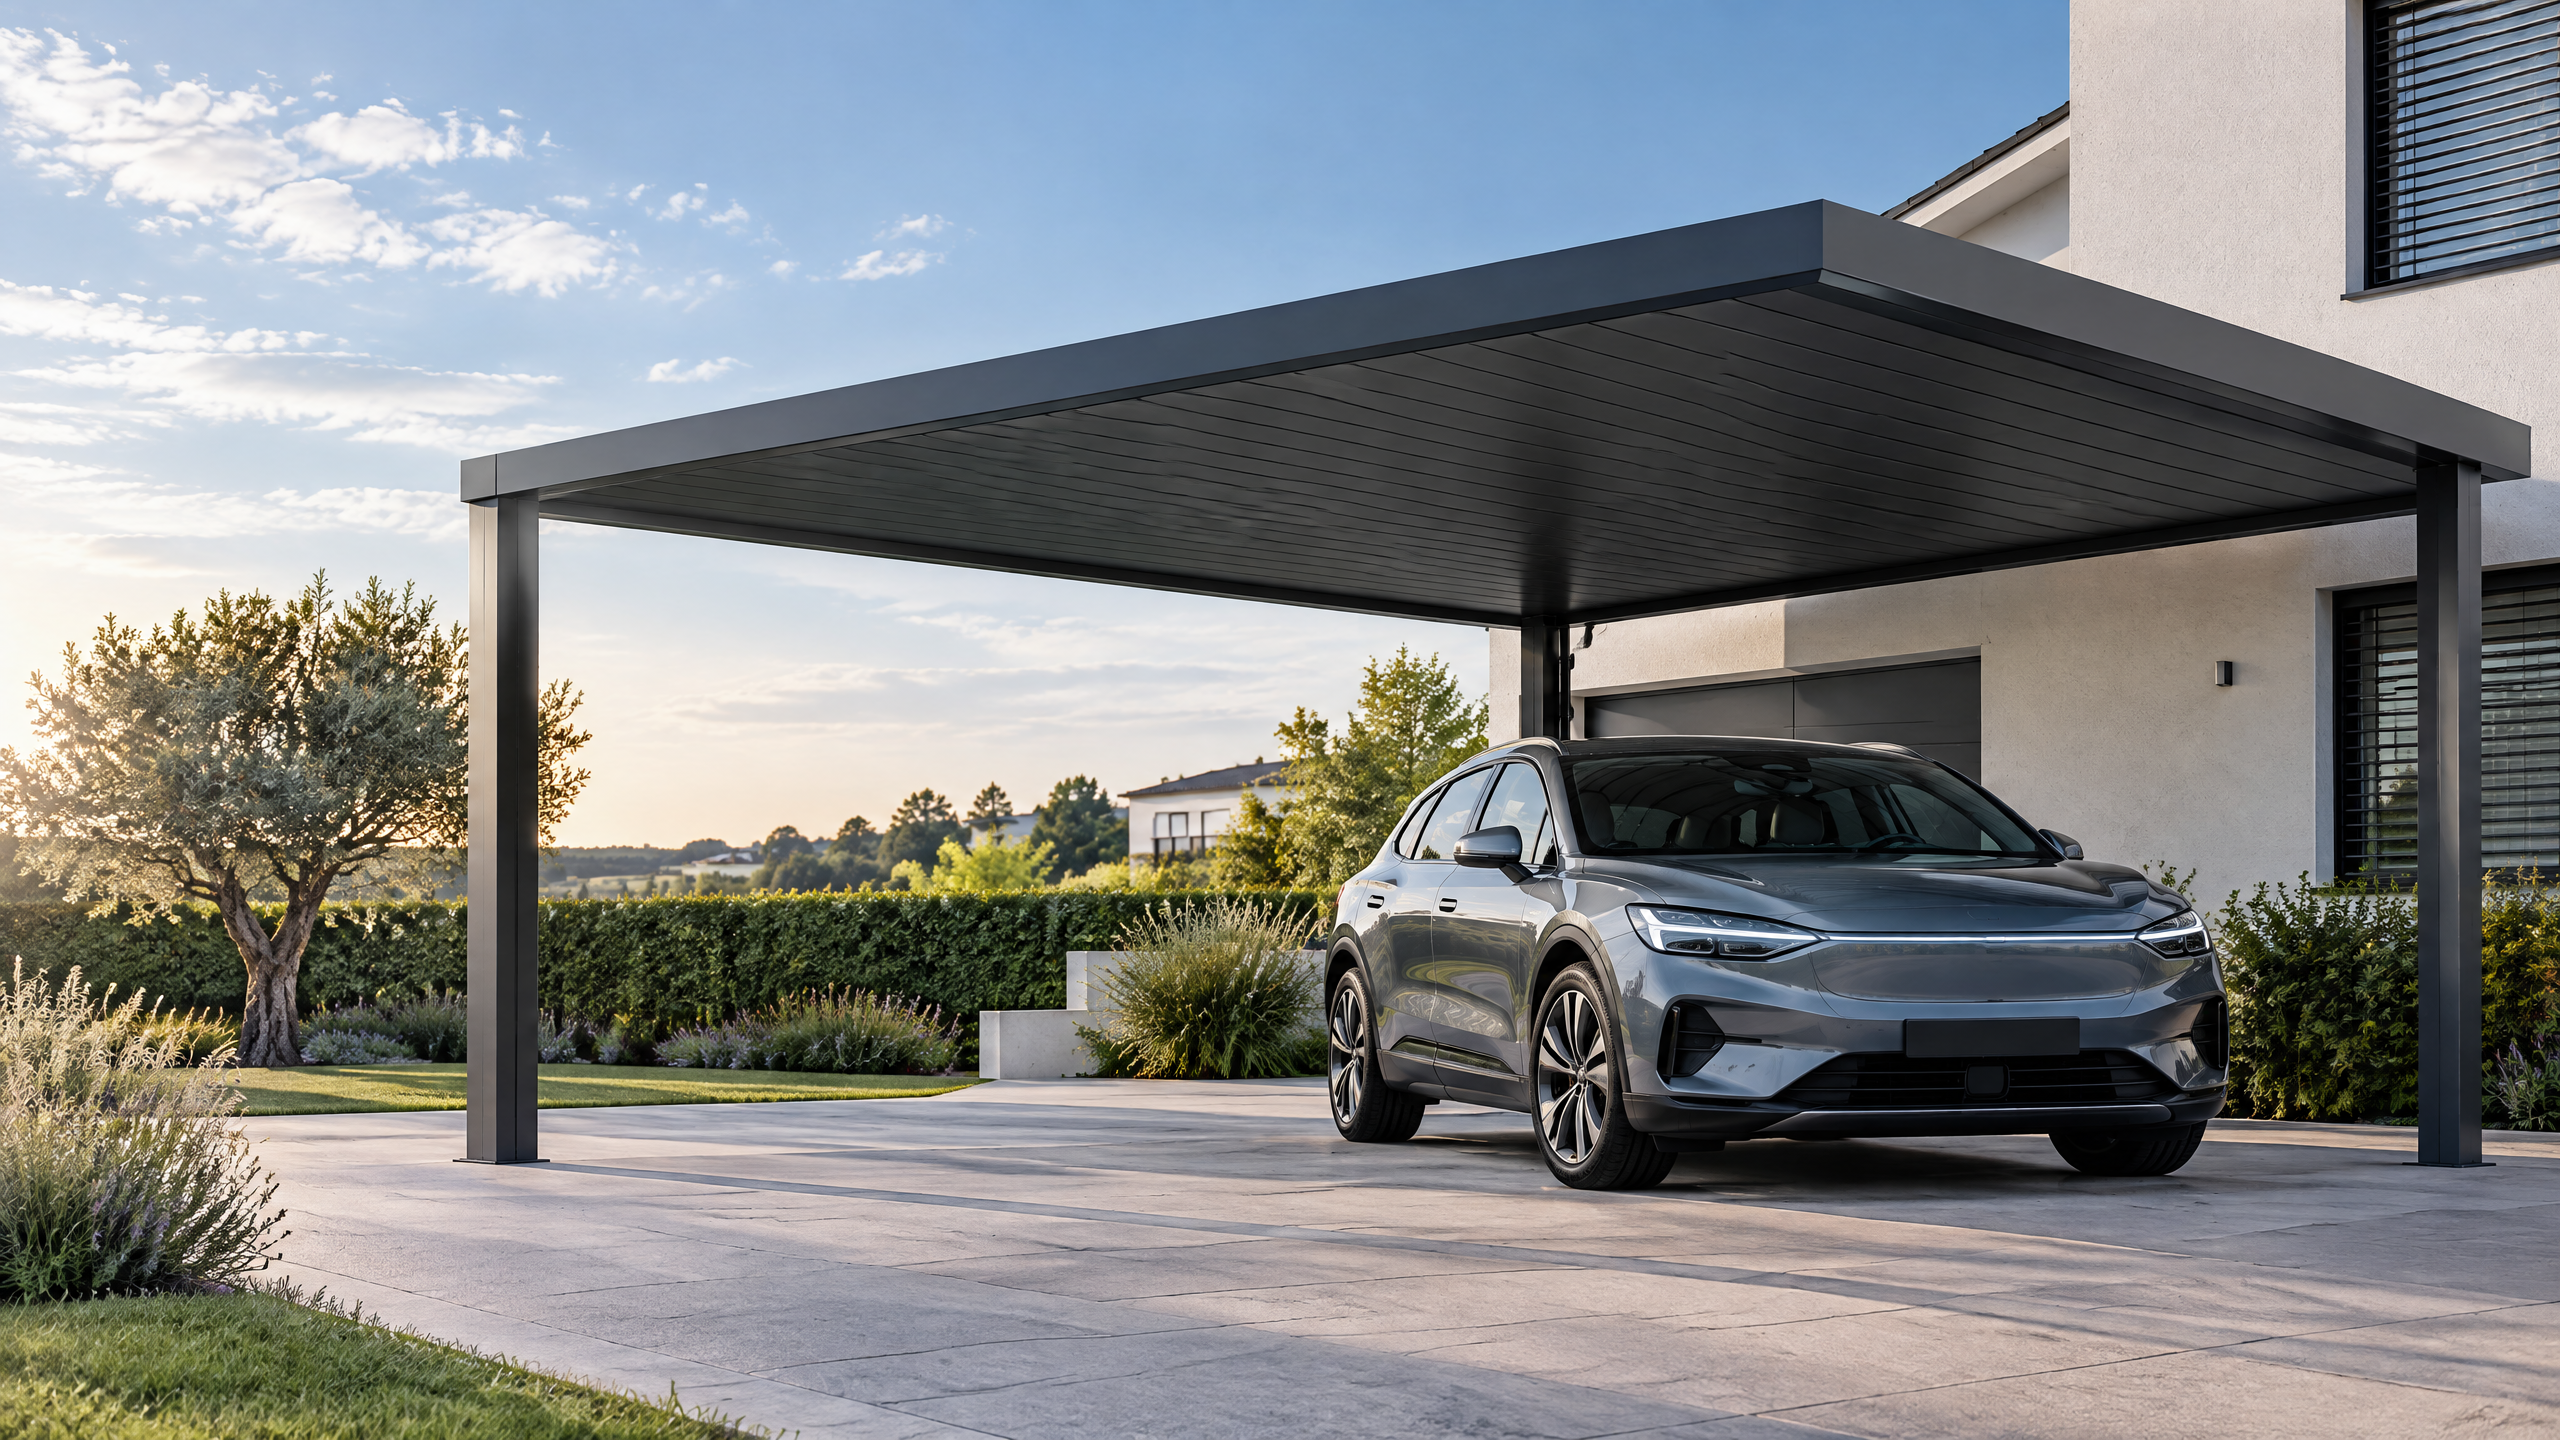
Direct answer (approx. 120–180 words) A robust double bay aluminium carport drainage layout is a coordinated design product of load, roof form, water volume, finishes and constructability requirements. For commercial projects the specification must prioritise positive drainage paths, corrosion-matched materials and accessible maintenance while aligning with structural capacity, solar PV integration and local stormwater rules. Begin by defining the carport bay geometry, roof slope and expected rainfall intensity; select aluminium profiles and gutter/downpipe arrangements sized for peak flows; coordinate roof drainage with PV modules, electrical conduits and façades; and lock these decisions into shop drawings, testable factory documentation and an installation readiness checklist that covers fasteners, seals and finish and fastener compatibility. Use a clear procurement workflow that requires design verification, sample approvals, pre-shipment checks and on-site inspection to reduce latent defects and ensure operability, safety and maintainability through a documented project basis.
Buyer context and scope boundary
Who should use this guide
- Distributors specifying stock for commercial projects.
- Architects and façade consultants producing architectural carport specification documents.
- Contractors and installers responsible for execution.
- Developers, solar EPCs and fleet operators evaluating lifecycle and maintenance implications.
Scope boundary (what this guide does and does not cover)
- This guide is focused on specifying double bay aluminium carport drainage layout as a distinct disciplinary input to a commercial carport project. It addresses geometry, hydraulic sizing, materials, interfaces, procurement evidence and installation readiness.
- It does not replace structural design, electrical engineering for PV arrays, local stormwater permitting or final foundation design. Site-specific structural capacity, foundations, permits, electrical design, approvals, lead time, price, energy yield and warranty require a documented project basis and relevant local qualified professionals, installers, utilities and authorities.
- This guide references industry standards and good practice but does not assert compliance with any specific local regulation; verify applicable codes during detailed design.
Why this matters for commercial carports Double bay systems (two parallel bays with a central spine or shared guttering) are common in commercial carparks and fleet shelters because they balance material economy and coverage. Poor drainage detailing increases lifecycle cost through ponding, leaks, accelerated corrosion and PV underperformance. Well-specified drainage reduces maintenance, improves safety and preserves warranties for aluminium systems and coatings.
Core decision principle: balance hydraulic capacity and constructability
Decision premise Every drainage decision in a double bay aluminium carport drainage layout should be evaluated against two fundamental axes: hydraulic adequacy (to carry peak runoff) and constructability/maintainability (to install, access and sustain in service).
Key performance outcomes to prioritise
- Positive drainage with no ponding on roof surfaces within design rainfall events.
- Corrosion resistance across mating materials and fasteners.
- Coordination with PV electrical routing to avoid water ingress into galvanic junctions.
- Ease of maintenance and debris removal accessibility.
- Clear responsibility boundaries between supplier, installer and client (documented in contract and shop drawings).
Trade-offs to manage
- Larger gutter/downpipe sizes reduce risk of surcharge but increase cost and visual impact.
- Concealed gutters improve aesthetics but complicate cleaning and inspection.
- Integrating drainage into structural members can save parts but raises replacement complexities.
Evidence and standards to reference
- Structural and wind/snow actions per Eurocodes or local equivalents are essential when determining roof slope and gutter loads [1].
- Aluminium alloy and corrosion guidance from accepted bodies informs alloy/finish selection [2].
- Coating performance and compatibility guidance (e.g., PVDF/Anodic systems) from coating standards and industry associations should be considered [3].
Planning inputs: required data and early decisions
Essential project inputs (collect before schematic drainage design)
- Site rainfall intensity: local 1-in-x year or 5–10 minute intensity for peak flow calculations (local meteorological data).
- Roof geometry: plan dimensions of the two bays, roof pitch, parapet heights, and internal central spine locations.
- Roof build-up: deck type, PV mounting system, membrane/underlay, insulation thickness and weight.
- Finish selection and aluminium alloy choices (to check finish and fastener compatibility).
- Expected debris load (trees, leaves, dust) and maintenance regime frequency.
- Integration requirements: PV array spans, conduit routes, inverters/electrical boxes, lighting and gutters’ interface to drainage network.
- Accessibility constraints: locations of columns, eaves heights, pedestrian routes and vehicle movement.
Required documents and outputs
- Concept drainage sketch with primary drains, gutter routes, overflow paths and downpipe positions.
- Preliminary hydraulic calculation (gutter capacity, downpipe sizing) with assumed rainfall intensity and runoff coefficients.
- Interface matrix: list where carport drainage meets building drains, site soakaways or public storm systems.
- Risk register entries for clogging, ice formation, high debris inputs and galvanic corrosion.
Decision: centralized vs. distributed drain systems
- Centralized (shared gutter between bays): fewer downpipes, simpler subsoil connections; higher load on central members; good where maintenance access is controlled.
- Distributed (each bay with separate gutters): easier load distribution and redundancy; more components and penetrations.
Decision table: drainage strategy selection by common site constraints
| Site constraint | Recommended drainage strategy | Rationale |
|---|---|---|
| High debris load (trees nearby) | Distributed gutters with larger openings and accessible drop outlets | Easier cleaning and lower risk of central blockage |
| Limited subsoil connectivity / low infiltration | Larger above-ground storage (rainwater harvesting) with controlled release | Reduce peak discharge to municipal system |
| PV integration with continuous roof surface | Concealed central gutter with overflows and clear access panels | Protect PV edges but provide inspection access |
| Restrictive headroom / low eaves | Low-profile gutters integrated into beam web | Maintain headroom while providing drainage |
Technical specification and interfaces
This section prescribes the technical details that should appear in an architectural carport specification for a double bay aluminium carport drainage layout.
- Aluminium profiles and structural interfaces
- Specify alloy and temper for structural members (e.g., 6000 series where appropriate) with reference to mechanical properties; require mill certificates or manufacturer declarations.
- Specify cross-sections that accommodate integrated drainage where used (e.g., hollow beam with internal guttering) and check for access for cleaning.
- Include aluminium profile selection criteria addressing strength, thermal expansion and ability to accept seals; reference NordArch architectural aluminium system if using Carportiva systems for matched components.
- Roof plane and slope
- Define minimum longitudinal slope (commonly 1–3% / 1:100 to 1:30 depending on roof finish and local practice) to avoid ponding; steeper slopes reduce accumulation risk but affect PV mounting.
- Specify transverse fall direction relative to bays (single-direction, to central spine, to perimeter gutters).
- Where exact slope affects PV module clamping, coordinate with PV supplier to prevent micro-movement or modules acting as water traps.
- Gutters, scuppers and downpipes
- Gutter geometry: location (central/shared vs. perimeter), width, freeboard and access covers for debris removal.
- Downpipe sizing: calculate required area for peak runoff and select standard sizes with consideration of maximum allowable spacing and vertical drop connections.
- Overflows: specify overflow scuppers sized for return flows in case of blockage; locate to avoid water discharge onto vehicles or pedestrian paths.
- Seals and flashings
- Specify compatible sealant families for aluminium and adjacent materials; prioritize neutral-cure silicone or polyurethane sealants recommended for aluminium and coated finishes.
- Detail flashing to interface with PV frames and edge trims; ensure flange engagement and continuous water-shedding paths.
- Require testing for water-tightness at penetrations during shop drawing review and pre-installation trials.
- Fasteners and finish and fastener compatibility
- Fasteners must be specified to resist galvanic corrosion and match the aluminium alloy (stainless steel fasteners are typical; duplex or coated fasteners may be required depending on environment).
- State finish and fastener compatibility: e.g., PVDF powdercoat over aluminium should use compatible seals and stainless steel fasteners with isolating washers to prevent bimetallic corrosion.
- Reference coatings standards (AAMA, ISO) for performance expectations [3][4].
- PV and electrical interfaces
- Route electrical conduits and cable trays so they do not impede drainage flow or concentrate water and debris.
- Avoid mounting inverter or junction boxes in low points or immediately below downpipes.
- Coordinate with PV EPC to define junction boxes’ weatherproof ratings and service access clearances.
- Connections to site drainage
- Define termination points: rainwater harvesting, storm sewers, soakaways, or attenuation systems.
- Include inspection chambers and access points where pipes enter underground drainage for maintenance.
Decision table: aluminium profile vs drainage integration
| Profile approach | Best used when | Pros | Cons |
|---|---|---|---|
| External gutter hung to beam | Simpler retrofit; high clearance | Easy access, separation from structural web | More components, visual impact |
| Integrated hollow beam gutter | New builds requiring clean aesthetics | Concealed system, fewer parts exposed | Requires access hatches; more complex repairs |
| Perimeter scuppers into concealed channels | Low headroom, architectural façade continuity | Minimal projection, discrete overflow | Potential for clogging, complex cleaning |
Procurement and factory evidence
What to require from suppliers
- Detailed shop drawings showing plan, elevations, gutter sections, downpipe locations, mountings and interface details. Include a clear shop drawing review process with actions and sign-offs (see "shop drawing review" below).
- Material declarations and mill/test certificates for primary alloys.
- Coating system data sheets including expected film thickness, warranty terms and application method.
- Fastener specifications including material grade and coating. Specify isolators or washers where dissimilar metals meet.
- Pre-assembly and factory QA documentation: dimensional checks, sealant trials, gutter water-tightness tests where possible.
Shop drawing review (mandatory steps)
- Confirm the drainage flow paths and show hydraulic calculations keyed to the drawing.
- Verify that gutter freeboard and downpipe discharges are clear of obstructions and do not conflict with PV arrays or electrical equipment.
- Cross-check fixing locations against column placements and foundations.
- Issue formal RFIs for unclear interfaces and capture any changes in a revision-controlled drawing set.
- Require supplier to stamp or sign drawings indicating their responsibility scope for fabrication and recommended installation sequence.
Factory inspection checklist (examples)
- Profile tolerances and weld quality (if welded assemblies used).
- Gutter alignment and workmanship at joints and corners.
- Sealant application consistency and adhesion tests on representative samples.
- Coating colour and thickness on samples; storage and handling verification.
- Fastener batch conformity and passivation/finish checks.
Evidence acceptance levels
- Accept factory samples and test reports that demonstrate compliance with the specified materials and coating systems.
- Insist on photographic evidence of pre-shipment packaging and protective measures for coated surfaces to reduce transit damage.
Mid-article CTA If you need coordinated shop drawings, material declarations or a pre-fabrication QA pack for a double bay system, contact our technical team /inquiry or email info@carportiva.com. See also NordArch architectural aluminium system, all systems and our sourcing guides.
Site installation, operations and maintenance
Installation readiness
- Confirm foundations, anchor bolts and column positions against as-built surveys before arrival of fabricated components.
- Pre-delivery checks: verify that painted or anodised parts are suitably protected; that seals and gaskets are supplied separately in labelled kits; and that fastener boxes are labelled for location.
- Installation readiness checklist should include: level and plumb checks for columns, temporary weatherproofing if work will occur during rain, and safe working platforms for gutter access.
Sequencing considerations
- Foundations and column erection first, including setting plates and grout.
- Primary beams and roof support installation.
- PV mounting rails if included (coordinate with electrical trades).
- Gutter installation and downpipe connection.
- Final seals, flashings and inspection hatches.
- PV installation and electrical connections last, with final route verification to avoid downpipe conflicts.
On-site testing and commissioning
- Water-tightness test: run controlled flow tests through gutters to downpipes and verify there are no leaks at joints or penetrations.
- Access and maintenance test: confirm hatch access and safe service clearance for cleaning debris from gutters.
- Verify handover documentation: as-built drawings, maintenance manual and warranty certificates.
Maintenance plan essentials
- Frequency: at minimum annual visual inspection; increase frequency in high-debris environments or after major storms.
- Cleaning: manual removal of debris and flushing gutters; avoid pressure washing that could damage seals or coatings.
- Replace sacrificial components (gaskets, isolator pads) per manufacturer’s guidance.
- Record keeping: maintenance activities, repairs, and component replacements should be recorded in a service log.
Installation safety
- Define fall protection, scaffold requirements and exclusion zones for lifting operations.
- Identify safe access for inspection and future maintenance to minimise need for special equipment.
Implementation risks and mitigation strategies
Common failure modes and mitigations
- Ponding and insufficient gradient
- Risk: flat roof areas that lose gradient during erection or due to poor fabrication.
- Mitigation: enforce minimum slope in specification; include acceptance criteria in shop drawing review and install temporary shims during erection if necessary.
- Blockage and debris accumulation
- Risk: gutters and scuppers blocked by leaves, dust or construction debris.
- Mitigation: specify leaf guards where appropriate, include larger inlet capacities, provide access hatches for routine cleaning.
- Galvanic corrosion at dissimilar metal interfaces
- Risk: stainless fasteners in contact with aluminium can cause corrosion if seals are absent and environment is marine or industrial.
- Mitigation: specify isolating washers, specify sacrificial anodes only where designed, choose compatible materials per manufacturer guidance and [The Aluminum Association] best practice [2].
- Coating damage and touch-up failures
- Risk: abrasion during handling and installation causes premature corrosion and appearance loss.
- Mitigation: require protective packaging, define touch-up procedures and compatible paints in the specification. Test adhesion and curing samples in factory.
- Drainage conflicts with PV electricals
- Risk: downpipes and cable routes crossing without adequate segregation create maintenance issues.
- Mitigation: coordinate early with PV EPC to locate conduits and junction boxes clear of downpipe discharge points; provide cable trays with drip edges.
- Overflow and localized flooding
- Risk: insufficient overflow paths cause water to discharge onto walkways or vehicle areas.
- Mitigation: specify appropriately sized overflow scuppers and direct discharge to acceptable locations, with splash protection if necessary.
Risk register template (short)
- Likelihood vs consequence scoring for gutter clogging, leak, corrosion, ice formation, PV interaction and permit rejection. Assign owner and mitigation measure per item.
Six-step buyer workflow (named: The CARPORT-R Path)
This is a concise, repeatable procurement and delivery workflow to take a double bay aluminium carport drainage layout from concept to operational handover.
- Capture: assemble site rainfall data, as-built surveys, site constraints, PV requirements and expected maintenance regime.
- Agree: set the high-level drainage strategy (central vs distributed), minimum slopes, finish and fastener compatibility rules and maintenance access requirements.
- Review (shop drawing review): issue performance-based shop drawing requirements and conduct formal review cycles; require hydraulic calculations tied to drawings.
- Procure: award fabrication contract with clear QA, inspection, and sample pre-approval conditions; include delivery and packaging requirements.
- Off-site validation: perform factory inspections, sample testing and pre-shipment acceptance; confirm pre-assembly kits and labeling.
- Transfer (installation readiness & commissioning): ensure site readiness, perform installation QA and water-tightness tests, hand over as-built documentation and maintenance manual.
Assign responsibilities explicitly at each step: who captures data (client/architect), who signs off on shop drawings (client/engineer/manufacturer), who inspects factory (client or third-party), and who accepts final handover.
Related B2B sourcing terms
For the same project brief, buyers may also encounter these connected search terms: roof drainage coordination. They must be interpreted against the actual project scope rather than treated as independent technical guarantees.
Frequently asked questions (FAQ)
Q: What minimum slope do I need for a double bay aluminium carport roof? A: Minimum slope depends on roof finish and PV mounting; common practice is 1–3% (1:100 to 1:30) for metal or membrane roofs to avoid ponding. Confirm with PV module and membrane manufacturers and structural considerations.
Q: How do I size gutters and downpipes for the expected peak runoff? A: Use local rainfall intensity and runoff coefficient for the roof build-up. Hydraulic tables or manufacturer calculators convert flow rates to gutter area and downpipe diameter. Require supplier to provide the calculation in the shop drawing submission.
Q: How do I manage corrosion risk between fasteners and aluminium profiles? A: Specify compatible materials (stainless steel fasteners, isolating washers) and coatings. For aggressive environments, consult alloy recommendations and industry guidance [2]. Document acceptable fastener types in the procurement package.
Q: Should gutters be integrated in beams or be external? A: Both are valid; integrated gutters give cleaner aesthetics but increase complexity of cleaning and repair. External gutters are simpler to maintain but more visible. Choose based on maintenance access and architectural intent.
Q: Does the drainage layout change if PV is mounted? A: Yes. PV can change loads, impede flows at module edges, and alter maintenance access. Coordinate electrical and mechanical drawings early and specify PV-specific flashing and board-offs at drainage penetrations.
Q: What documentation should be provided at handover? A: As-built drawings, material certificates, coating data sheets, fastener lists, maintenance manual and warranty documents. Also include the factory QA report and any field test records (e.g., water-tightness tests).
Q: Can Carportiva supply matched systems for rapid procurement? A: Carportiva offers engineered aluminium systems including the NordArch architectural aluminium system. For procurement readiness and system matching, consult Carportiva technical teams via /inquiry or info@carportiva.com.
Q: Do I need to engage local professionals? A: Yes. Site-specific structural capacity, foundations, permits, electrical design, approvals, lead time, price, energy yield and warranty require a documented project basis and relevant local qualified professionals, installers, utilities and authorities.
Decision support tables
Table: selection matrix for drainage components by environment
| Environment | Gutter material | Fastener type | Finish | Maintenance notes |
|---|---|---|---|---|
| Urban non-aggressive | Extruded aluminium | Stainless steel A2 | PVDF powder coat | Annual cleaning, inspect sealants |
| Coastal / marine | Extruded aluminium (high-grade alloy) or aluminium with sacrificial design | Duplex stainless steel (A4 duplex) | Anodised or marine-grade coating | Quarterly inspections, isolators between dissimilar metals |
| Industrial (chemical exposure) | Consider sacrificial or protective lining; consult materials engineer | Coated stainless / specialist alloys | Specialist coating system | Increased inspection frequency; consult specialist |
Table: finish and fastener compatibility quick reference
| Finish | Recommended fastener material | Isolating measures |
|---|---|---|
| PVDF powdercoat | Stainless steel (passivated) | Nylon or EPDM washers; isolated fixing points |
| Anodised aluminium | Stainless steel (grade per environment) | Isolator washers to avoid staining |
| Mill finish (uncoated) | Stainless or coated fasteners depending on environment | Protective sealant and passivation |
Conclusion
Specifying a reliable double bay aluminium carport drainage layout requires a multidisciplinary, evidence-led approach that balances hydraulics, corrosion control, finish and fastener compatibility, PV coordination and constructability. The most successful commercial outcomes come from early alignment on strategy (central vs distributed), precise shop drawing review, documented factory evidence and a disciplined installation readiness program. Use the CARPORT-R Path to structure procurement and ensure responsibilities are clear at every stage.
Remember that site-specific structural capacity, foundations, permits, electrical design, approvals, lead time, price, energy yield and warranty require a documented project basis and relevant local qualified professionals, installers, utilities and authorities.
For detailed system information, matched profiles and technical support consult NordArch architectural aluminium system or view all systems and our sourcing guides. For project enquiries and customised shop drawing coordination contact /inquiry or email info@carportiva.com.
References and standards (selected)
- Eurocodes and related guidance for structural and loading considerations [1].
- Material and corrosion guidance from The Aluminum Association [2].
- Coating and architectural finish guidance (industry associations such as AAMA) [3].
- Fastener and material standards references via ISO where applicable [4].
References
- European Commission Eurocodes: https://eurocodes.jrc.ec.europa.eu/
- The Aluminum Association: https://www.aluminum.org/
- American Architectural Manufacturers Association: https://aamanet.org/
- ISO Online Browsing Platform: https://www.iso.org/obp/ui/
Keep the project brief connected.
Bring the actual project brief to the engineering table.
Share your location, layout, target application and available technical inputs. Carportiva can help identify the relevant product-interface information before a project-specific commercial discussion.
Request a project discussion