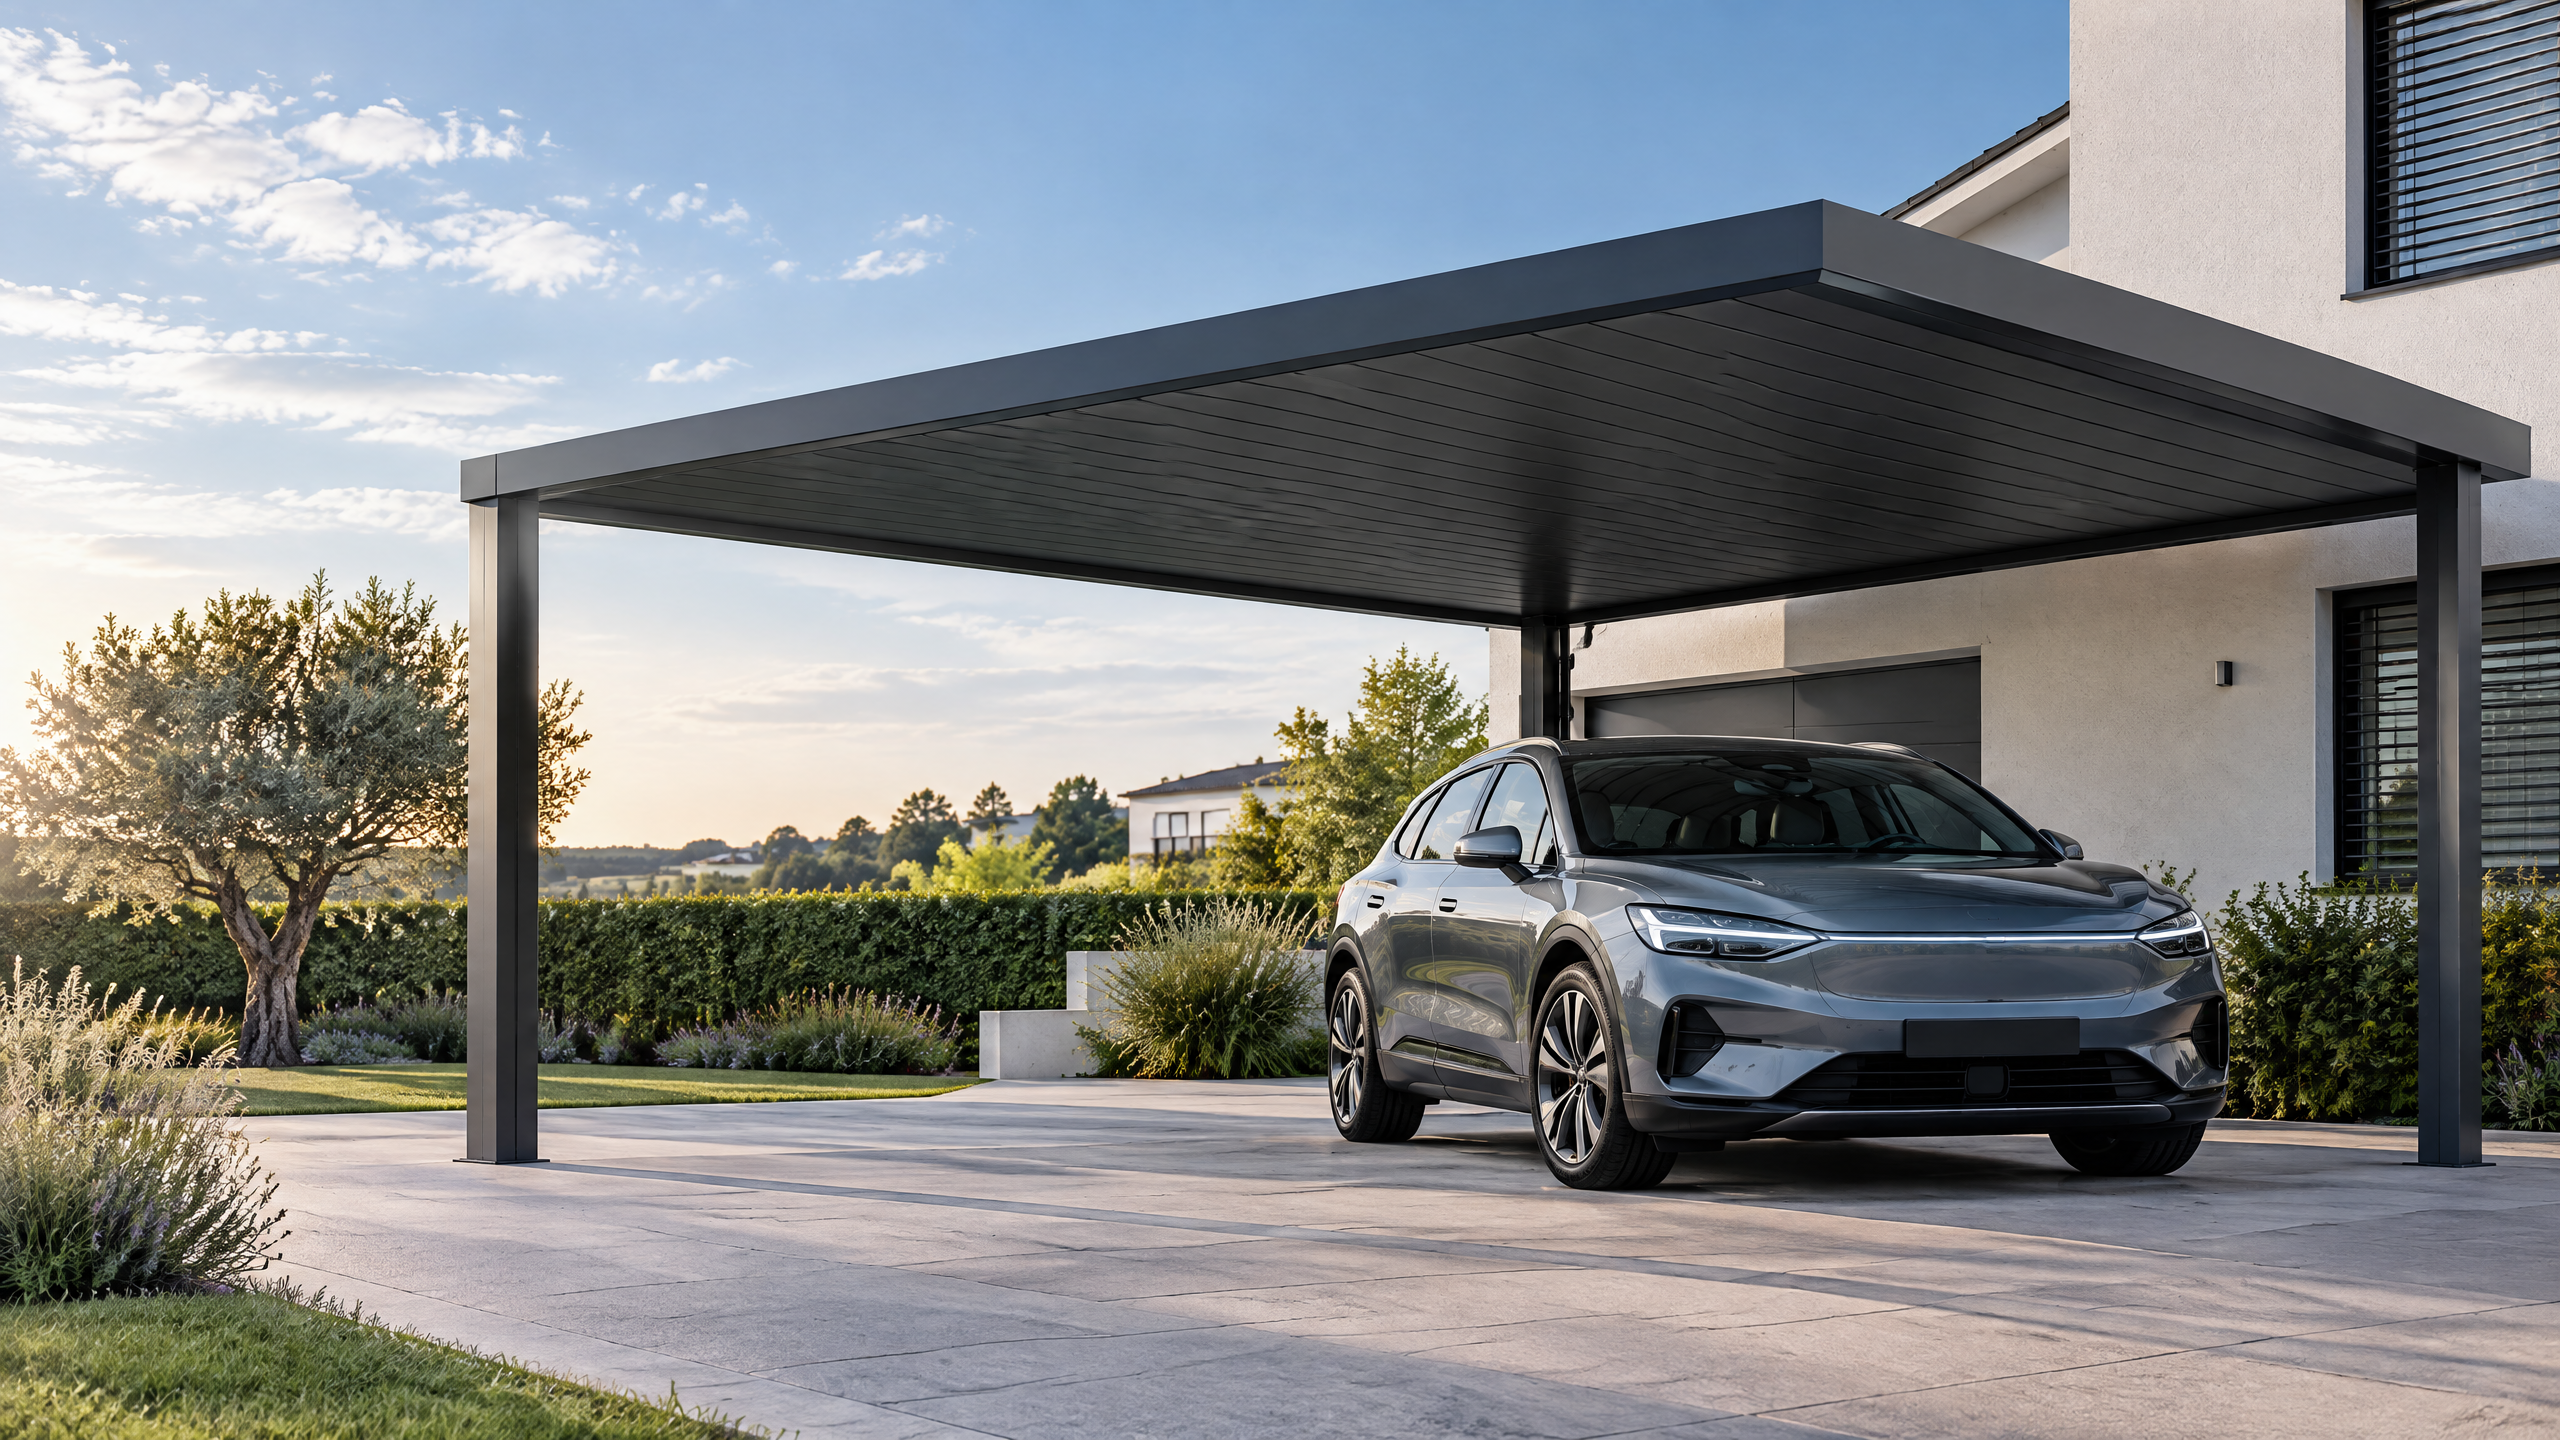
Answer: Choosing the correct carport roof drainage design begins with treating drainage as a determinative design discipline, not an afterthought. Drainage affects structural loads, water entry and egress, PV layout, corrosion pathways, foundation sizing and local stormwater compliance. For B2B buyers—distributors, architects, contractors, developers, solar EPCs and fleet operators—the decision must be driven by a documented site-specific design basis that records rainfall intensity, roof geometry, snow and ice risk, anticipated debris, electrical routing for PV, and the foundation and anchorage interface. Use a coordinated process that includes climate exposure review, shop drawing coordination, lifting and installation planning and local engineering validation early in procurement. This guide sets out the technical inputs, specification checkpoints, procurement evidence and a six-step buyer workflow to move from requirement to practical, auditable delivery with operational resilience and maintainable outcomes.
Buyer context and scope boundary
Why drainage matters in carport projects
- Drainage determines where and how water is collected and discharged; it directly affects corrosion risk on architectural aluminium members and on electrical components for solar installations.
- Poorly designed drainage leads to ponding, increased snow/ice accretion, accelerated material degradation, slip hazards, and non-compliance with local stormwater and permit conditions.
- For multi-bay commercial and industrial shelters the cumulative runoff and downpipe sizing become site-wide civil design issues, not just canopy details.
Scope boundaries for this guide
- Focus: primary and secondary roof drainage strategy for aluminium carport systems, structural implications, procurement evidence, and on-site installation/operation considerations.
- Excludes: detailed local permit processes, detailed electrical design for PV interconnection, and final foundation design calculations — these require local qualified professionals as noted below.
- This guide references typical engineering practice and international standards where appropriate, and it indicates where local code compliance and utility coordination are mandatory.
Mandatory note (read before procurement)
- Site-specific structural capacity, foundations, permits, electrical design, approvals, lead time, price, energy yield and warranty require a documented project basis and relevant local qualified professionals, installers, utilities and authorities.
Core decision principle: align hydraulic, structural and installation outcomes
High-level principle
- The primary buyer decision is to align hydraulic capacity (how quickly water is moved from roof to legal discharge) with structural capacity (loads from water, snow, wind) and practical installation and maintenance constraints.
- Optimal carport roof drainage design balances these three constraints so that no single factor is oversized to the detriment of cost or performance.
Three linked objectives
- Hydraulic: prevent ponding and ensure controlled discharge for design storms and typical maintenance events.
- Structural: ensure loads introduced by drainage elements (water, snow, debris) and by concentrated anchor reactions are handled by the carport frame and transferred appropriately to foundations.
- Practicality: allow safe, repeatable lifting and installation, access for cleaning and maintenance, and longevity of finishes and electrical components.
Decision framework (summary)
- Start with site hazard and climate inputs, verify with a climate exposure review, produce a site-specific design basis, then convert that into a drainage strategy that dictates roof slope, gutter/scupper/downpipe sizing, pickup positions for PV cable trays, and foundation and anchorage interface details. Use shop drawing coordination to reconcile design intent and manufacture capability, and include lifting and installation planning to ensure what’s built can be installed safely.
Planning inputs: what you must collect before design
Collecting accurate inputs is the most cost-effective step in avoiding rework. The following items are minimum requirements for a defensible design process.
Essential site inputs
- Local rainfall intensity data (e.g., 1-in-10 year 1-hour, 1-in-100 year 24-hour values); where national resources are unavailable, use nearest meteorological data and document assumptions.
- Snow load maps or local design snow loads if applicable.
- Wind exposure category and mean/peak gust expectations per applicable standard (Eurocodes or ASCE 7) [1][2].
- Flood elevation or overland flow risk from authoritative maps (see FEMA where relevant) [4].
- Debris risk (trees, urban litter), seepage potential from adjacent drainage, and local maintenance access constraints.
Project and functional inputs
- Roof plan geometry and slope (ponding-prone flat areas should be avoided).
- PV layout and penetration points; routing requirements for PV conduit and inverters.
- Expected maintenance regime and access routes (frequency and method).
- Discharge point constraints (storm sewer connection, infiltration, attenuation pond) and local stormwater rules.
Regulatory and safety inputs
- Local building code wind/snow/loading standards (Eurocodes or ASCE 7 as applicable) [1][2].
- Construction safety and access requirements (OSHA or local equivalents) [3].
- Permits required for stormwater connection and erosion control; if floodplain present, coordinate with FEMA maps where required [4].
Documented project basis
- Create a site-specific design basis document early that captures the above inputs plus design life, corrosivity class, and warranty expectations. This "site-specific design basis" is the contract anchor for design, procurement and validation.
Technical specification and interfaces
This section translates planning inputs into detailed design items and interface checks.
Roof form and slope
- Specify minimum slope to avoid ponding. For aluminium carports with integrated PV, typical practical slopes range to facilitate self-cleaning and drainage; the exact slope must be specified on the site-specific design basis.
- For large-span multi-bay canopies, provide continuous drainage paths that avoid collecting water at bay joints or PV module edges.
Primary drainage strategies
- Edge gutters with downpipes: common for open-sided carports; requires coordinated downpipe routing to ground or storm sewer.
- Scuppers to side gutters or downspouts: used where edge conditions or parapets exist.
- Internal roof drains (less common on lightweight carports): used where parapeted roofs or tradeoffs require concentrated internal collection; requires watertight roof-to-column interfaces.
- Hybrid strategies: combine gutters and scuppers for bay-to-bay transfer when roof geometry or PV layout dictates.
Materials and corrosion protection
- Use aluminium alloys and coatings appropriate to site corrosivity; specify finishes and fastener materials compatible with aluminium and PV mounting hardware to avoid galvanic corrosion.
- Provide material certificates and compatibility statements for sealants, gaskets and adhesives.
Structural interface: foundation and anchorage interface
- Drainage hardware and concentrated downpipe loads must be resolved at the foundation and anchorage interface. Downpipe anchors, scupper loads, and concentrated roof loads associated with retained snow/water require foundation detail review to ensure uplift and overturning are controlled.
- Specify the allowable bearing pressures and detailing for cast-in anchors or mechanical anchors; this must be validated by local foundation design.
Waterproofing and interfaces with electrical systems
- Penetrations for PV cables and conduits must be detailed with flashing and sealing compatible with aluminium guttering and canopy profiles.
- Avoid routing PV conduits through downpipes or water paths; provide separate accessible containment.
Hydraulic sizing guidance (principled, not prescriptive)
- Design to the selected return period consistent with local regulations: typically local serviceability may demand 10- to 50-year storms; critical infrastructure may require higher return periods.
- Use accepted hydraulic calculation methods (rational method or equivalent) for gutter and downpipe sizing, documenting runoff coefficients and impervious area. When referencing structural loading and gust/wind uplift, refer to applicable standards [1][2].
Maintenance access and safety detailing
- Provide safe, documented access for cleaning gutters and downpipes and for inspecting PV equipment.
- Include fall protection attachment points for maintenance crews per local safety standards [3].
Shop drawing coordination
- Require shop drawing coordination early to verify that manufactured profiles, gutter capacities and splice details match the performance required by the site-specific design basis. Shop drawings must show drainage flow directions, sump/low points, downpipe locations, and anchor details.
Procurement and factory evidence: what to require and accept
Procurement must enforce traceability from design inputs to factory outputs. Buyers should specify required documentation and acceptance criteria.
Required procurement deliverables (minimum)
- Site-specific design basis (buyer-supplied or mutually agreed).
- Drainage strategy narrative linked to calculations and roof plans.
- Structural load calculations that include drainage-induced loads and snow/wind where applicable, signed by a qualified engineer.
- Material certificates for aluminium alloys, fasteners and sealants.
- Shop drawings with drain detail, splice and connection details and labelled dimensions.
- Lifting and installation planning package showing sequence, lifting points and provisional temporary works.
- Test or inspection checklists for factory QA and packaging.
Decision table: drainage strategy vs project context
| Project context | Recommended primary strategy | Notes |
|---|---|---|
| Low debris, minimalist maintenance, PV required | Edge gutters with integrated downpipes | Keeps PV cable runs clear; requires downpipe routing and foundation load checks |
| High debris (trees), frequent maintenance limited | Wide gutters with leaf guards and accessible downpipes | Increased gutter width, easy access points; budget for more cleaning |
| Sites with parapet-like conditions or flat bays | Scuppers to side gutters or internal drains | Need watertight detailing and structural interface design |
| High snow loads | Larger capacity gutters, consideration for melt pathways | Ensure structural members and anchorages accommodate snow/wet loads |
| Urban sites with limited discharge | Attenuation tank + pumped discharge | Coordinate with civil stormwater design and permits |
Decision table: procurement evidence vs acceptance criteria
| Evidence item | What to check at procurement | Accept/Reject trigger |
|---|---|---|
| Shop drawings | Drain slope, downpipe position, interface with PV mounts | Reject if mismatch with site-specific design basis or missing anchor details |
| Material certificates | Alloy grade, coating, tensile properties | Reject if certificates missing or do not match spec |
| Structural calculations | Include drainage loads, signed by engineer | Reject if calculations not provided or unsigned |
| Lifting & installation plan | Lifting points on drawings, temporary bracing | Reject if not showing safe sequence or if conflicts with site lifting capacity |
Procurement tips
- Tender documents should include the site-specific design basis as a mandatory attachment.
- Use staged approvals: preliminary concept, approval to manufacture (shop drawings approved), and pre-dispatch factory acceptance.
- For solar EPCs, ensure the procurement package separates mechanical drainage items from electrical items but requires coordination points.
Factory quality checks
- Require factory inspection records for welds, fasteners torqueing, sealant application and anodising/painting quality.
- Photographic evidence of assembled modules and packing orientation reduces on-site surprises.
- Where possible, include witness inspection or third-party QA.
Reference materials
- Link procurement queries to product sets such as Carportiva system range or the catalogue for typical extrusion profiles and accessory kits.
- Use sourcing guides to standardise procurement language and acceptance tests for supply chain partners.
Mid-article CTA Ready to align drainage strategy with your chosen Carportiva system? Start a project enquiry /inquiry
Site installation, lifting and operations
Proper installation determines long-term performance. This section focuses on coordination and pragmatic field controls.
Lifting and installation planning
- Define lifting points on shop drawings and include handling tolerances. Lifting hardware must be rated and inspection-tagged. Coordinate with site crane capacity and ground-bearing limits.
- Sequence large modules to avoid temporary load concentrations on foundations; consider temporary shores for long-span canopies.
- Provide clearing and storage areas for modules and pipework with cover to avoid on-site contamination of seals and anodised surfaces.
Installation quality checkpoints
- Verify alignment of column bases, plumbness and elevation before attaching gutters and downpipes.
- Check that drainage slopes are within tolerance after installation; measure as-built gradient if practical.
- Seal penetrations immediately and test for water-tightness using low-pressure hose tests where appropriate.
Interfaces with civil work
- Confirm downpipe discharge points tie into the agreed stormwater system or approved soakaway. Do not leave temporary open discharges that create erosion or nuisance.
- If pumped discharge is required, coordinate electrical supply and control kit installation with the EPC and the local utility.
Operational maintenance plan
- Create a maintenance manual that documents cleaning intervals, gutter and scupper inspection, PV cable routing checks, and emergency procedures after extreme storms.
- For sites with limited access, consider remote monitoring for ponding or water ingress around electrical equipment.
As-built records
- Keep an as-built drainage routing plan and photographs of critical junctions (scuppers, downpipe terminations, foundation interfaces). These records are essential for warranty activation and future modifications.
Local engineering validation
- Require a local engineer to validate as-built drainage routing and to certify that foundation penetrations and downpipe anchors have been executed per design. This validation is often a permit condition and is required before energising PV or opening areas to the public.
Safety and compliance
- Ensure fall protection and excavation safety during installation; follow OSHA or relevant local standards for scaffold, edge protection and excavation safety [3].
Implementation risks and mitigation
No project is risk-free; below are common risk categories and practical mitigations.
Risk: incomplete site-specific design inputs
- Mitigation: enforce a documented site-specific design basis as contractually required before shop drawing release.
Risk: incompatible materials and galvanic corrosion
- Mitigation: specify compatible fasteners and finish systems; require material certificates and supplier compatibility notes.
Risk: under-sized drainage for climate extremes
- Mitigation: perform a climate exposure review that considers future intensification or climate projection where relevant; design safety margin into gutter/downpipe sizing.
Risk: foundation and anchorage failures
- Mitigation: coordinate foundation and anchorage interface early; include foundation reaction loads from drainage hardware in the structural brief.
Risk: installation sequencing conflicts (lifting vs civil works)
- Mitigation: produce a coordinated lifting and installation planning package; include temporary works if needed.
Risk: maintenance inaccessibility
- Mitigation: include access points and safe maintenance routes in shop drawings; document required maintenance frequency in operations manual.
Regulatory and permit risk
- Mitigation: early engagement with local authorities and utilities; verify stormwater connection requirements and floodplain constraints using authoritative sources such as FEMA where applicable [4].
Documentation controls
- Maintain versioned design documents, signed calculations and shop drawing approvals. Without immutable document trails, disputes and warranty claims become difficult to resolve.
Six-step buyer workflow for carport roof drainage design
A named, repeatable workflow buyers can require in tenders and procurement.
- Establish site-specific design basis
- Collate climate data, site plan, PV layout, load assumptions and maintenance regime. Document and approve.
- Concept drainage strategy
- Produce an evidence-led concept that shows gutters, scuppers, downpipes, and discharge points, with preliminary hydraulic sizing.
- Structural integration and foundation interface
- Resolve foundation and anchorage interface loads and provide preliminary anchor details for foundation design. Address the foundation and anchorage interface.
- Detailed shop drawing coordination
- Produce coordinated shop drawings that include shop drawing coordination notes, material certificates and lifting points. Obtain approvals before manufacture.
- Factory acceptance and pre-dispatch checks
- Review factory QA evidence, shop inspections and pre-dispatch photos; verify packaging and transport precautions.
- Site installation, validation and handover
- Execute lifting and installation planning, validate as-built drainage with a local engineer and deliver a maintenance manual and as-built drawings. Secure local engineering validation and permits as required.
This six-step workflow should be inserted as a mandatory section into procurement documents and used as the basis for staged payments and acceptance.
FAQ — practical procurement and technical questions
Q: When should I require shop drawings that show gutters and downpipes? A: Early. Include shop drawings for drainage at the same approval level as structural shop drawings. Require shop drawing coordination so that gutter positions, splice locations, downpipe anchors and PV penetration details are visible and approved before manufacture.
Q: How do I account for future climate variability? A: Use the climate exposure review as part of the site-specific design basis. Where possible, select a conservative design storm or include simple adaptable measures (larger downpipes, overflow scuppers) so the system tolerates higher-than-historical rainfall intensities. Document any assumptions.
Q: Who signs off structural calculations for drainage-induced loads? A: A qualified structural engineer licensed in the project jurisdiction must sign structural calculations. Where Eurocodes or ASCE standards are used, reference the relevant clauses and the standard version [1][2].
Q: Can downpipes be routed through canopy columns? A: Yes, but this must be detailed in shop drawings and checked for interference with internal bracing, galvanic separation and foundation loads. The foundation and anchorage interface must consider any additional concentrated loads.
Q: What procurement evidence reduces dispute risk at handover? A: A complete set of signed design basis, engineer-signed structural calculations, approved shop drawings, factory QA reports, pre-dispatch photographs, as-built drawings and a local engineering validation certificate.
Q: Are there recommended inspection tests after installation? A: Low-pressure hose testing of gutters and scuppers for flow and leaks, visual inspection of seals and flashings, measurement of installed slopes and confirmation of downpipe discharge points into the agreed stormwater system. All inspections should be recorded.
Q: Which standards should I reference for design loads and safety? A: Use the applicable national standards. Eurocodes are commonly used in Europe [1], ASCE 7 provides load guidance for many US projects [2], and OSHA or local equivalents should be followed for construction safety [3]. Use FEMA maps for flood risk where appropriate [4].
Q: Are warranties sufficient to rely on for long-term performance? A: Warranties are conditional. They depend on correct installation, documented maintenance, and adherence to the site-specific design basis. Do not treat warranty as a substitute for proper design, procurement and local engineering validation.
Closing considerations and procurement checklist
Final procurement checklist (recommended minimum)
- [ ] Site-specific design basis documented and contractually attached.
- [ ] Climate exposure review complete and referenced.
- [ ] Structural calculations including drainage loads, signed by a qualified engineer.
- [ ] Shop drawings showing drainage, PV penetrations, lifting points and foundation anchor details.
- [ ] Material certificates and compatibility statements for all wetted and load-bearing parts.
- [ ] Lifting and installation planning included and approved.
- [ ] Factory QA evidence and pre-dispatch inspection records.
- [ ] Local engineering validation and permit close-outs as required.
- [ ] Maintenance manual and as-built drawings delivered at handover.
Linking products and system choices
- When selecting products, refer to the Carportiva system range and compare the listed gutter and accessory details against the site-specific design basis. For broader comparisons, review all systems to ensure your drainage approach and PV layout are matched to the chosen canopy family.
Operational reminder
- Drainage performance is a systems outcome—mechanical, structural and civil inputs must be coordinated. Do not accept partial documentation at tender or handover. Confirm that local installers, utilities and authorities are engaged early.
Closing CTA For project-level discussion and to request system-specific drainage details, contact our team at info@carportiva.com or review our sourcing guides.
Conclusion
Carport roof drainage design is an integral engineering and procurement discipline for architectural and solar carports. The buyer’s role is to enforce a documented site-specific design basis, require shop drawing coordination, and confirm that foundation and anchorage interface details and lifting and installation planning are resolved before manufacture. Use a six-step workflow that integrates climate exposure review, procurement evidence, factory QA and local engineering validation so the delivered asset meets hydraulic, structural and operational objectives. By treating drainage as a controlled, auditable process you reduce lifecycle risk, protect PV investments and improve safety and maintainability for operators and occupants.
References and standards to consult
- Eurocodes and related documents for structural actions and detailing [1].
- ASCE 7 for load guidance where applicable [2].
- OSHA construction standards for installation safety and fall protection [3].
- FEMA flood maps for flood risk and elevation guidance [4].
Remember: site-specific structural capacity, foundations, permits, electrical design, approvals, lead time, price, energy yield and warranty require a documented project basis and relevant local qualified professionals, installers, utilities and authorities.
References
- European Commission Eurocodes: https://eurocodes.jrc.ec.europa.eu/
- ASCE 7 structural loading standard overview: https://www.asce.org/publications-and-news/asce-7
- OSHA construction standards: https://www.osha.gov/laws-regs/regulations/standardnumber/1926
- FEMA flood maps: https://www.fema.gov/flood-maps
Keep the project brief connected.
Bring the actual project brief to the engineering table.
Share your location, layout, target application and available technical inputs. Carportiva can help identify the relevant product-interface information before a project-specific commercial discussion.
Request a project discussion