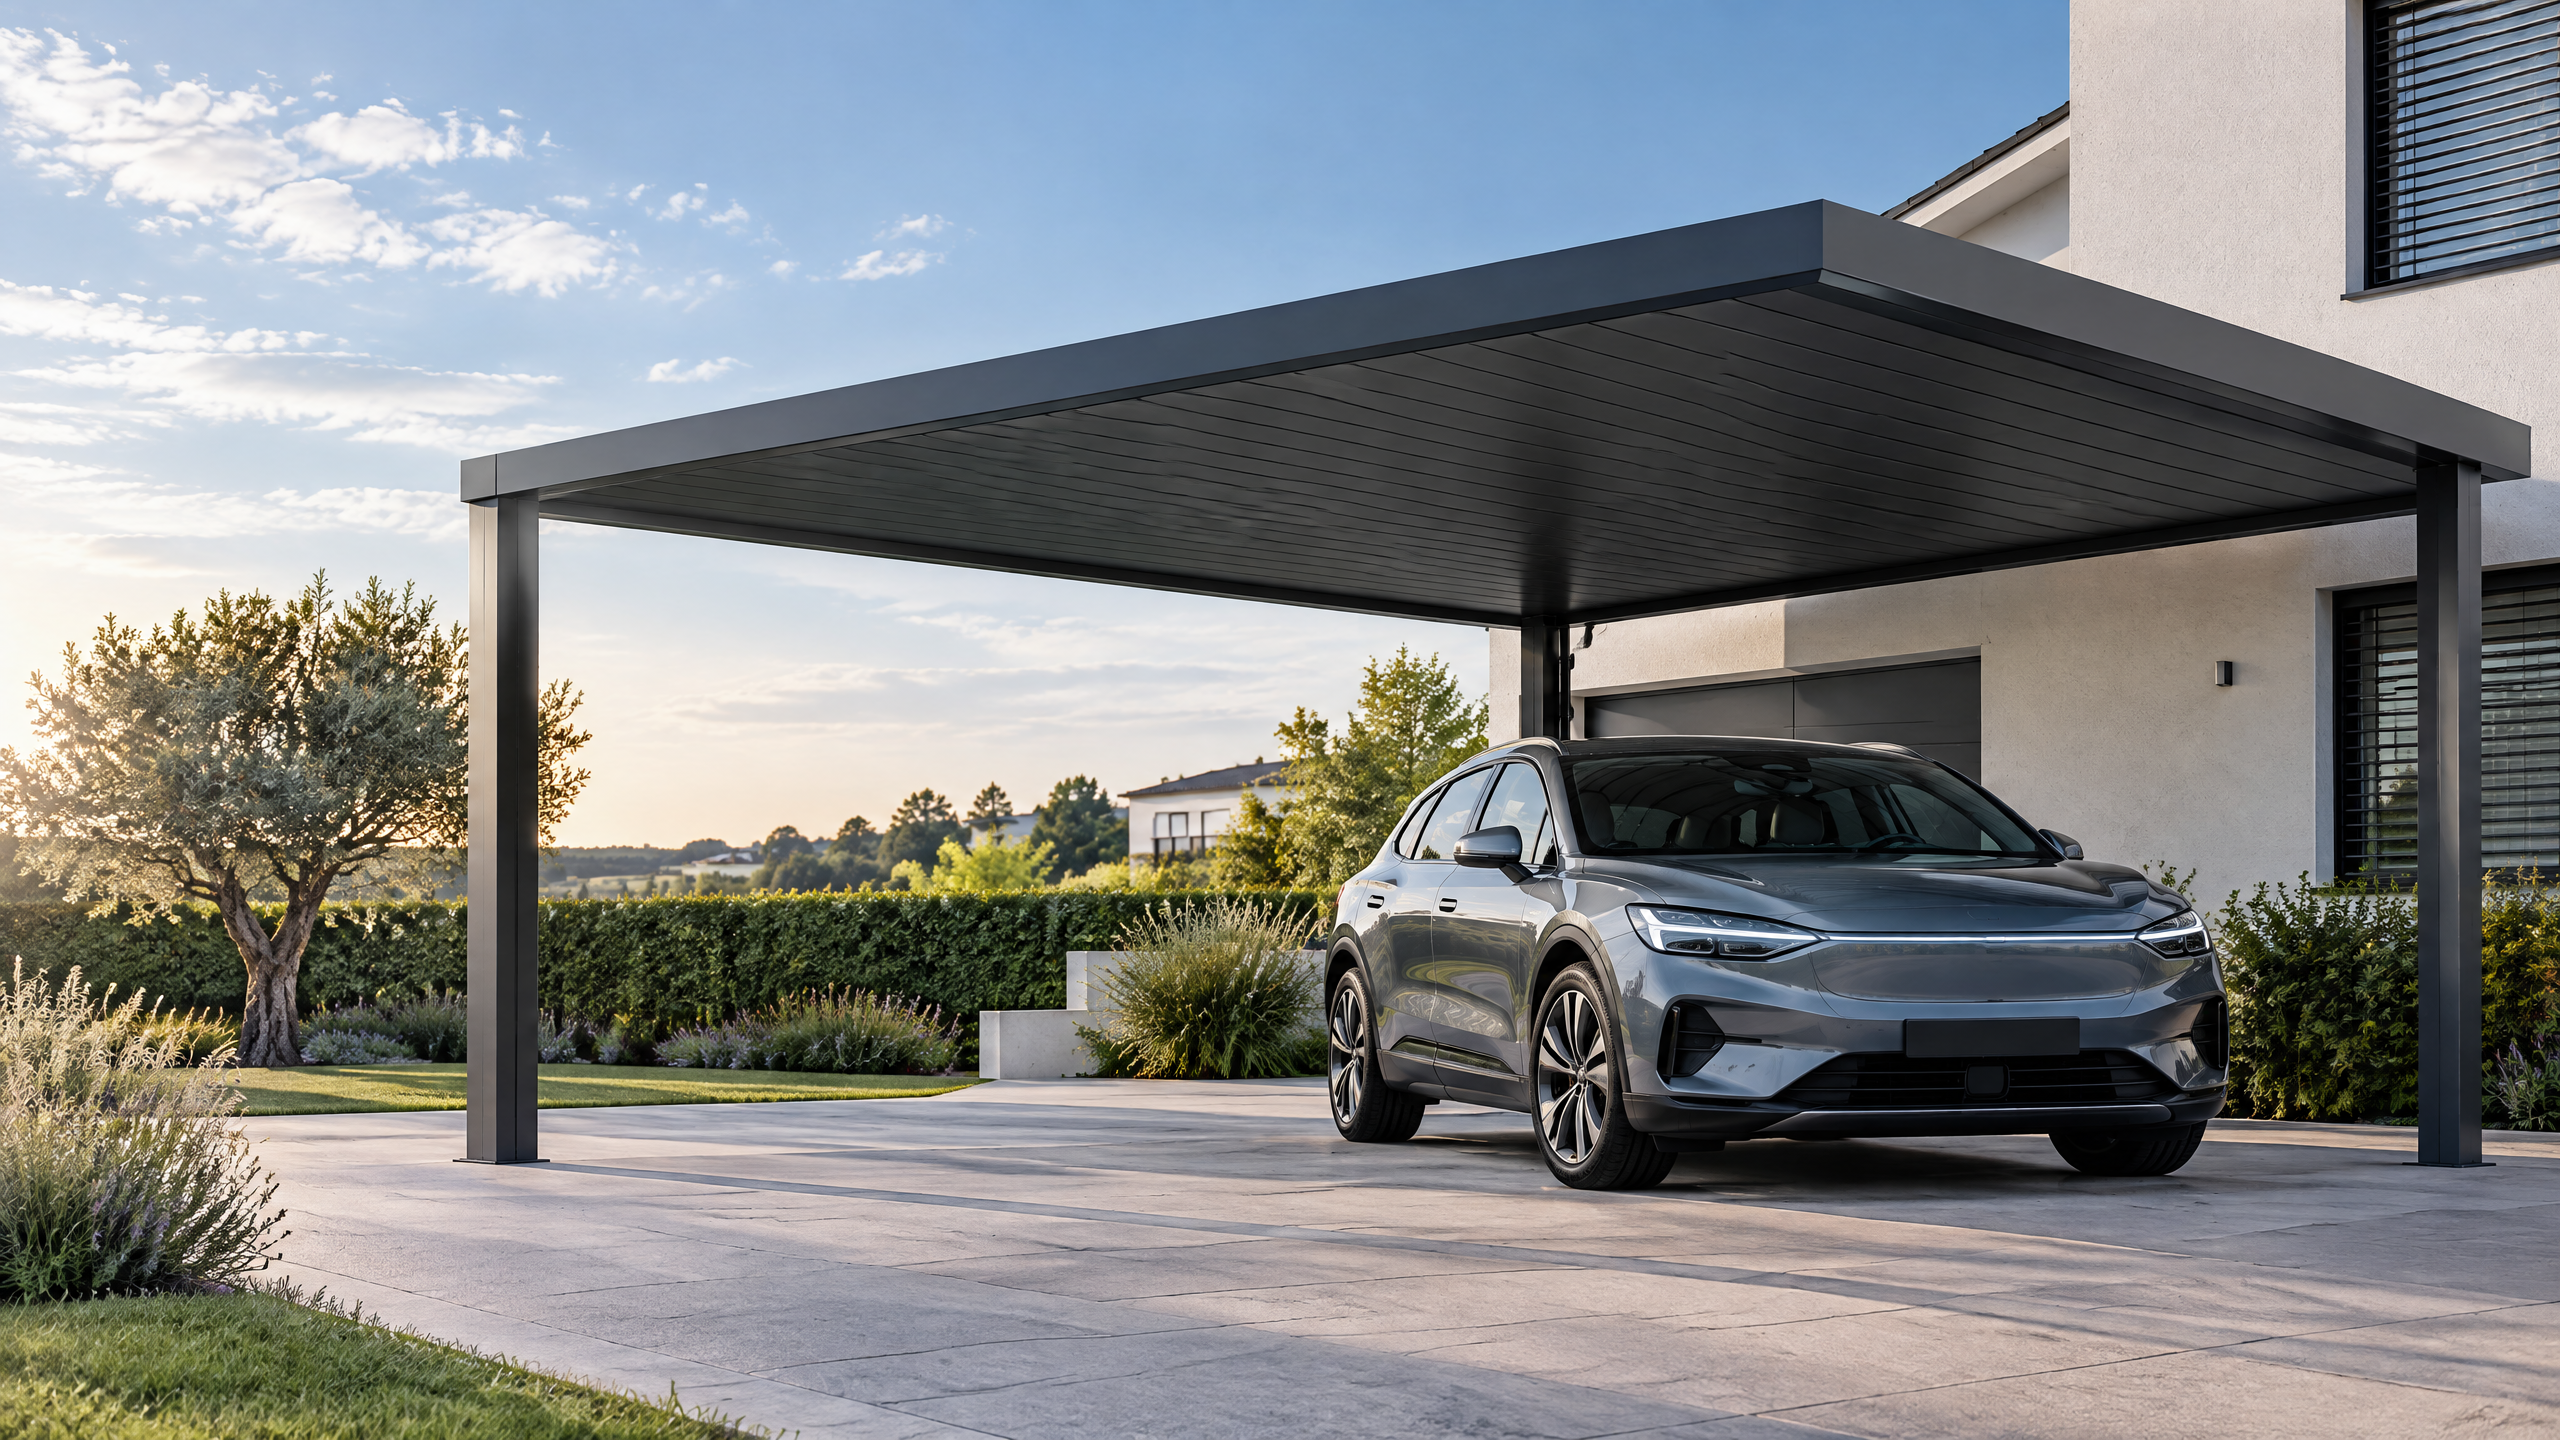
A robust aluminium carport lighting design detail is a convergent technical decision: it must deliver required illuminance and controls while integrating with structural aluminium components, roof drainage, finishes, electrical services and installation workflows. At tender and design stages the project team should validate the functional lighting brief (levels, uniformity, glare limits, controls), mechanical and electrical interfaces with the carport structure, the aluminium profile selection and finish compatibility, waterproofing and roof drainage coordination, and the procurement evidence that the manufacturer’s shop drawings, material certificates and factory quality processes meet the specification. Confirmations must be documented: shop drawing review, sample approvals, and an installation readiness package before site works. Finally, accept that structural capacity, foundations, permits, electrical design, approvals, lead time, price, energy yield and warranty require a documented project basis and verification by local qualified professionals, installers, utilities and authorities.
Buyer context and scope boundary: why lighting detail matters for aluminium carports
Lighting is often treated as an afterthought in canopy projects, but for aluminium carports it is an integral architectural and systems issue because:
- The carport’s aluminium structural grid and roof profiles determine mounting points, cable routes and spaces for luminaires and sensors. The aluminium profile selection affects attachment detail and allowable point loads.
- Roof geometry and roof drainage coordination influence where luminaires can be positioned without creating water ingress or blocking rain paths.
- Finishes and the choice of fasteners interact with lighting fixings; finish and fastener compatibility affects corrosion risk and appearance.
- Electrical containment, earthing and access for maintenance require coordination with the architectural carport specification and the broader site electrical design.
Scope boundary for this guide: the focus is the aluminium carport lighting design detail specifically — decisions, interfaces, procurement evidence and implementation checks. This guide does not replace site-specific structural design, foundation engineering, electrical wiring design or local statutory approvals. Those require project-level documentation and sign-off by qualified local professionals.
Note: site-specific structural capacity, foundations, permits, electrical design, approvals, lead time, price, energy yield and warranty require a documented project basis and relevant local qualified professionals, installers, utilities and authorities.
Core decision principle: integrate lighting as a mechanical-electrical-architectural system
Treat the lighting detail as a system interface problem, not an add-on. The core principle is to achieve the required lighting performance with minimal impact on the primary architectural aluminium systems and the carport’s durability. That means defining target performance outcomes (ILLuminance, uniformity, glare, control sequences, energy budgets) and then specifying the aluminium interfaces and procurement evidence needed to deliver them reliably.
Key system objectives:
- Performance: meet the client’s illuminance and operational profile with electrical safety and maintainability.
- Durability: ensure finish and fastener compatibility to avoid corrosion or coating damage at luminaire attachment points.
- Water-tightness: maintain roof drainage coordination to prevent leak paths introduced by fixings and penetrations.
- Buildability: allow shop drawing review, factory verification and installation readiness checks to reduce site rework and delay.
Standards to reference where appropriate include the Eurocodes for structural decisions [1], guidance on aluminium material behavior from The Aluminum Association [2], and finish/performance guidance from industry bodies such as AAMA where relevant to coatings [3]. Quality management and traceability should reference appropriate ISO mechanisms for documentation and certificates [4].
Planning inputs: project brief and required data from stakeholders
Before specifying lighting fixings into an aluminium carport, collect a clear set of inputs. These inputs enable the design team to size fixings, choose profiles and define procurement evidence.
Minimum planning inputs checklist:
- Lighting performance brief: target horizontal and vertical lux levels, uniformity ratio, maintained illuminance, colour temperature and CRI, anti-glare requirements, control strategy (dimming, occupancy, daylight harvesting, central/remote control).
- Electrical brief: supply voltage, point(s) of connection, fuse and distribution board locations, metering and PV integration if a solar carport, fault-level data from the utility, earthing and lightning protection requirements.
- Architectural carport specification: profile types, module spans, cantilevers, available attachment zones, access routes for maintenance, typical roof and canopy details, and any bespoke architectural constraints.
- Structural data: load cases, allowable point loads for attachment points, deflection limits at attachment locations, wind uplift and fatigue considerations as per applicable design codes (refer to Eurocodes for guidance on wind and structural loading) [1].
- Roofing and drainage drawings: gutter locations, slopes, internal drainage, downpipes, and roof assembly layering to ensure roof drainage coordination.
- Finish schedule: applied coatings (anodized, powder coat), colour tolerances, and specified pre-treatment; finish and fastener compatibility must be reviewed to prevent galvanic corrosion.
- Maintenance and replacement strategy: expected lumen maintenance, access equipment, replacement frequencies, and whether luminaires are to be removable without roof removal.
- Programme constraints: lead times for extrusions, finish cycles and long-lead luminaires; procurement windows and critical dates.
- Regulatory context: local building electrical codes, lighting ordinances, and permit requirements.
Collecting the above early prevents scope creep and clarifies which responsibilities sit with the carport supplier, the lighting contractor, the electrical contractor and the civil/structural designer.
Technical specification and interfaces: what must be specified and coordinated
This section converts the planning inputs into technical decisions and interface definitions. Use explicit, measurable requirements wherever possible.
- Lighting performance and product specification
- Specify target metrics: maintained lux (horizontal), uniformity (min/max), glare rating (UGR or equivalent), correlated colour temperature and colour rendering (CCT, CRI), ingress protection (IP) rating, IK impact rating.
- Luminaire mounting: define whether luminaires are suspended, surface-mounted to profiles, recessed into soffits, or integrated into roof modules. For aluminium carports, surface-mounted and integrated channel-mounted luminaires are common.
- Weight and moment: list luminaire weight and maximum bending moment at an attachment point to ensure the aluminium member and fasteners are adequate.
- Mechanical interface: aluminium profile selection and attachments
- Identify the exact profile(s) to receive luminaires and cables. aluminium profile selection must match load and attachment needs: some profiles have internal cavities and dedicated slots for mounting; others are thin-gauged decorative members unsuitable for point loads.
- When retrofitting luminaires to existing profiles, verify the available screw length, shear plane and compression resistance; avoid point loads on thin webs unless backed by reinforcing plates.
- Define splice/patch plates or saddles where luminaires impose concentrated loads. Plate material should be compatible with profile finish and joined with suitable fasteners.
- Roof and drainage interfaces
- Define penetrations and sealing methods where luminaires or conduit pass through roof membranes or gutter lines. Roof drainage coordination is essential: luminaires and conduits must not obstruct scuppers, gutters or create local ponding.
- For integrated photovoltaic or sloped roofs, indicate zones where drainage must be preserved and where service voids are permitted.
- Electrical, containment and earthing
- Specify cable routing (external conduit, internal within aluminium profiles, raceways), clamp types and gland specifications. For wiring through aluminium components, specify insulating sleeves where required to avoid metal-to-metal contact.
- Confirm earthing/grounding details: if the aluminium structure forms part of the earthing conductor, specify bonding points and conductor sizes; if not, specify isolated earthing systems.
- Define the location and access for junction boxes and test points.
- Access and maintainability
- Define safe access for lamp replacement, cleaning and testing. If luminaires are integrated within roof channels, include removable access panels or design for replacement from below.
- Finishes and fasteners
- Define finish and fastener compatibility. Use stainless steel fasteners or mechanically isolated stainless-steel/aluminium combinations where direct contact could cause galvanic corrosion. Specify fastener grades and coating types appropriate to the project environment (coastal, industrial, urban).
- Specify surface preparation and pre-drilling where required to protect anodized or powder-coated surfaces.
- Controls and integration with PV (if applicable)
- For solar carports, coordinate with the PV electrical designer for shared cable trays, DC/AC separation zones and control strategy to avoid interference with luminaires and sensor systems.
Relevant decision drivers: mounting zone strength, environmental exposure class, anti-corrosion strategy, maintenance constraints and electrical safety.
Procurement and factory evidence: what to require from vendors
Procurement for aluminium carport lighting design detail must demand documentary evidence to reduce technical risk. The buyer should request the items below from fabricators, luminaire suppliers and installers.
Essential procurement/factory evidence list:
- Shop drawings for the lighting interface, including attachment detail, fastener types and torque requirements; ensure the shop drawing review process is defined.
- Material certificates: aluminium alloy and temper, mill certificates for extrusions and plates. Confirm traceability to extrusion heat/batch where structural consequences are material.
- Finish certificates and application records: powder coat specification and thickness measurements or anodizing class and test reports. For coatings, reference AAMA guidance where applicable [3].
- Fastener specification: material grade and surface finish (e.g., stainless steel A2/A4) and any sacrificial or insulating washers specified.
- Luminaire technical data sheets: IP/IK ratings, weight, thermal performance, driver information, dimming/controls compatibility, and wiring diagrams.
- Factory test records: functional testing for luminaires (burn-in), and checks for fitment into aluminium profiles during a sample assembly.
- Quality management evidence: factory QC procedures and the relevant ISO registrations (e.g., ISO 9001) where available [4].
- Welding/assembly qualifications: documented welder qualifications and procedure specifications where welds occur in load-bearing attachments.
- Packaging and transport protection details: how finished assemblies will be protected, especially for coated surfaces.
Decision table — Required procurement evidence by supplier type
| Supplier Type | Required Documents/Outputs | Purpose |
|---|---|---|
| Aluminium fabricator | Shop drawings, mill certificates, finish application records, weld/PQR | Verify structural compatibility, finish adherence and traceability |
| Luminaire manufacturer | TDS, IP/IK ratings, wiring and mounting detail, testing records | Confirm luminaire suitability and mounting interface |
| Coating applicator | Batch records, thickness tests, cure profile | Ensure finish quality and durability |
| Fastener supplier | Material grade certs, torque recommendations | Prevent galvanic corrosion and ensure mechanical integrity |
| Electrical contractor | Wiring diagrams, earthing scheme, test reports | Verify electrical safety and integration |
Require that vendors provide originals (or certified copies) of certificates and that shop drawings include the luminaire schedule and point loads. Where possible, specify sample assemblies for factory fit verification.
Shop drawing review and installation readiness
Shop drawing review is a critical gate. The team should establish a documented shop drawing review procedure with defined reviewers and sign-off criteria. The review must be technical and practical.
Shop drawing review checklist:
- Confirm luminaire locations, orientation and access clearance for maintenance.
- Verify attachment details against the specific aluminium profile identified in the architectural carport specification and verify allowable point loads.
- Confirm cable routing, junction box locations and conductor entries; verify IP rating continuity at interfaces.
- Review fastener types, torque, and any insulating washers or barriers.
- Verify that finish edges at cut-outs and penetrations are protected and that coating rehabilitation is specified where coating is penetrated.
- Confirm lightning protection and bonding continuity where required.
- Review sequencing: ensure installation readiness aligns with roofing, gutter and PV installation to avoid clashes with roof drainage coordination.
- Require a pre-installation meeting on site or virtual review with representatives from the carport fabricator, luminaire supplier and electrical contractor.
Installation readiness package Before work begins on site request a sign-off package that includes:
- Approved shop drawings signed by structural, architectural and electrical reviewers.
- BOM with part numbers, batch numbers for critical components.
- Installation method statement outlining sequence, tools and special handling for coated components.
- Risk assessments and lifting/working at height plans.
- Test and commissioning plan for lighting and control systems.
- Spare parts and maintenance kit list.
- Evidence of qualified installers, licences and insurances.
Decision table — Shop drawing approval roles and responsibilities
| Review Area | Primary Reviewer | Secondary Reviewer | Decision Criteria |
|---|---|---|---|
| Structural attachment & point loads | Structural engineer | Fabricator QA | Compliance with allowable loads and deflection limits |
| Finish & corrosion protection | Architect/specifier | Coating applicator | No breach of finish; correct repair methodology |
| Electrical integration & earthing | Electrical engineer | Electrical contractor | Conforms to local electrical standards and earthing plan |
| Drainage & roof penetrations | Roofing specialist | Fabricator | No interference with roof drainage coordination |
| Maintainability & access | Facility manager/owner rep | Installer | Safe access for maintenance assured |
Shop drawing review should be iterative and retain revision history. The outcome must be an installation readiness sign-off that the site team can rely on.
Site installation and operations: practical checks and best practice
Physical installation introduces risks not visible in drawings. Use on-site controls to hold quality and protect coated aluminium and lighting equipment.
Pre-installation checks
- Confirm site dimensions and survey anchors, sockets and foundation positions against the approved shop drawings.
- Inspect delivered components for damage to finishes; damaged parts must be recorded and quarantined.
- Verify the availability of lifting and access equipment suitable for the weight and size of assemblies.
- Confirm weather protection measures for coated assemblies and electrical components during installation.
Installation best practices
- Fastening: use the specified fastener type and torque settings. Avoid over-tightening into thin-walled profiles. Where attachments are through thin webs, use backing plates or saddle plates sized to spread load.
- Sealing and waterproofing: where luminaires penetrate roofing assemblies, use compatible gaskets, liquid seals or flashing collars specified in the approved detail. Ensure contract responsibility for sealing is clear.
- Cable management: run luminaire power and control cables in the specified raceways. Label cables at both ends. Avoid routing cables across drainage lines or across walking paths.
- Touch-up and repair: for any damage to anodizing or powder coat specify approved touch-up materials and procedures.
- Bonding and earthing: verify continuity of bonding conductors and that bonding points on the aluminium structure use recommended fasteners and locking washers.
- Commissioning: perform a staged commissioning: electrical continuity and insulation tests, driver and control commissioning, photometric verification (spot-checks or full measurement as required), and functional testing of emergency functions where installed.
- Handover documentation: provide as-built drawings, certificates, test records and maintenance instructions.
Operational considerations
- Maintenance frequency: luminaire cleaning intervals should be part of the maintenance schedule; access and PPE for cleaning must be considered.
- Replacement logistics: specify whether luminaires are replaceable in-situ or require removal of roof panels. This affects lifecycle cost.
- Controls maintenance and firmware: define responsibility for firmware updates and control system credentials.
Finish and fastener compatibility: corrosion risk management
Finish and fastener compatibility is crucial in aluminium installations and has long-term aesthetic and durability implications.
General principles
- Use materials with compatible electrochemical potentials or isolate dissimilar metals with non-conductive washers or sleeves to avoid galvanic corrosion.
- Stainless steel fasteners (e.g., A4/316) are typically recommended in aggressive environments, but compatibility with coated aluminium must still be considered.
- Seal fastener holes to prevent water ingress that can accumulate and accelerate corrosion beneath coatings.
Specifying finish and fastener compatibility
- Require fastener material certificates and specify any insulating barriers (e.g., nylon or PTFE washers), torque, and pre-drilling requirements to protect coatings.
- For anodized aluminium, avoid contact with ferrous particles and ensure edges are sealed after cutting to prevent staining.
- For powder coat finishes, specify touch-up and cure-compatible repair procedures.
Procurement implications
- Procurement documents should call for confirmation from the fabricator that the specified fastener/finish combination has been used in similar environmental classes or provide documented laboratory or field evidence if novel combinations are proposed.
- Avoid specifying proprietary fasteners without an acceptable approved equivalent clause to prevent procurement bottlenecks.
Roof drainage coordination: avoid unintended consequences
Lighting installations can inadvertently disrupt drainage patterns. Coordination is essential.
Key coordination points
- Avoid placing luminaires, junction boxes or conduit in gutter troughs, at scupper locations, or on the low side of a slope where ponding occurs.
- Routing channels and raceways should follow gravity drainage lines, and mounting plates should not bridge drainage channels.
- For integrated PV carports, coordinate with the PV mounting system and inverter locations so that DC cabling and AC cabling do not interfere with rainwater paths or create thermal hotspots.
Site detail considerations
- Provide a drainage clearance diagram in the shop drawings showing all planned luminaire locations relative to gutters, downpipes and scuppers.
- If penetrations through roofs are required, specify flashing details and call for a roofing specialist sign-off.
- During installation, check that sealants around penetrations are compatible with the roof membrane.
Implementation risks and mitigation
Common implementation risks and mitigations for aluminium carport lighting detail:
- Risk: Insufficient attachment strength at the chosen profile.
Mitigation: Require structural verification of point and line loads and provide backing plates in the shop drawings.
- Risk: Coating damage during installation leading to premature corrosion.
Mitigation: Pre-define handling procedures, protective films, and touch-up processes; audit on-site.
- Risk: Drainage blockage caused by luminaire or conduit routing.
Mitigation: Include roof drainage coordination as mandatory sign-off and map locations during shop drawing review.
- Risk: Electrical faults due to poor bonding or ingress.
Mitigation: Define earthing scheme in the procurement package; require IP-rated enclosures and factory-functional testing.
- Risk: Procurement delays for long-lead customized profiles or finishes.
Mitigation: Early procurement schedule with lead time confirmation and approved-equivalent clauses.
- Risk: Incompatibility between luminaire and control systems.
Mitigation: Define control protocols early and require interoperability testing at factory or pre-commissioning stage.
- Risk: Discrepancy between shop drawings and site conditions.
Mitigation: Perform a detailed site survey pre-manufacture and require a mock-up or sample panel where necessary.
Risk management must be evidenced: include risk registers in the project documentation and require corrective action logs from suppliers for non-conformances.
Six-step buyer workflow: a named procurement and delivery process
A clear workflow reduces disputes and delivers consistency. The “Confirm–Design–Procure–Inspect–Install–Handover” workflow below is a practical six-step buyer workflow for aluminium carport lighting design detail.
- Confirm (Requirements & Survey)
- Confirm the lighting brief, electrical constraints and collect site surveys. Validate structural anchorage points and roof drainage mapping.
- Design (Integration & Shop Drawing Issuance)
- Produce integrated details showing aluminium profile selection, mounting methods, cable routing and drainage coordination. Initiate shop drawing review.
- Procure (Specification & Evidence)
- Place orders only after the shop drawing review is approved. Collect procurement/factory evidence: material certificates, finish records, luminaire data sheets and QC plans.
- Inspect (Factory & Pre-assembly)
- Conduct factory inspections or sample assembly tests to verify fit, finish and function. Document non-conformances and corrective actions.
- Install (Site Execution & Commissioning)
- Execute installation with the installation readiness package in hand. Complete electrical testing, photometric verification and control commissioning.
- Handover (Documentation & Maintenance)
- Deliver as-built documentation, test records and maintenance instructions. Confirm warranty documents and spare parts supply chain.
Assign accountable parties and acceptance gates at each step. The buyer should withhold final acceptance until test results and documentation meet contractual requirements.
FAQ — common procurement and design questions
Q: Who is responsible for luminaire selection and for the structural provision for mounting? A: Responsibilities must be defined in the contract. Typically, the client or lighting designer specifies luminaire performance. The carport fabricator provides structural attachment provisions per the architectural carport specification. Ensure shop drawings clarify responsibility for reinforcement and attachment loads.
Q: Can luminaires be mounted directly into anodized profiles? A: Direct mounting is possible only where the profile cross-section and material thickness are adequate and the anodized finish is protected during drilling or tapping. Consider backing plates and use sealing washers to protect the finish. Always require shop drawing review and finish repair detail.
Q: What documentation should I insist on before approving deliveries? A: Approved shop drawings, mill certificates for aluminium, finish application records, fastener certificates, luminaire technical data and factory test reports. Also require a signed installation readiness package.
Q: How do I avoid galvanic corrosion between aluminium and stainless steel fasteners? A: Use insulating washers or sleeves, avoid crevice conditions where moisture can be trapped, and specify compatible coatings. Consult metal compatibility charts and require supplier confirmation.
Q: Are integrated luminaires compatible with PV carports? A: Yes, but integration requires coordination of DC cabling, inverter placement and earthing. Ensure separate containment for DC and AC circuits and specify shading, thermal and maintenance impacts.
Q: What testing should be done on site? A: Electrical insulation and continuity tests, earth resistance, luminaire functional tests, driver and control commissioning, and photometric spot checks where performance validation is contractually required.
Q: What role does shop drawing review play versus factory inspection? A: Shop drawing review verifies the design intent and interfaces. Factory inspection verifies execution — fit, finish and functional testing. Both are necessary controls.
Decision table — mounting option trade-offs
| Mounting Option | Advantages | Limitations | Typical Use Case |
|---|---|---|---|
| Surface-mounted to aluminium beam | Simpler install; accessible | Requires beam with sufficient section; visual fixings | Retrofits; ease of maintenance |
| Integrated into profile channel | Clean appearance; protected routing | Needs designed profile; higher lead time | New builds with bespoke profiles |
| Suspended from canopy | Avoids profile penetration; flexible placement | Requires suspension points; potential vibration | High clearance carports |
| Recessed into soffit | Concealed lighting | Complex waterproofing; higher cost | Architectural applications where minimal visibility desired |
Select the option that aligns with the architectural intent, allowable point loads and maintenance strategy.
Procurement checklist and acceptance criteria
Before signing off procurement, confirm the following items are in contractual scope and delivery schedules:
- Approved shop drawings with sign-offs from architecture, structural and electrical reviewers.
- Material certificates and finish application records for the aluminium components.
- Luminaire technical data sheets and factory functional test records.
- Fastener certificates and isolation/washer details.
- Installation readiness package including method statements and risk assessments.
- Lead time confirmation and logistics plan for protection of coated surfaces in transit.
- Warranty obligations clearly stated and owners’ responsibilities defined.
Mid-article call to action
For template shop drawing checklists, procurement templates and a technical review of aluminium profile options, contact our specification team via /inquiry or email info@carportiva.com. See our product range including NordArch architectural aluminium system, all systems and our sourcing guides.
Legal and regulatory note (explicit)
This guide provides technical and procurement guidance but does not replace statutory or site-specific design responsibilities. Site-specific structural capacity, foundations, permits, electrical design, approvals, lead time, price, energy yield and warranty require a documented project basis and verification by relevant local qualified professionals, licensed installers, utilities and authorities. Refer to applicable national standards and design codes (for structural loading consult the Eurocodes where relevant) [1]. For material behavior and aluminium considerations consult industry bodies such as The Aluminum Association [2] and finish guidance where relevant from AAMA [3]. For quality system references see ISO documents [4].
Conclusion
An effective aluminium carport lighting design detail is both precise and collaborative. By treating lighting as an integrated architectural-aluminium-electrical system, establishing clear procurement evidence, performing rigorous shop drawing review and ensuring installation readiness, buyer teams can reduce risk and deliver predictable outcomes. Key controls are: early clarification of the lighting and electrical brief, careful aluminium profile selection, explicit finish and fastener compatibility rules, documented roof drainage coordination, and a disciplined inspection and commissioning regime. Use the six-step buyer workflow—Confirm, Design, Procure, Inspect, Install, Handover—to structure responsibilities and acceptance gates.
For project-specific review, sample requirements or to discuss how our aluminium systems can meet your carport lighting needs, contact our team via /inquiry or email info@carportiva.com. Explore the NordArch architectural aluminium system, our full all systems catalogue and our practical sourcing guides.
References
- Eurocodes and guidance for structural design: European Commission Eurocodes.
- Material and corrosion guidance: The Aluminum Association.
- Coating guidance for architectural aluminium: American Architectural Manufacturers Association (AAMA).
- ISO quality and document references: ISO Online Browsing Platform.
References
- European Commission Eurocodes: https://eurocodes.jrc.ec.europa.eu/
- The Aluminum Association: https://www.aluminum.org/
- American Architectural Manufacturers Association: https://aamanet.org/
- ISO Online Browsing Platform: https://www.iso.org/obp/ui/
Keep the project brief connected.
Bring the actual project brief to the engineering table.
Share your location, layout, target application and available technical inputs. Carportiva can help identify the relevant product-interface information before a project-specific commercial discussion.
Request a project discussion